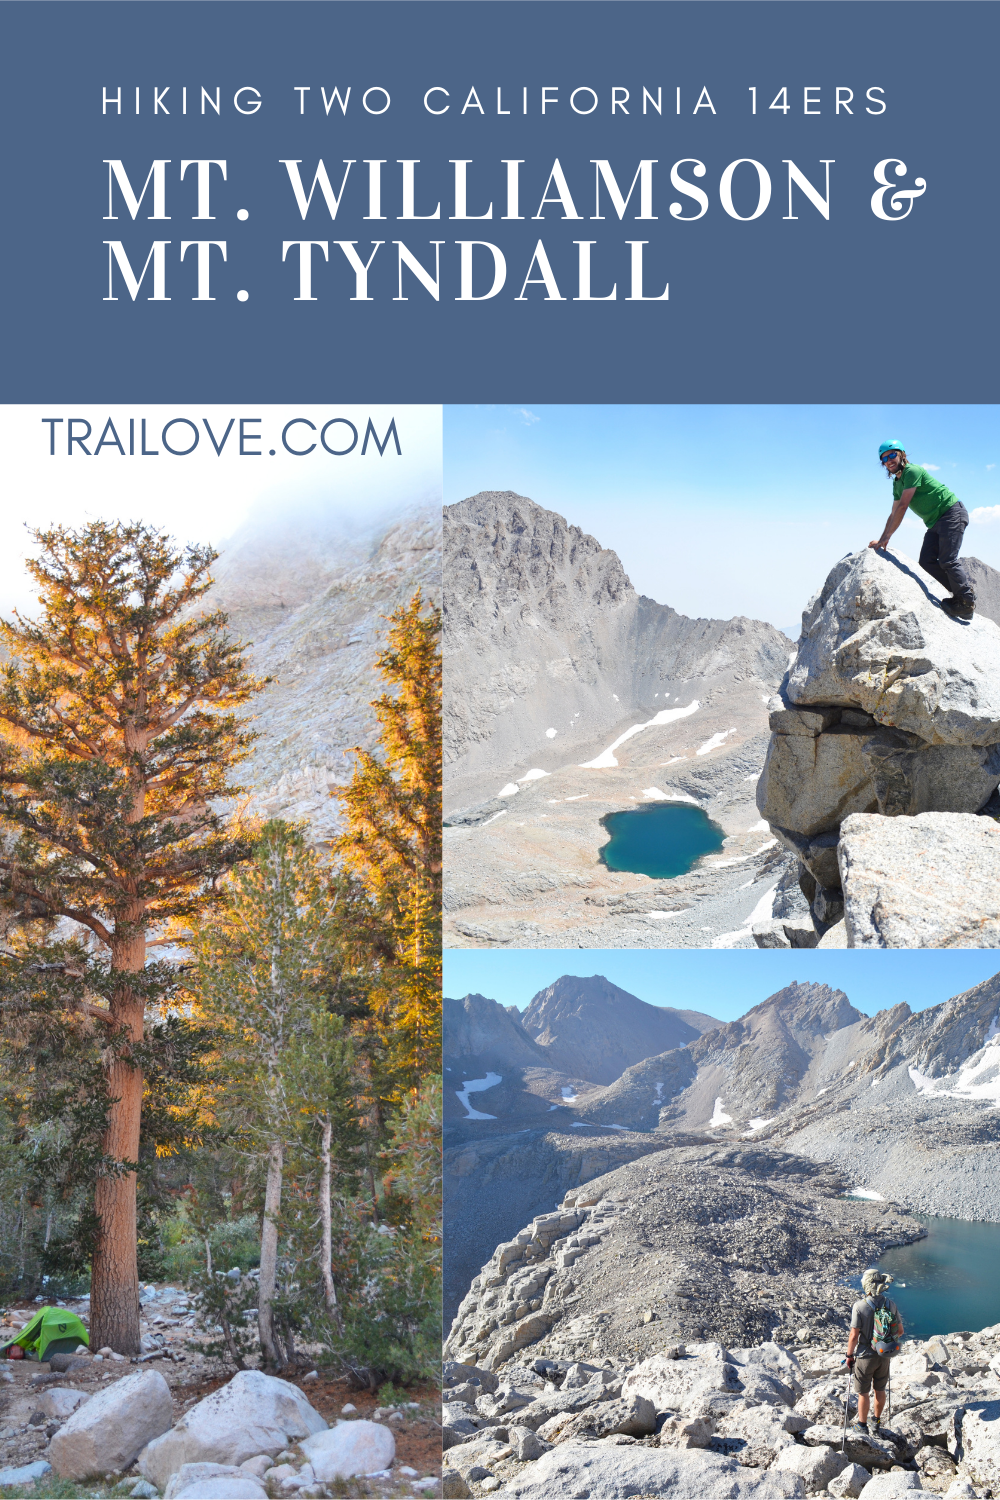
Mt. Williamson and Mt. Tyndall

Updated January 2021
A grueling 26+ mile overnight trip that reaches two California 14ers via Shepherd Pass – Mt. Williamson (14,379’) and Mt. Tyndall (14,025’). Mt. Williamson is the second tallest peak in California, following Mt. Whitney. Mt. Tyndall is the tenth. The routes described here are considered the easiest and consist of an arduous section of trail to Shepherd Pass, followed by off-trail class 2 and 3 hiking/scrambling.
As a word of caution: this hike contains exposed sections of climbing and requires off-trail navigation. There may be changes that impact the accuracy of the information in this post. Proceed at your own risk!
At some point I started researching the 14ers of California and got hooked on the idea of hiking Mt. Williamson. It seemed like a compelling next challenge: a solid overnight trip with route finding and scrambling, but with no serious technical sections that required climbing gear. I was sold when I saw its proximity to Mt. Tyndall and realized we could get a two for one. I researched the route and knew we were in for it, but was completely captivated! I reserved a permit (fortunately Shepherd Pass was pretty unpopular at the time) and printed out some photos from other trip reports to help us find the route up the two mountains.
Our first trip up Shepherd Pass didn’t get us to the summit of either Williamson or Tyndall, but was very insightful for our trip the following year. We discovered that the Shepherd Pass trail is truly demoralizing, learned the right way (at least for our group) to split up the two peaks, found central camping spots, and had a good look at the routes to both summits. Our first hike was in September of a heavy snow year (2017) and we budgeted only one full day for summiting both mountains, with our home base at Anvil Camp. When we reached the top of the Tyndall rib the chute was filled with steep ice which we weren’t prepared for. We ended up turning back a couple hundred vertical feet shy of the summit, and skipping Williamson altogether.
We returned to Shepherd Pass in August of 2018 with better conditions and a new plan! Our itinerary for the second trip is below. Jump directly to the routes section if that’s what you’re looking for.
Itinerary & Trip Journal
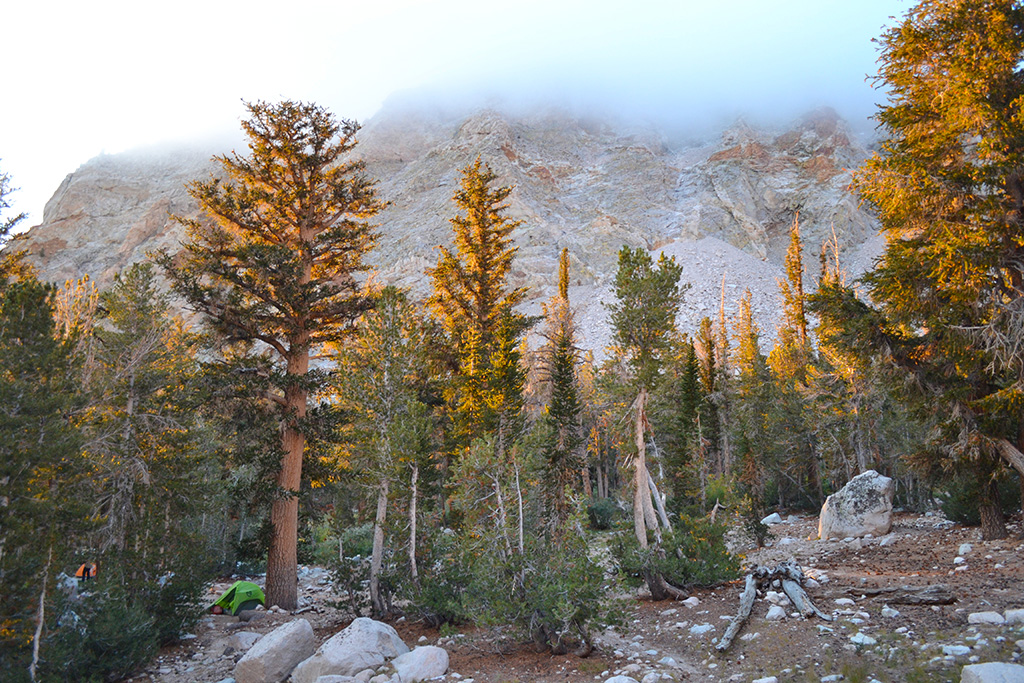
After spending the night in a nearby hotel (how could you not stay at the Mount Williamson motel for this) we started our trip with the aim to reach Shepherd Pass for three nights of camping. Due to a passing storm and exhaustion we stopped short a couple miles shy at Anvil Camp. That set us up for a second day of moving our camp to the Pass and day hiking Tyndall, and on our third day we summited Williamson. The section below includes my journal notes and photos from our trip.
Day One: Anvil Camp (8 miles, +4000 feet)
Back to Shepherd Pass! We are taking another look at Mt. Tyndall and Williamson and also resupplying my sister Laura and her boyfriend Jimmy as they hike a section of the John Muir Trail. I will continue on to Mt. Whitney with them, while Jason and Kevin return to Los Angeles.
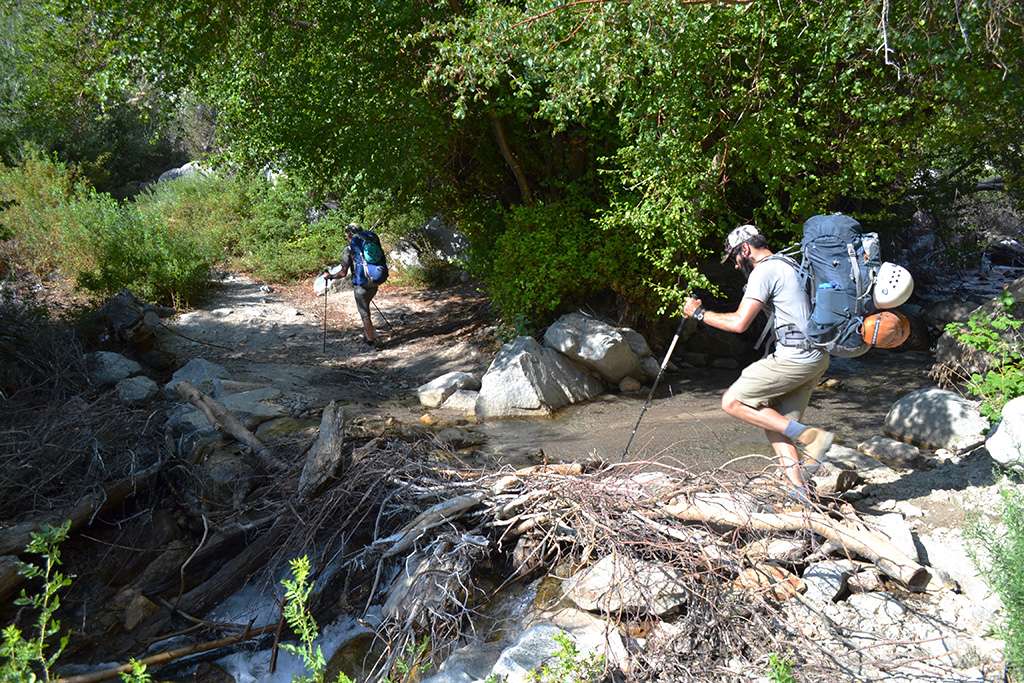
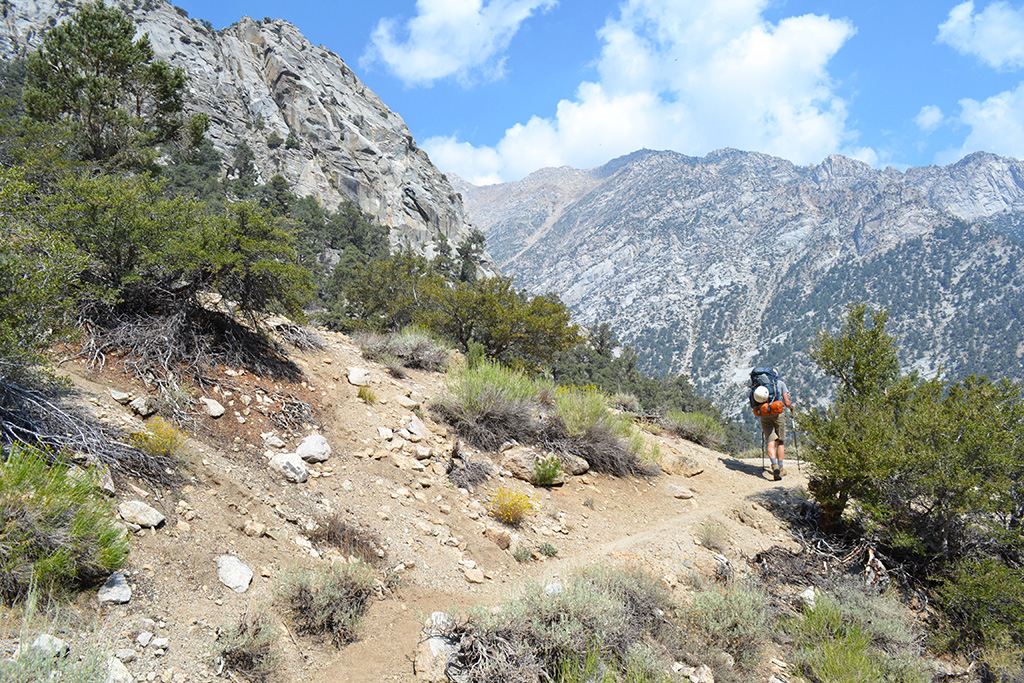
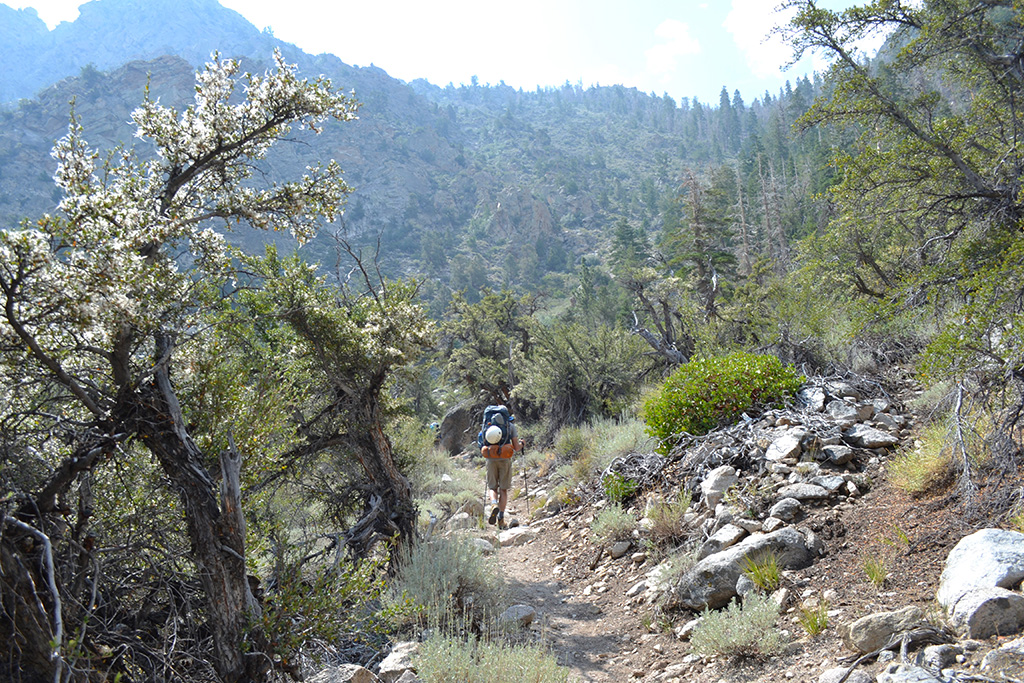
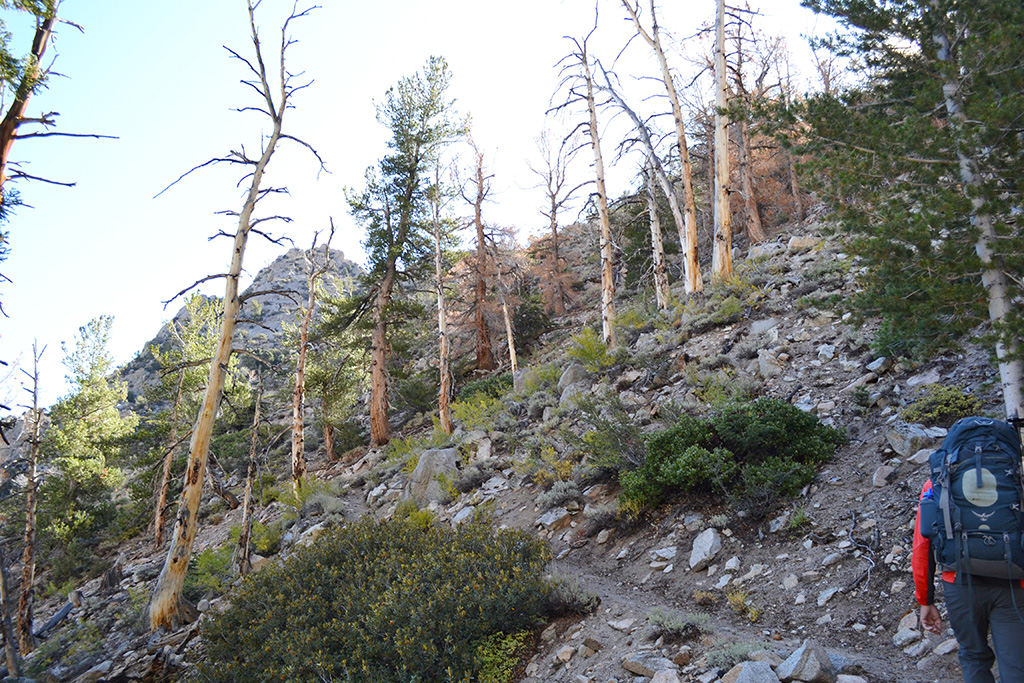
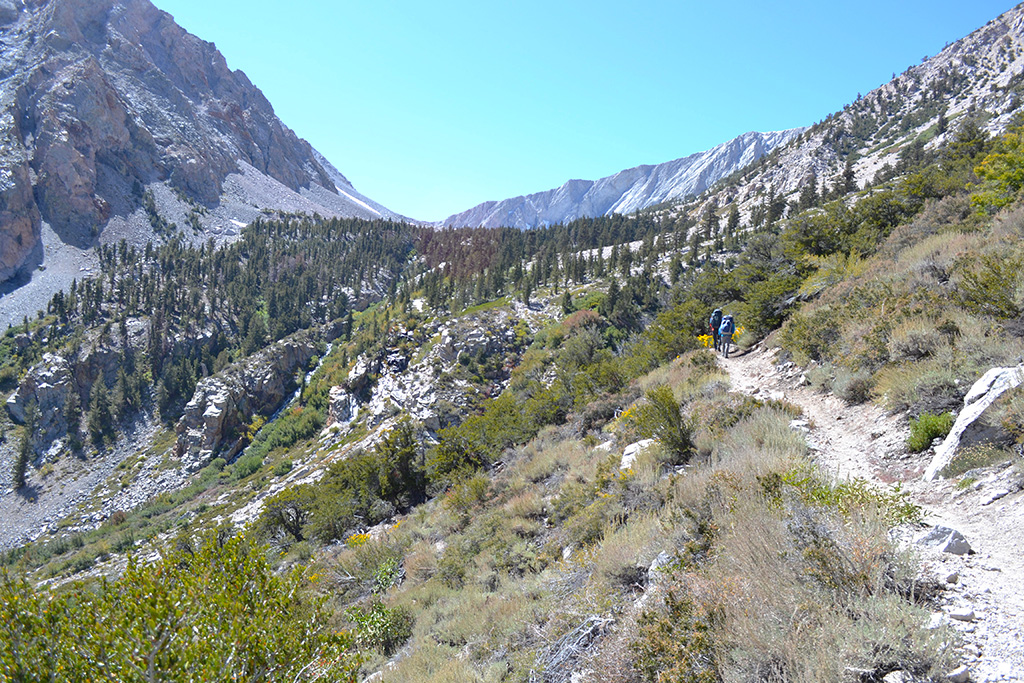
Today’s hike was already hard but we also had heavy resupply packs and some thundershowers. Jason, Kevin, and I spent the night in Lone Pine (sadly the Mount Williamson Motel was booked up this year) and started hiking around 9AM. I remembered most of the main parts of the trail from last time – four stream crossings, so many switchbacks, downhill another 600’ to cancel out your hard work, then even more switchbacks. I was nervous about the lightning after storms we experienced a couple weeks back at Convict Lake. But we lucked out and although there were dark clouds and some rain, the thunder was minimal and we saw no actual lightning.
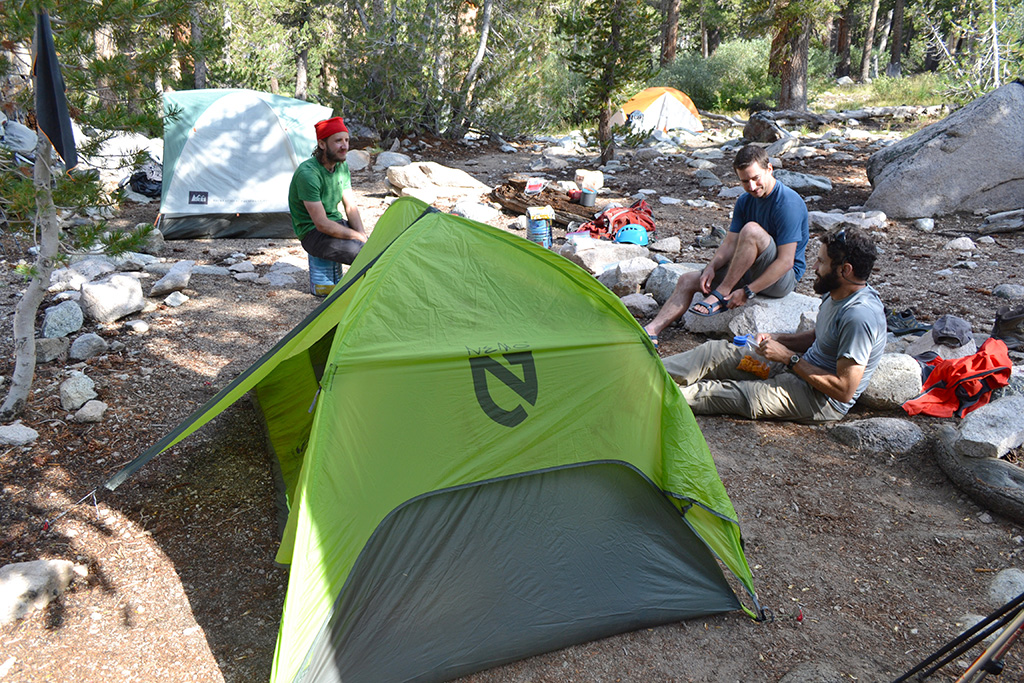
It was so good to see Laura and Jimmy and Anvil Camp! They seem to be enjoying their hike and I’m glad we can help them. Tomorrow we will hike up Shepherd Pass and setup there at the lake. Hoping for great weather as the forecast predicts. Then we will have a look at Mt. Tyndall.
Day Two: Shepherd Pass & Mt. Tyndall (6 miles, +3700/-2000 feet)
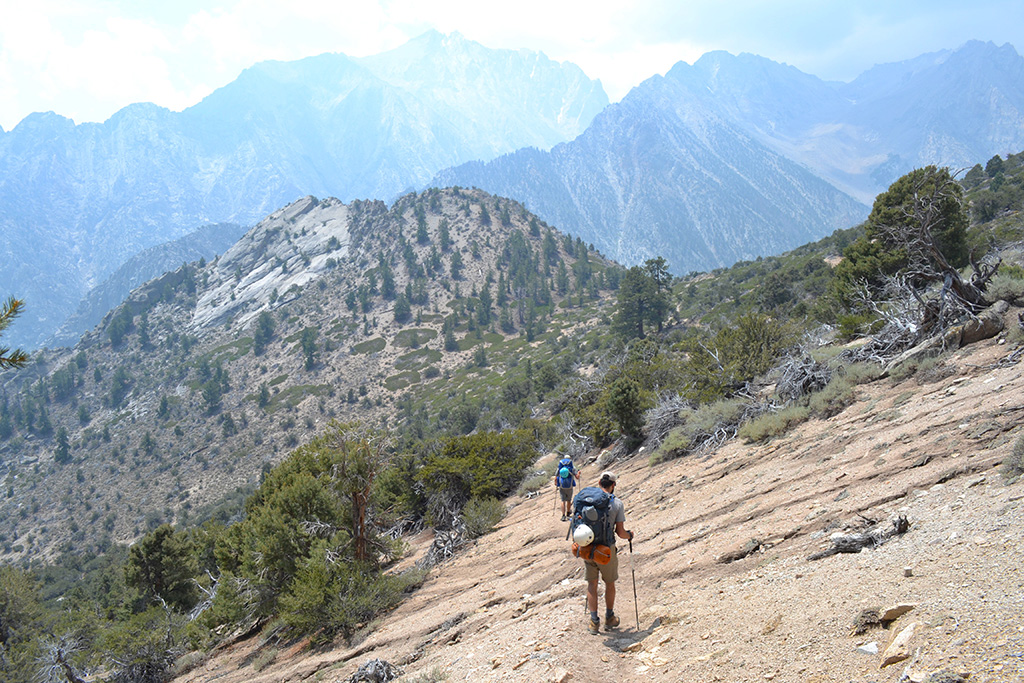
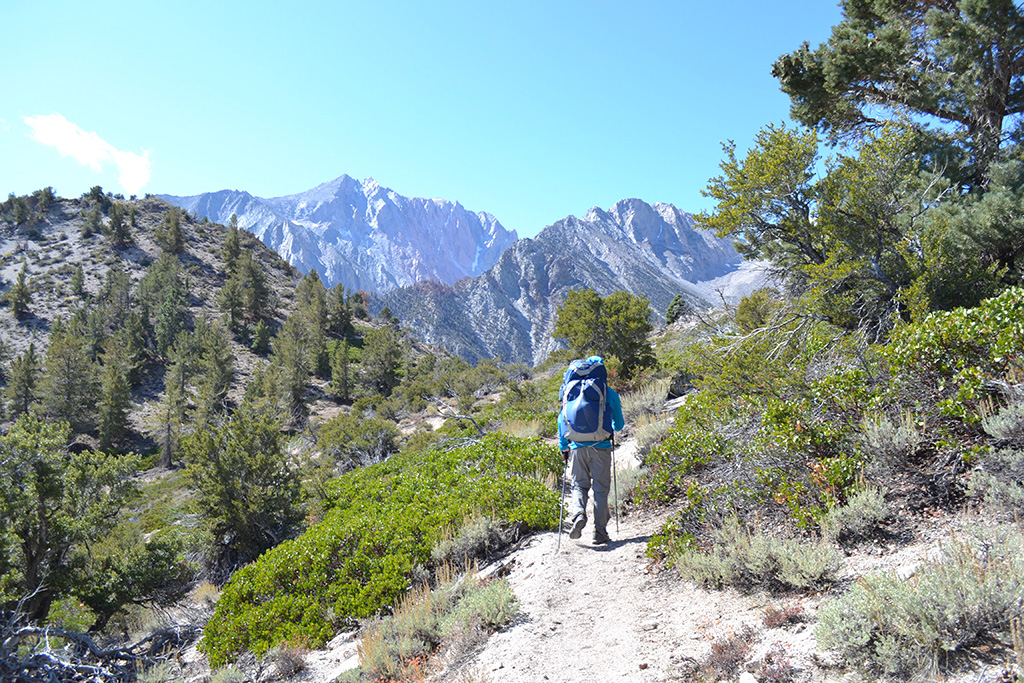
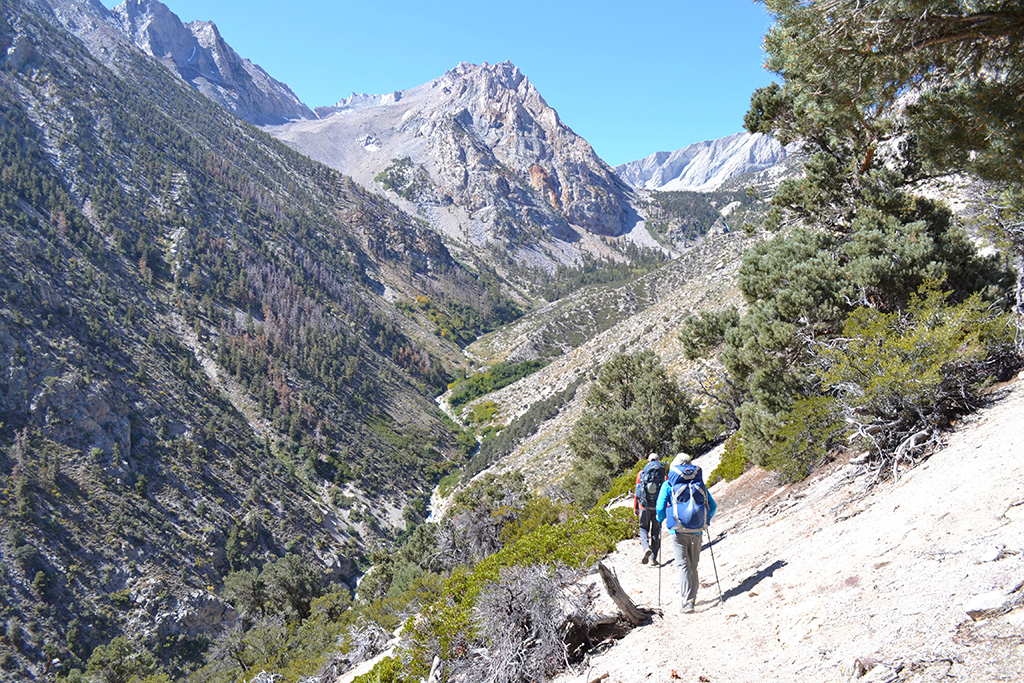
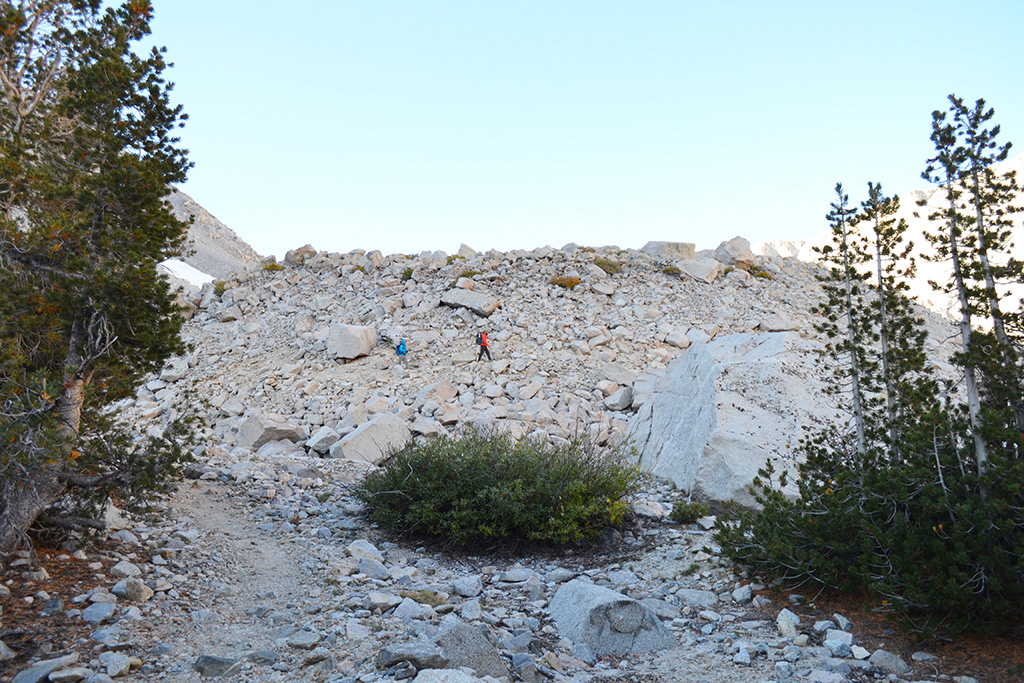
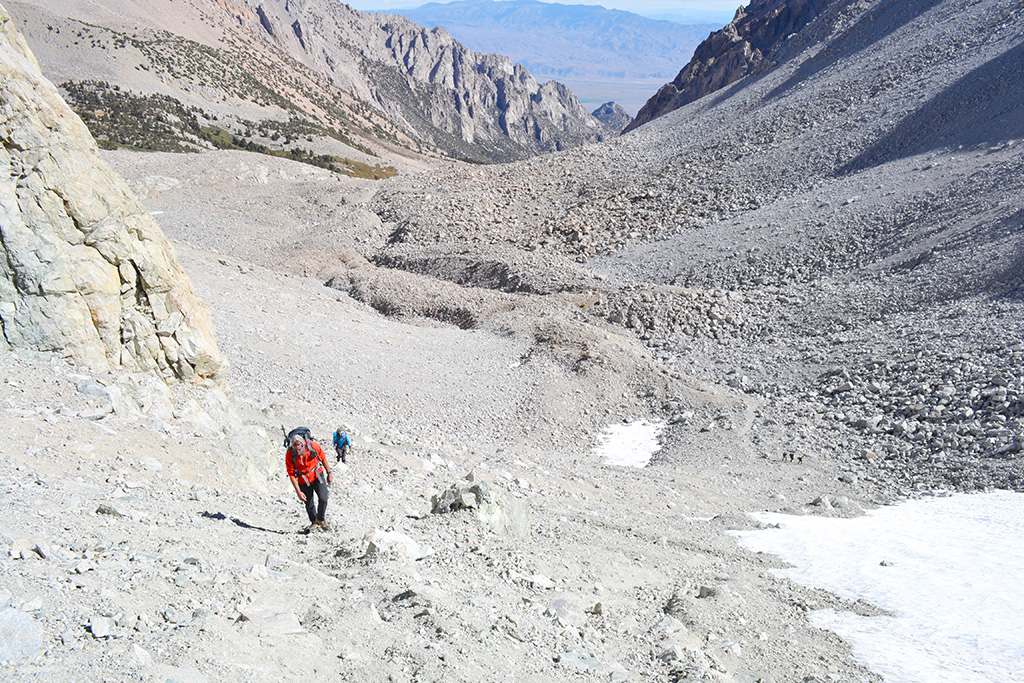
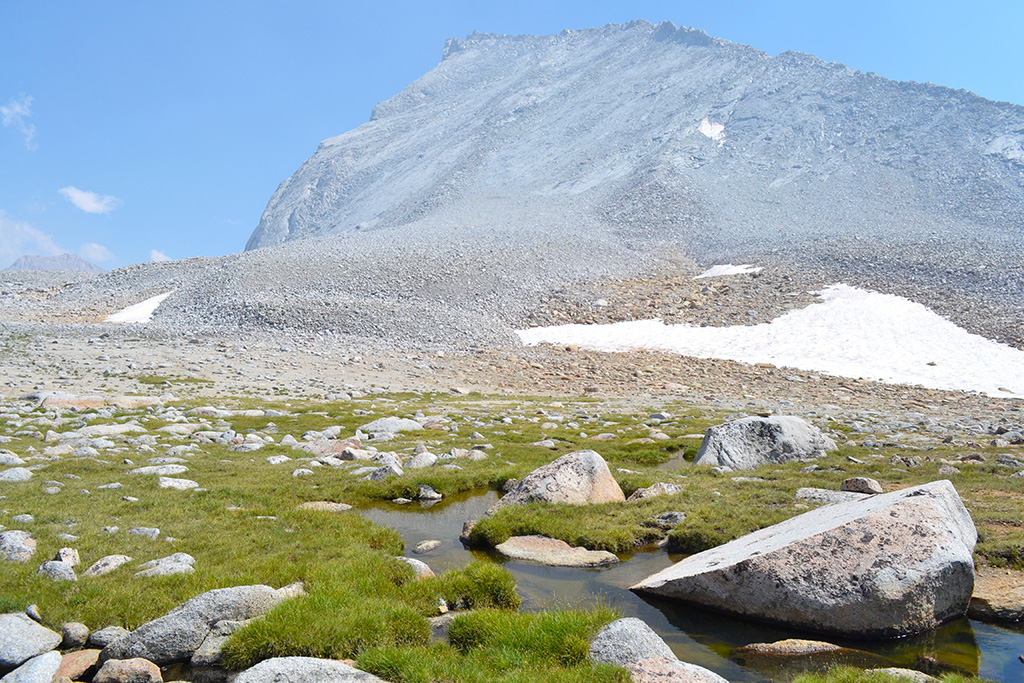
We summitted Tyndall today! But first we had to pack up our camp at Anvil. We got up at 6AM and hit the trail by 8AM. My legs were still quite tired from yesterday’s hike, especially with the unrelenting uphill but I guess that’s what we came for! The trail followed the creek up to the Pothole, a massive hill of boulders and scree. Then the Pass came into view and the switchbacks began! Except this time we had to cross over a herd of dead deer – mostly bones and fur. We later learned from a ranger at Crabtree Meadow that these deer were victims of the prior winter season’s heavy snow and subsequent freezing temperatures in the fall. The deer followed their normal migration patterns over the pass, but slid to their deaths due to the unexpected ice. The same condition was observed at Bishop Pass as well. It was sad to see.

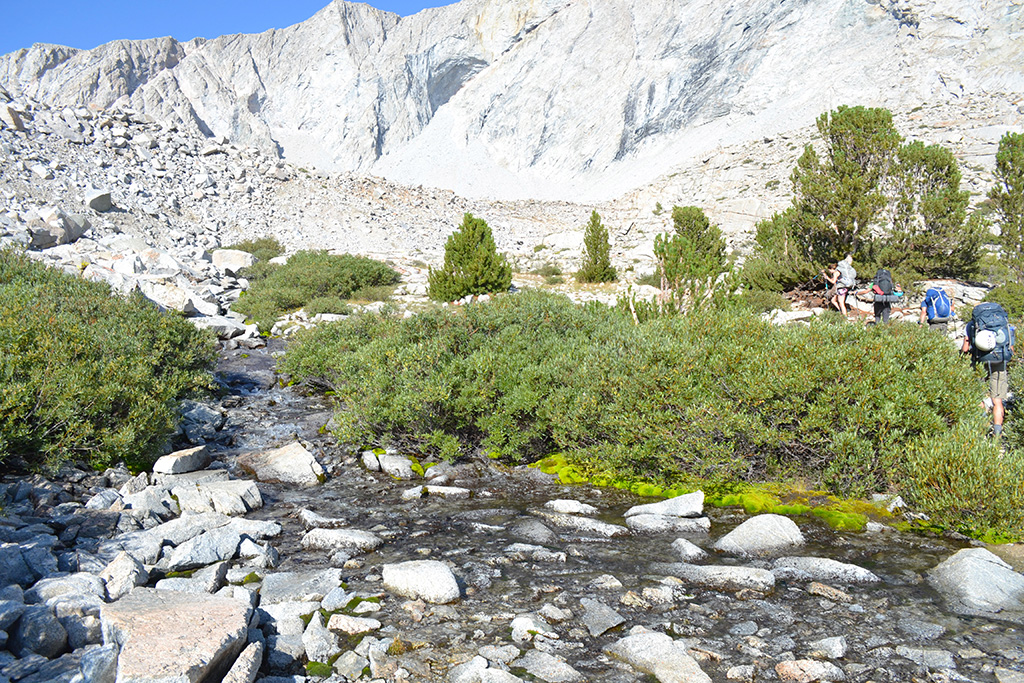
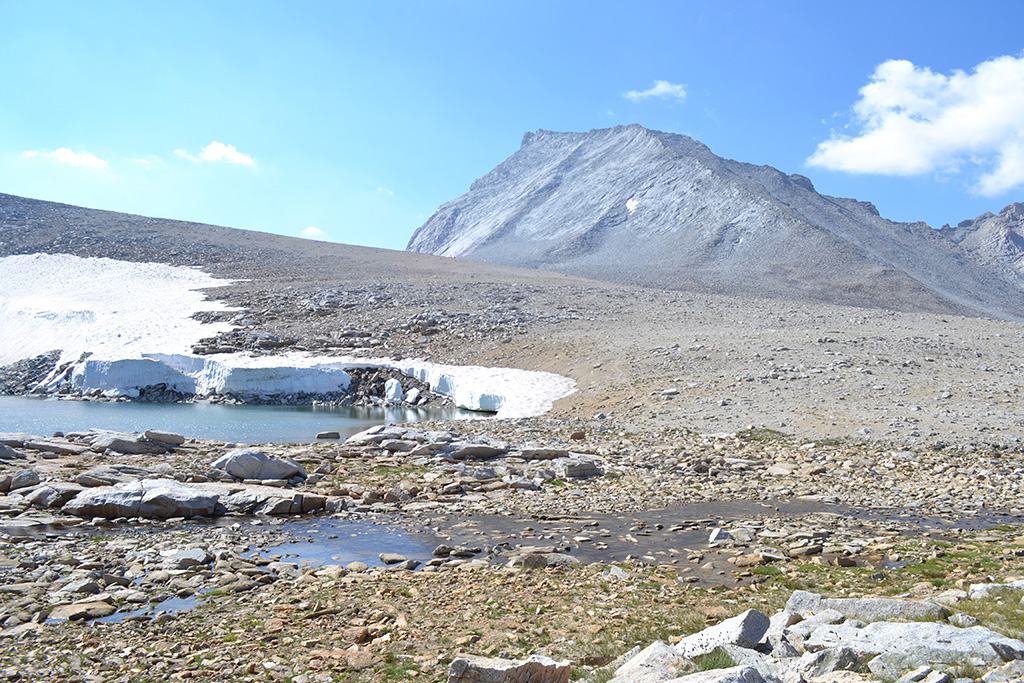
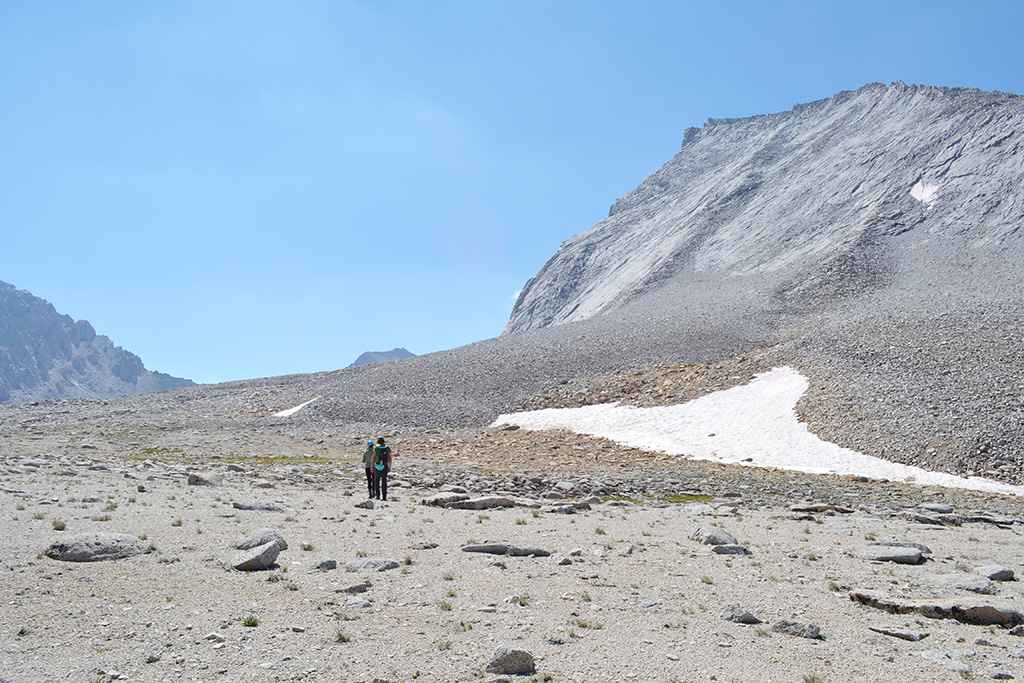
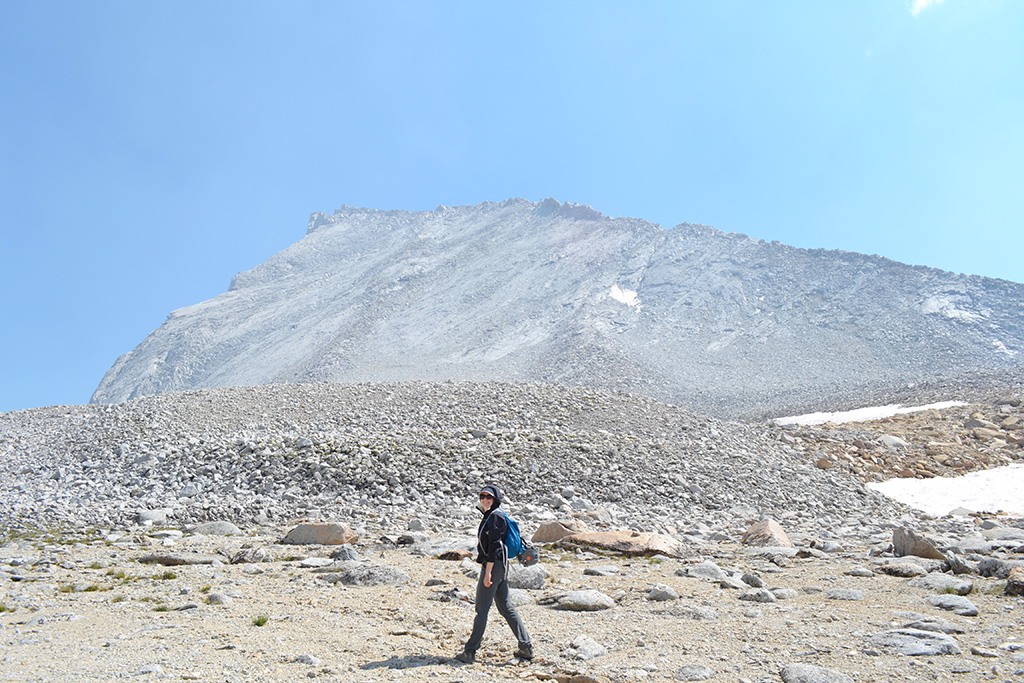
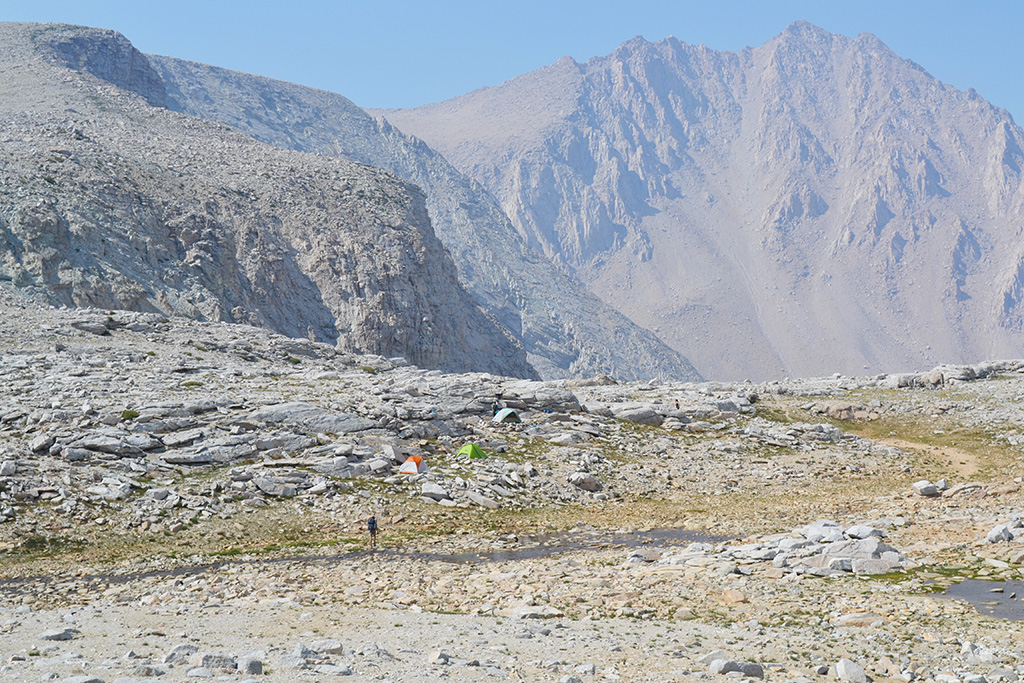
We setup camp at the first lake on the Pass. Tyndall looked taller than I remembered! After a snack we set off up the hill towards its base, just with day packs.
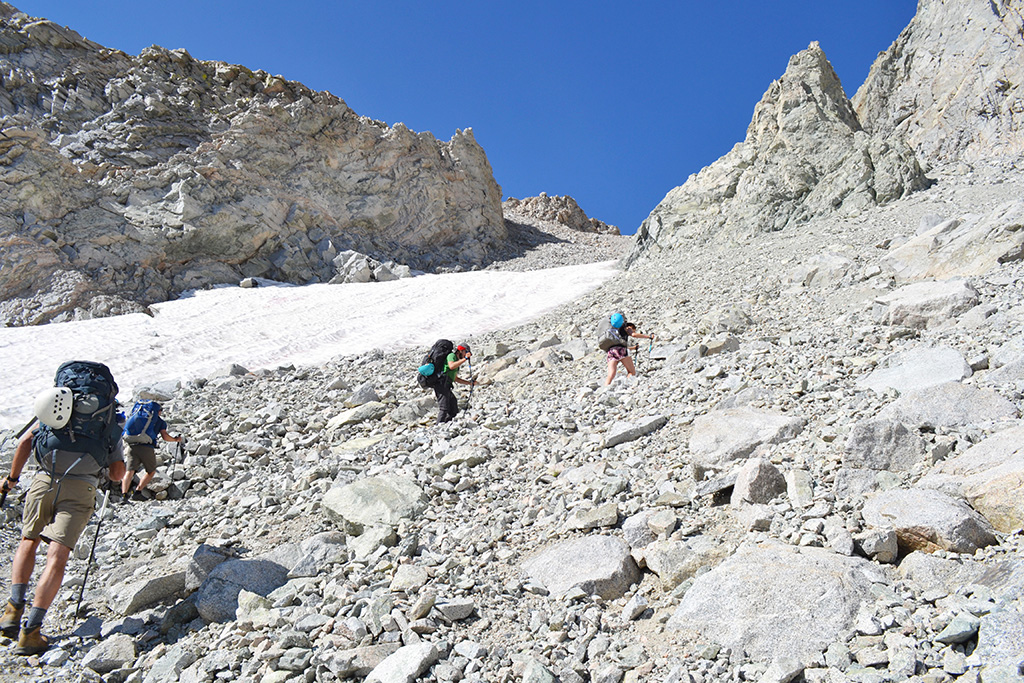
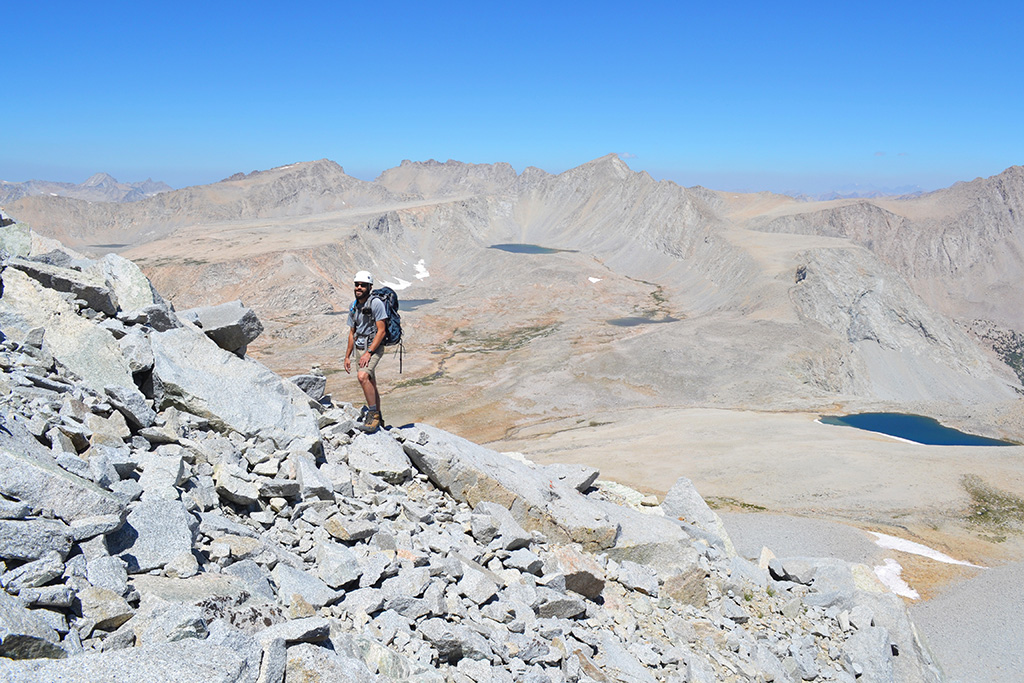
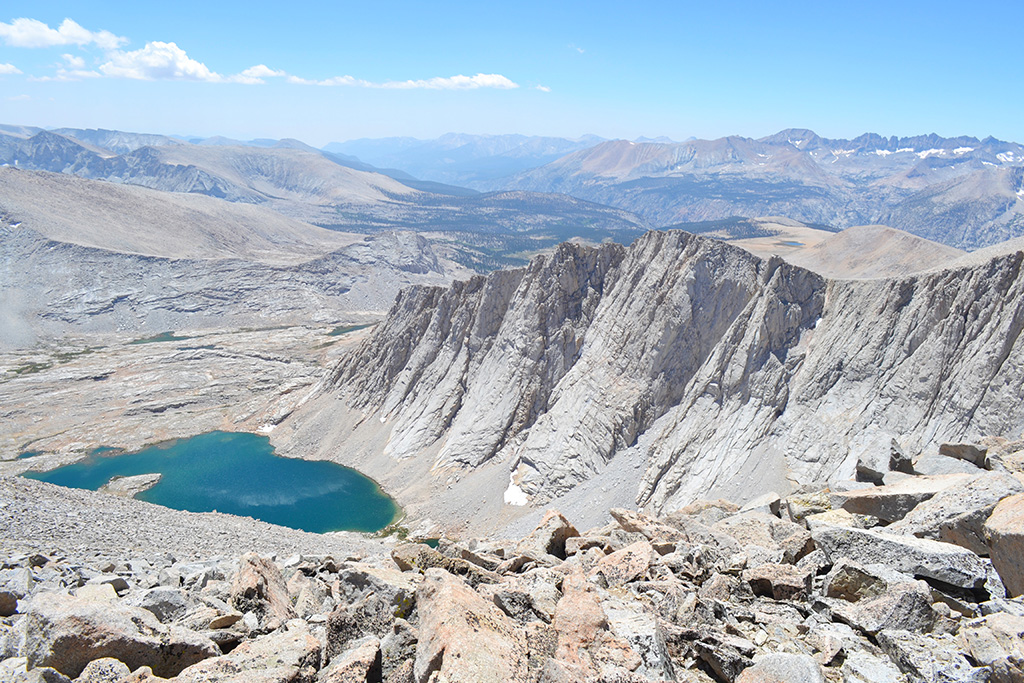
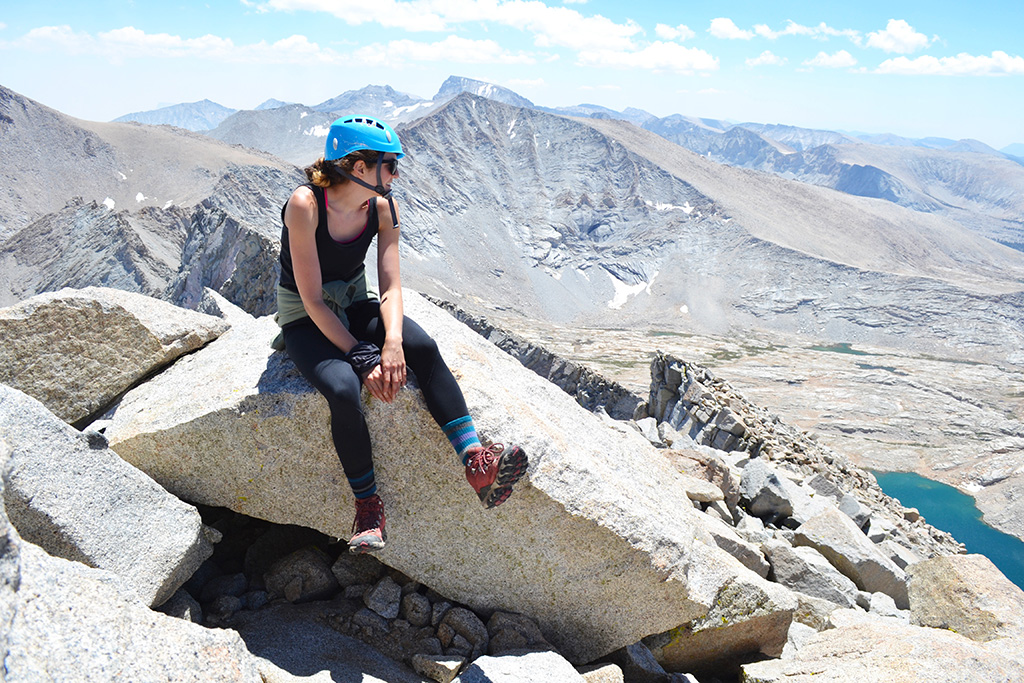
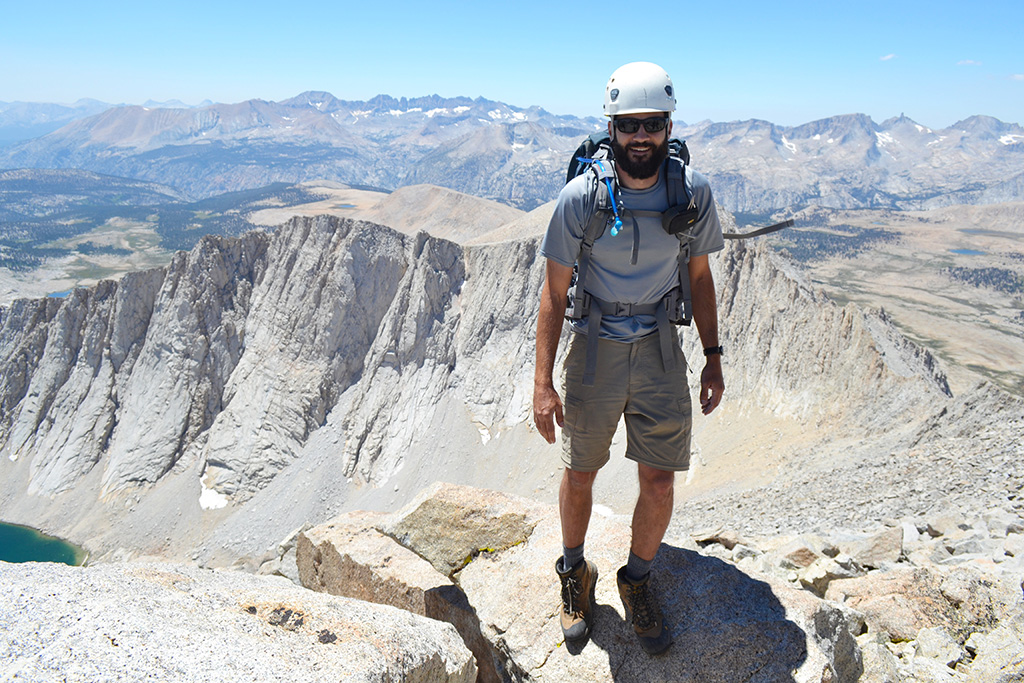
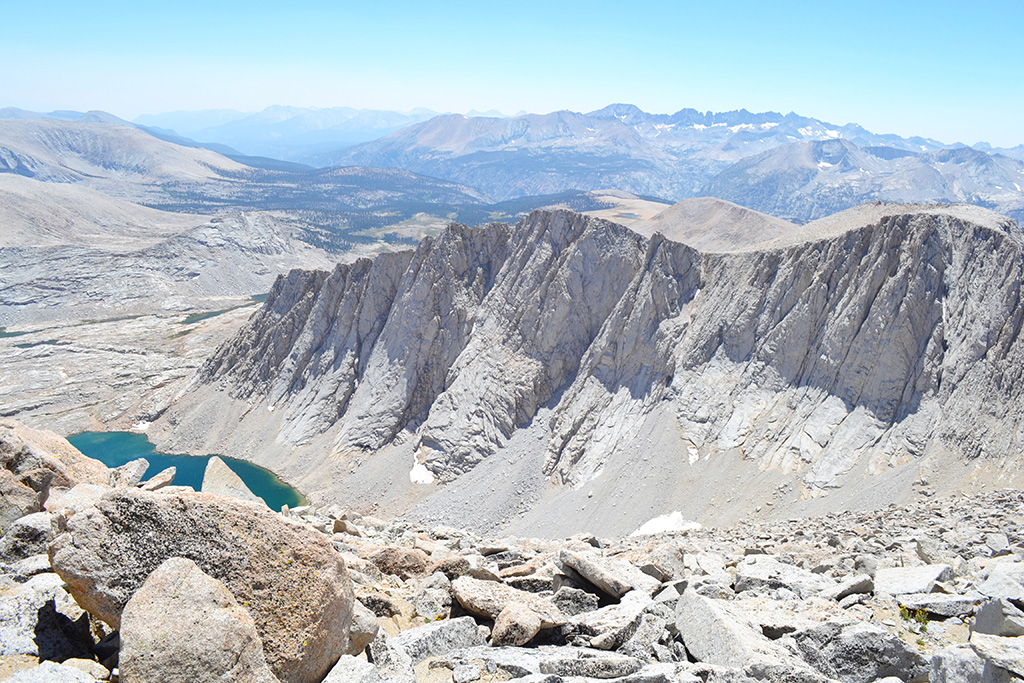
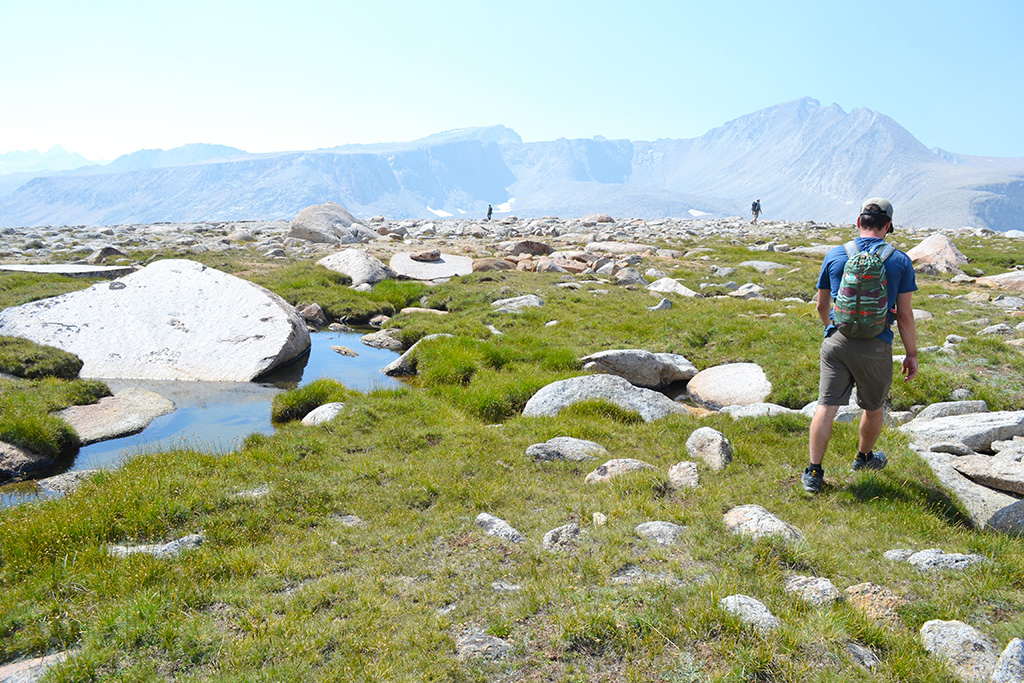
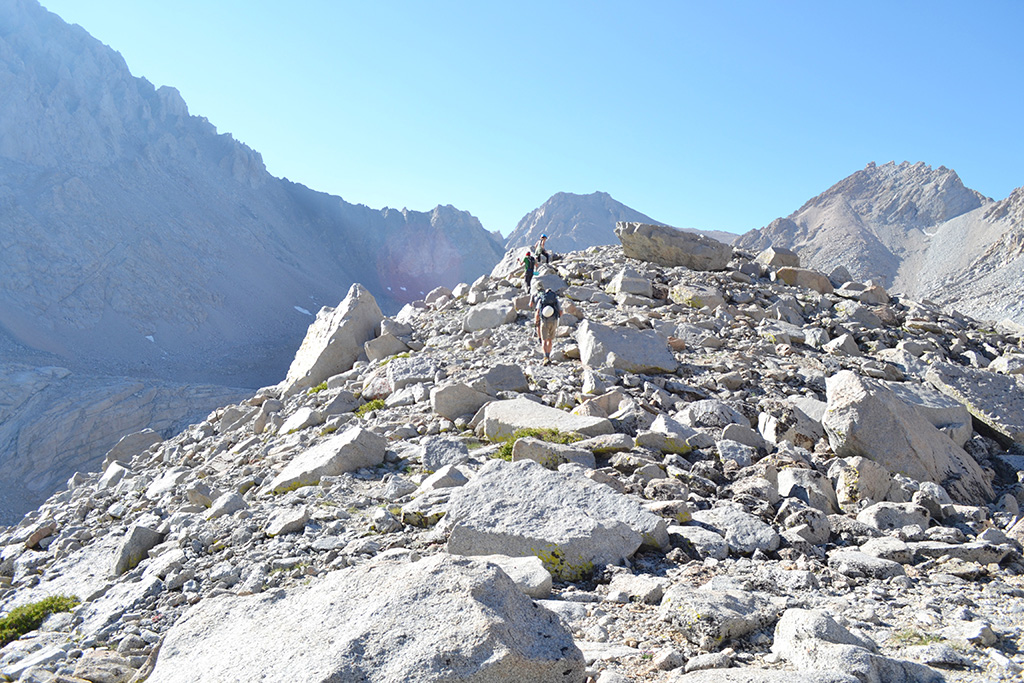
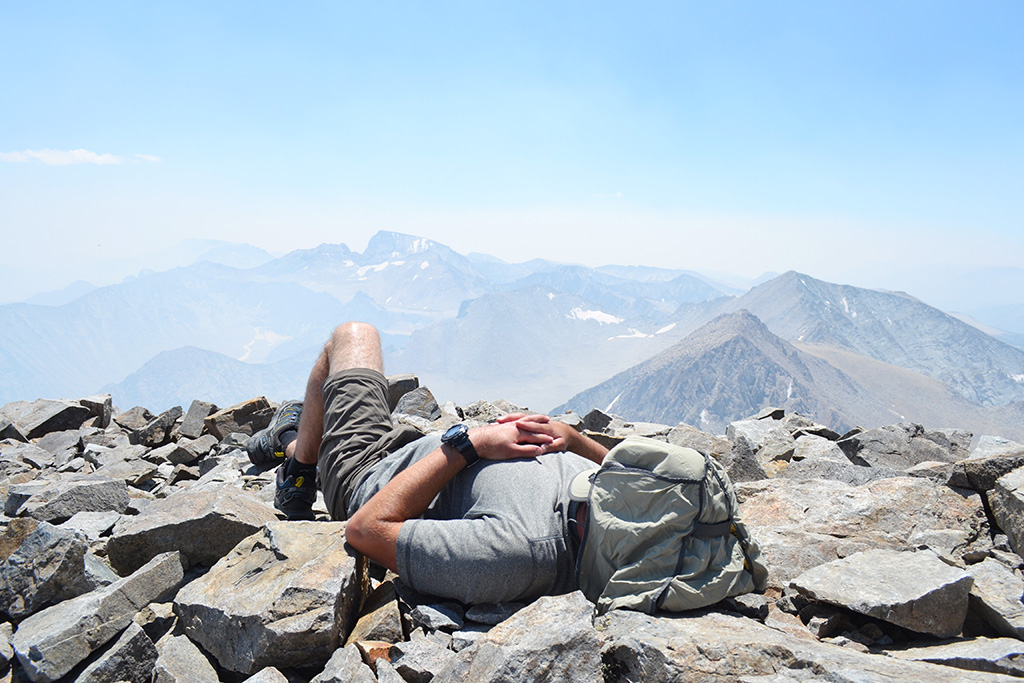
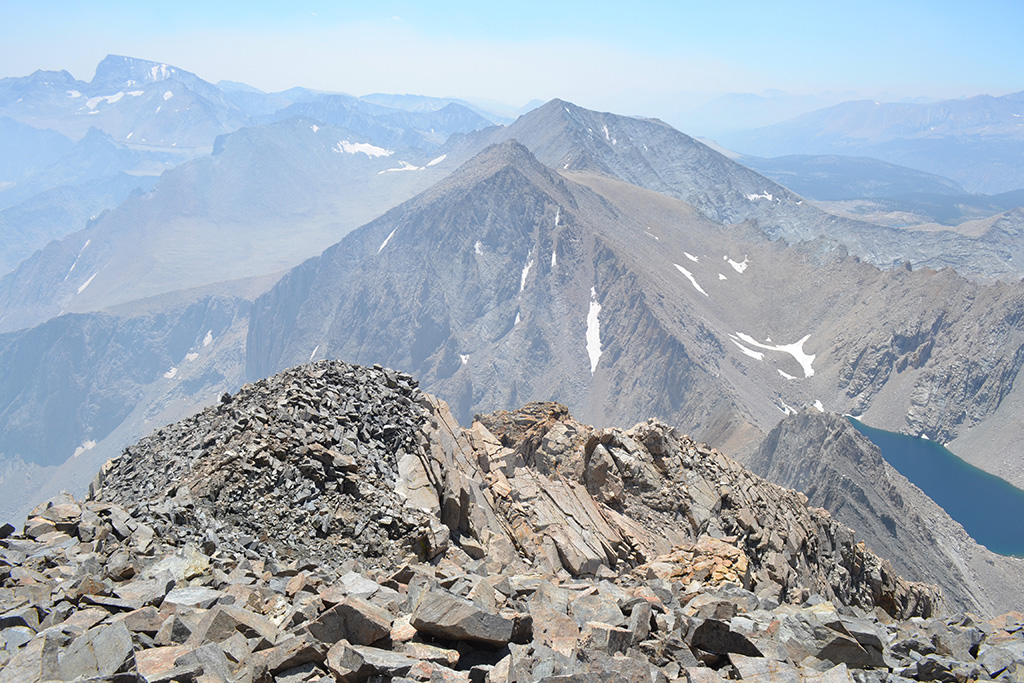
The next step was a long hill of medium to large boulders that took us up to Tyndall’s rib. We stuck right of the rib, mostly on large slabs to avoid the loose stuff. Laura & Jimmy picked a great route up the rib and to the final chute (where we had to turn back last time). Next was the summit ridge, two false peaks, and the true summit! The views were some of the best I’ve ever seen – complete panoramas of Forester Pass, the Kaweahs, Kern Valley, Mt. Whitney, Mt. Williamson, and more! We ate our lunch at the top and soaked in the views. The exact peak was on a large prominent boulder with vertical drop-off views down to the Williamson Bowl.


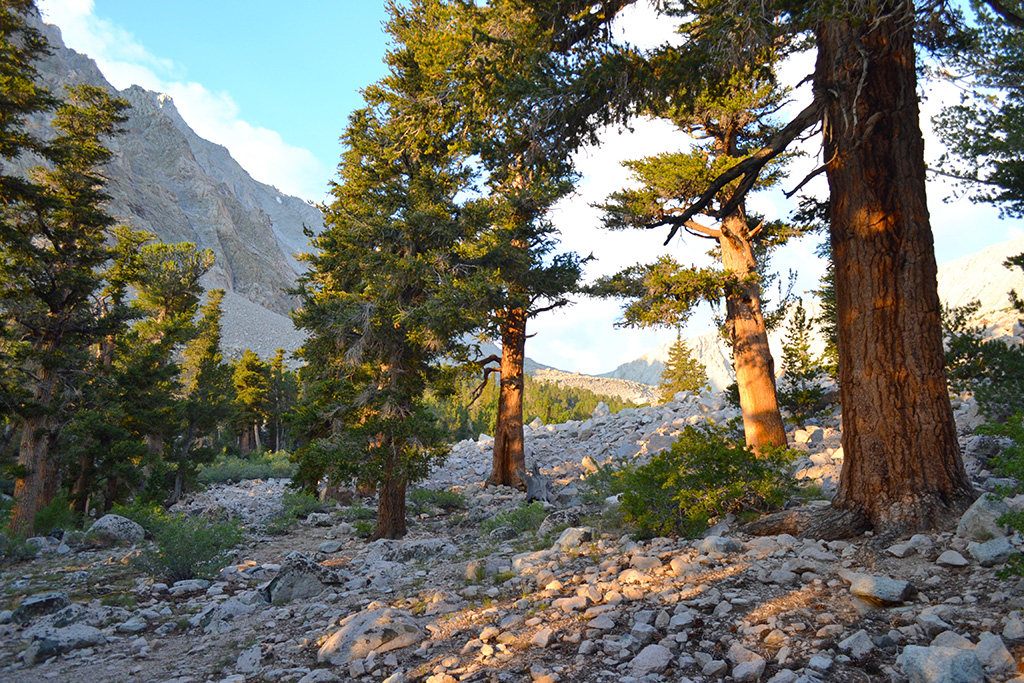
We started back down and I was feeling exhausted but so happy we summitted! My legs were tired but the granite slabs were a lot easier to walk on than the loose scree. We made it back to camp in good time and had the afternoon to relax and clean off. We had a hot meal and took our time with dinner. Now we’re watching the sunset (colorful with smoke from a distant fire) and getting an early night to have a look at Mt. Williamson tomorrow.
Day Three: Mt. Williamson (6 miles, +/-2400 feet)
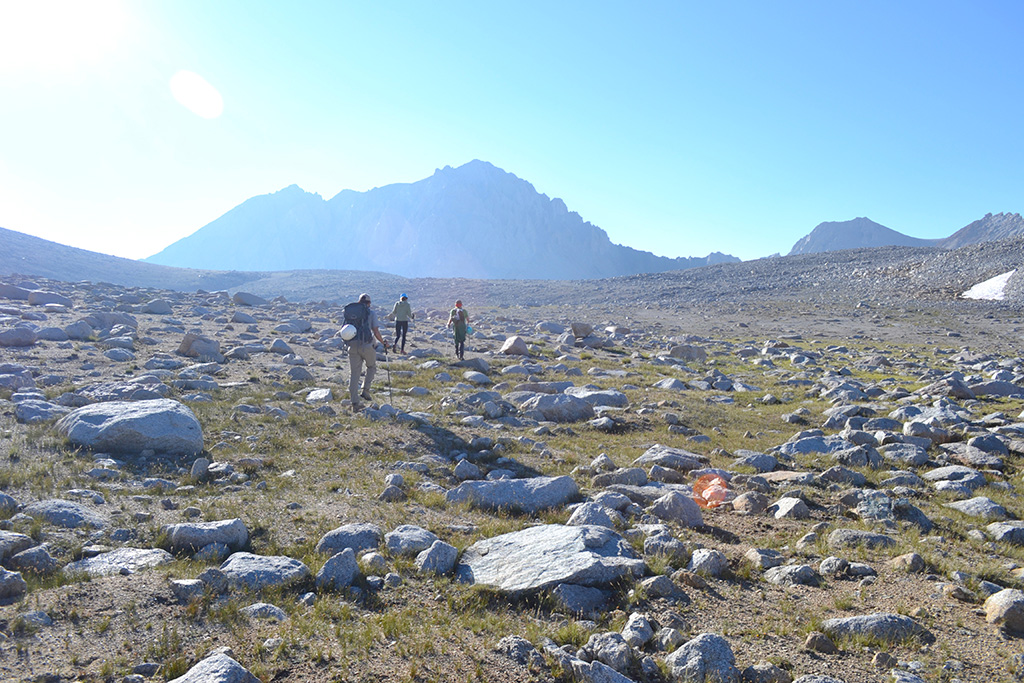
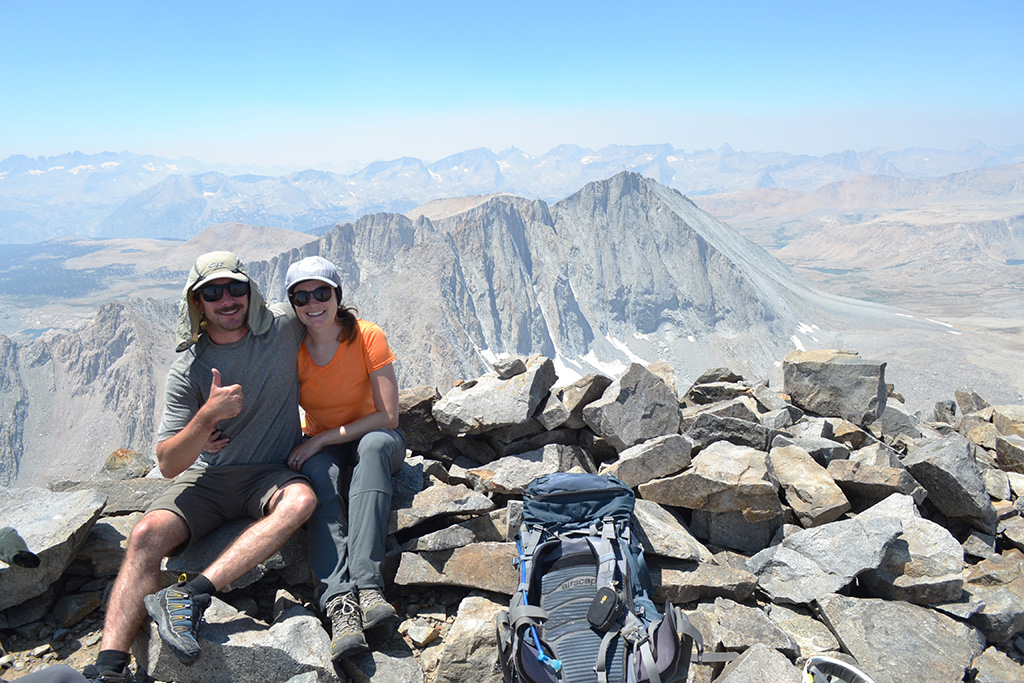
We did it! We summited Mt. Williamson today! It was one of the hardest hikes of my life. We woke up at 6AM and saw another group (4 people) disappearing over the horizon toward the bowl. We made breakfast and took a little extra time in the morning and didn’t leave until around 7:45AM. Part of our delays were due to how cold it was this morning!
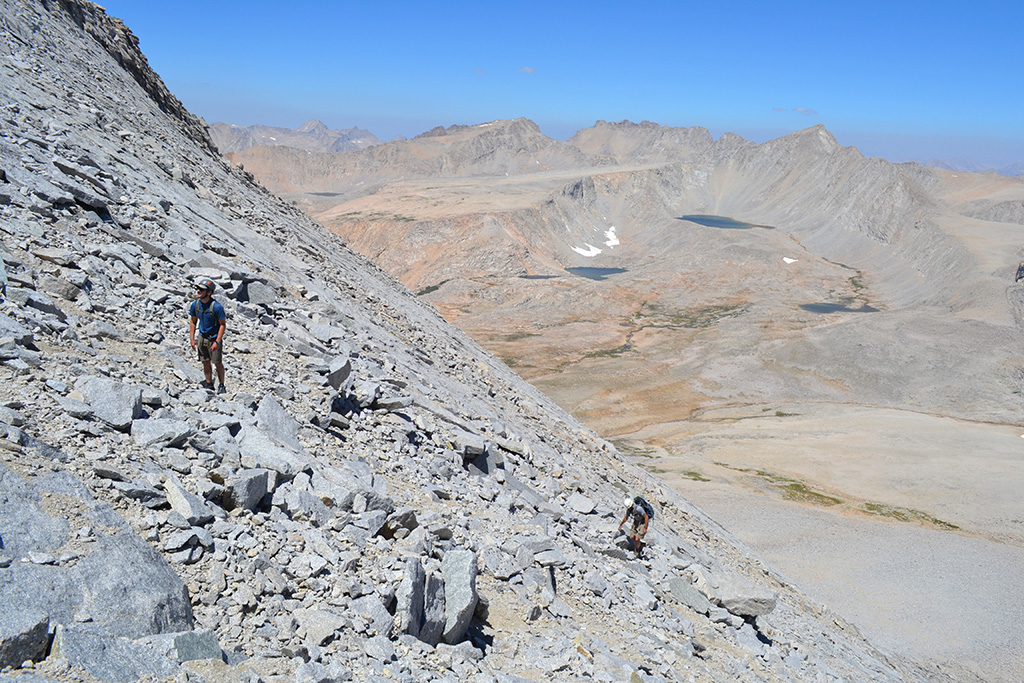
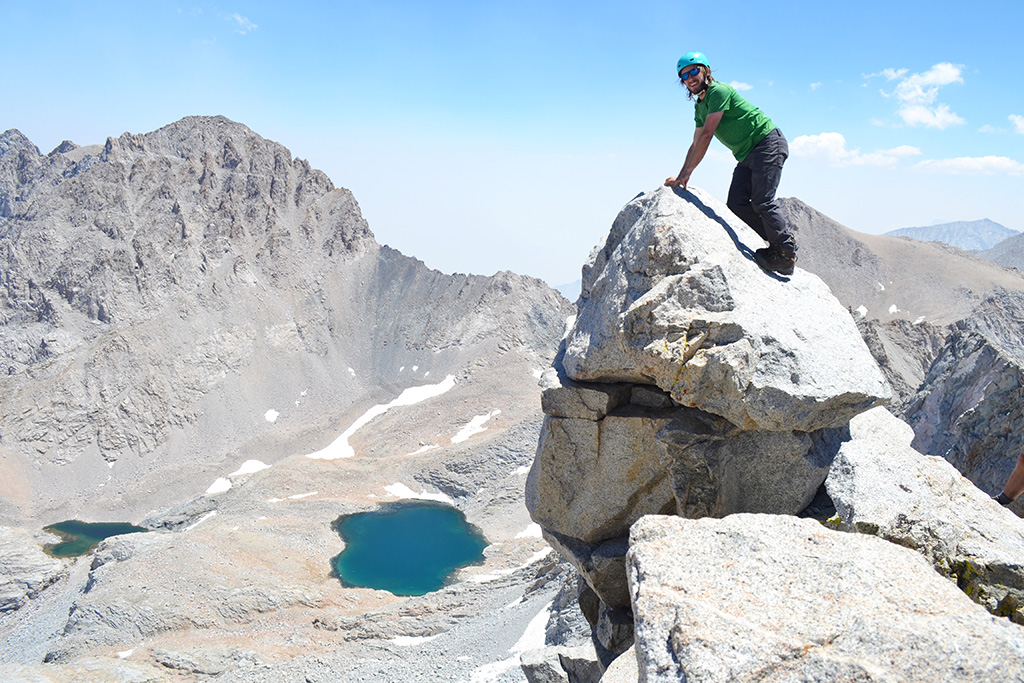
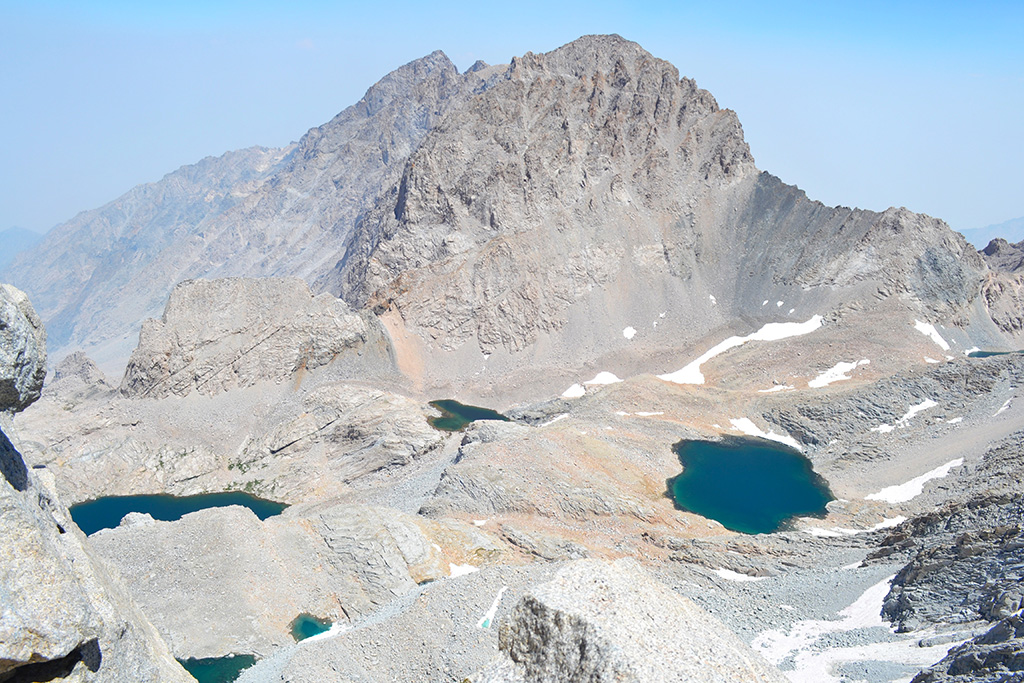
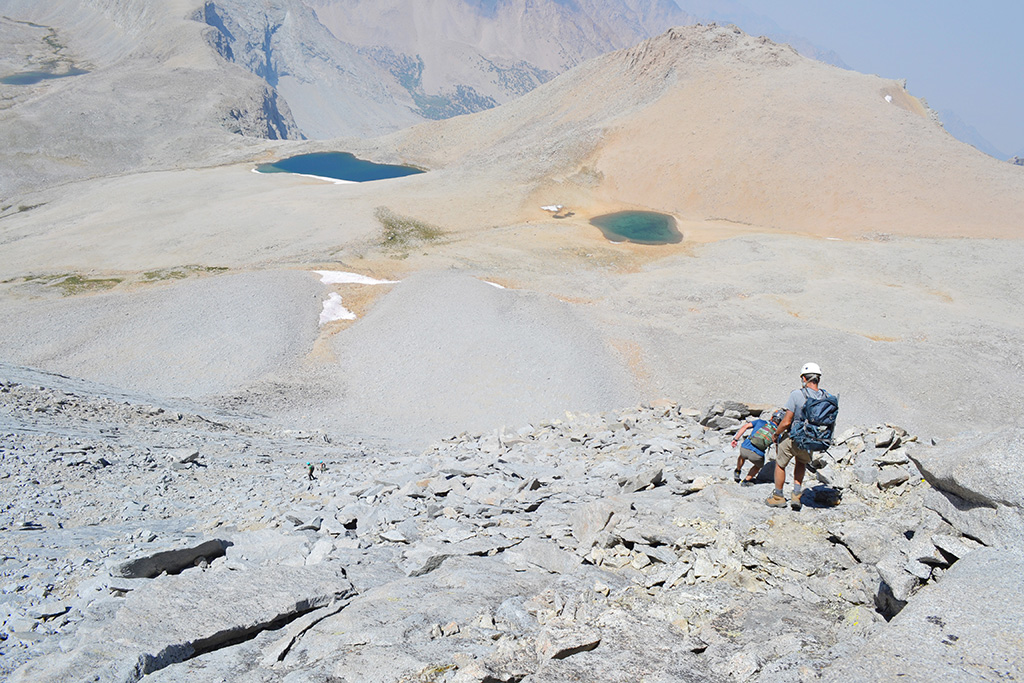
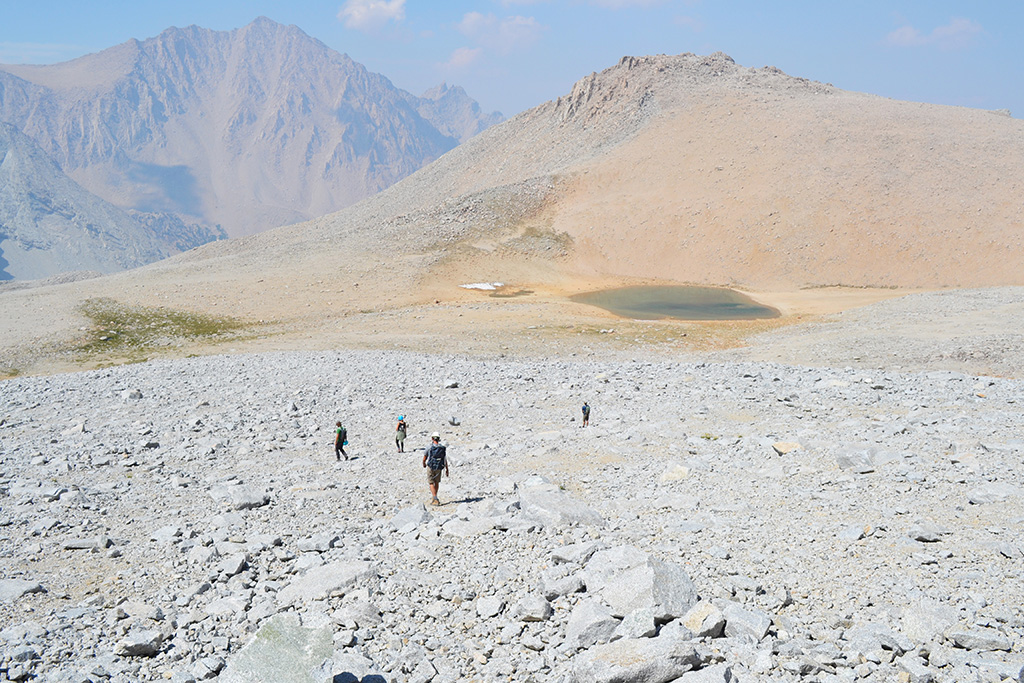
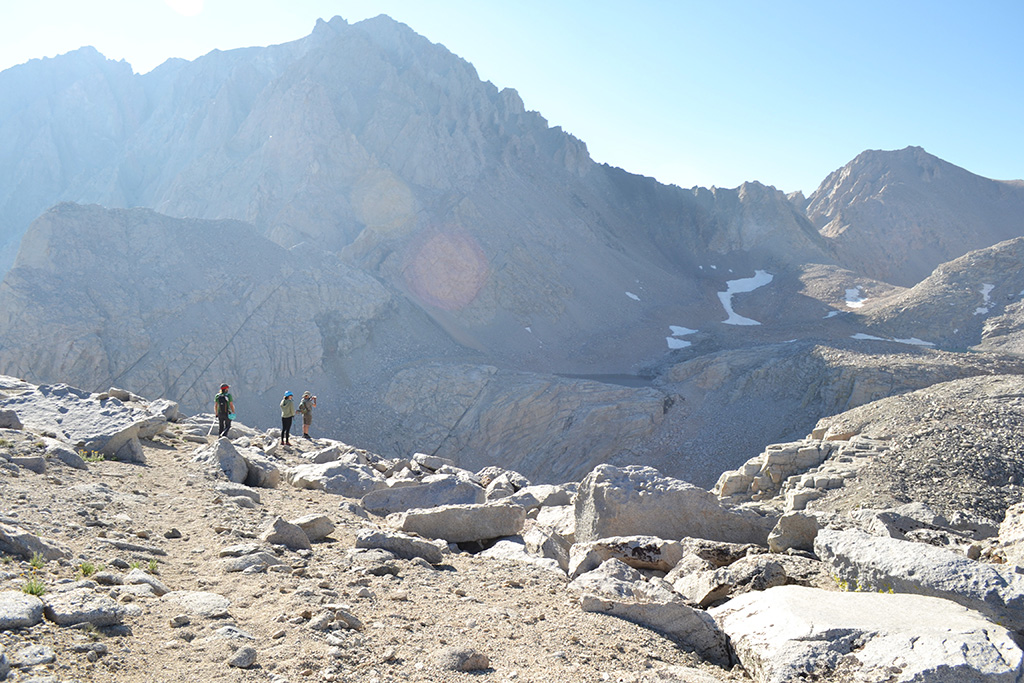
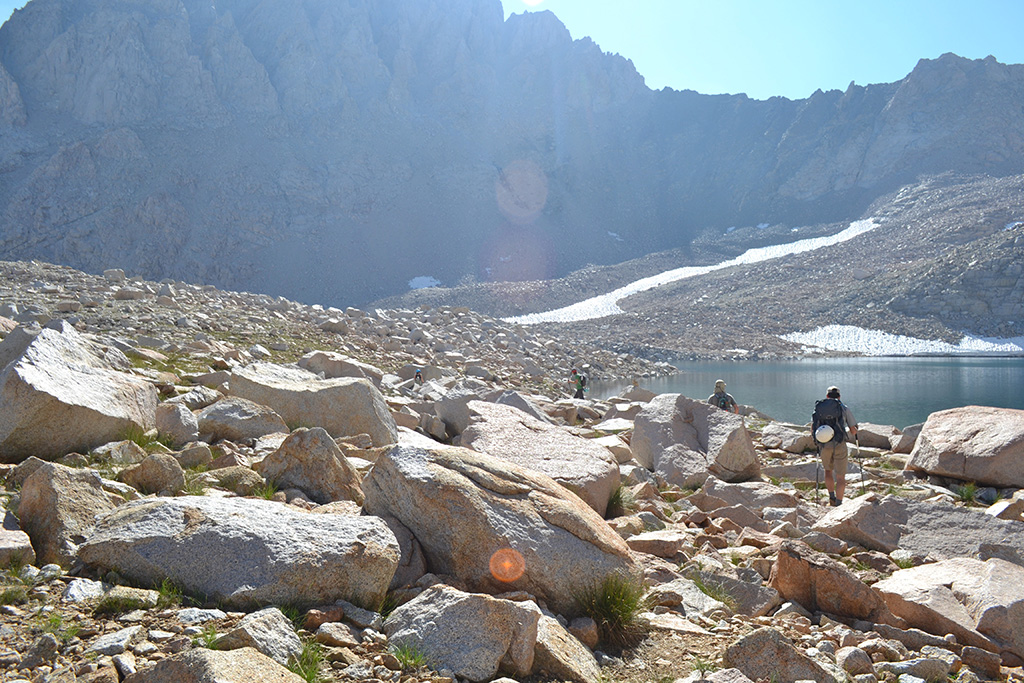
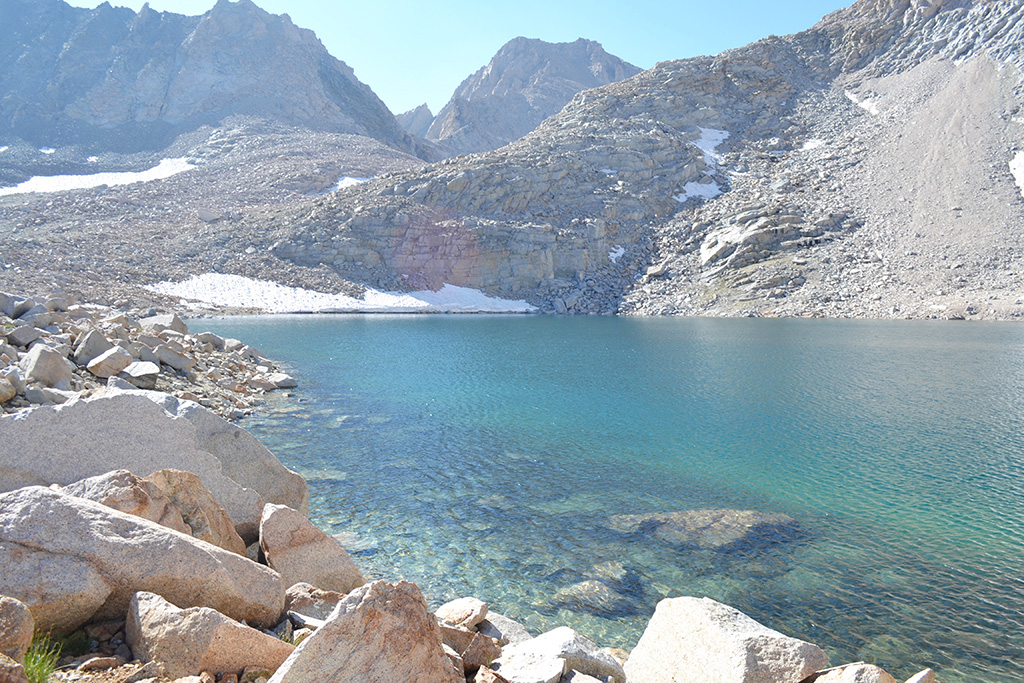
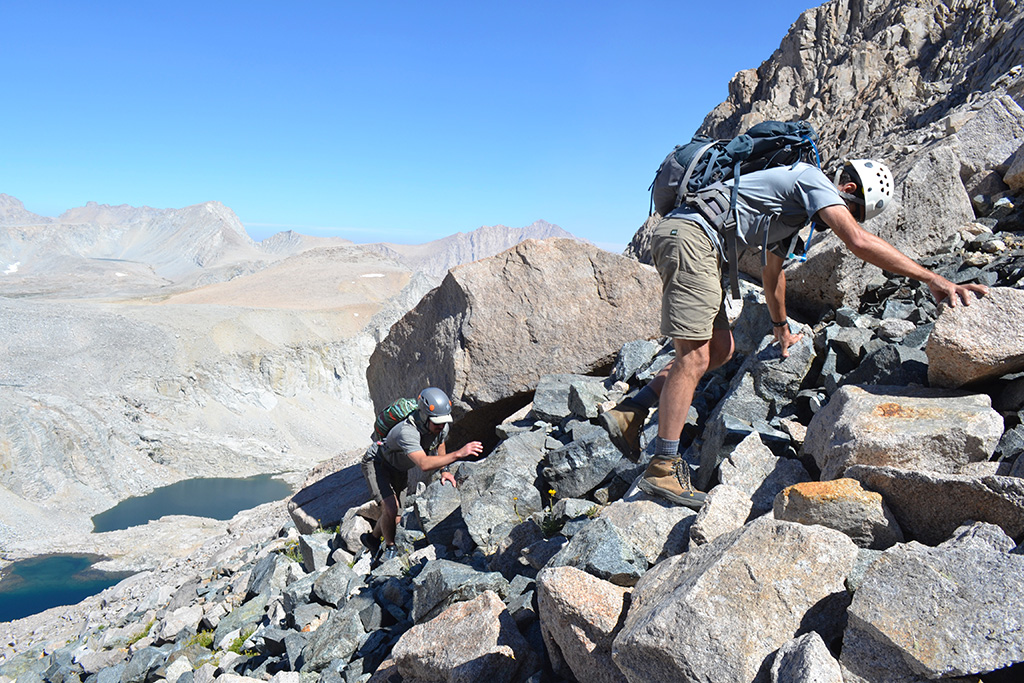
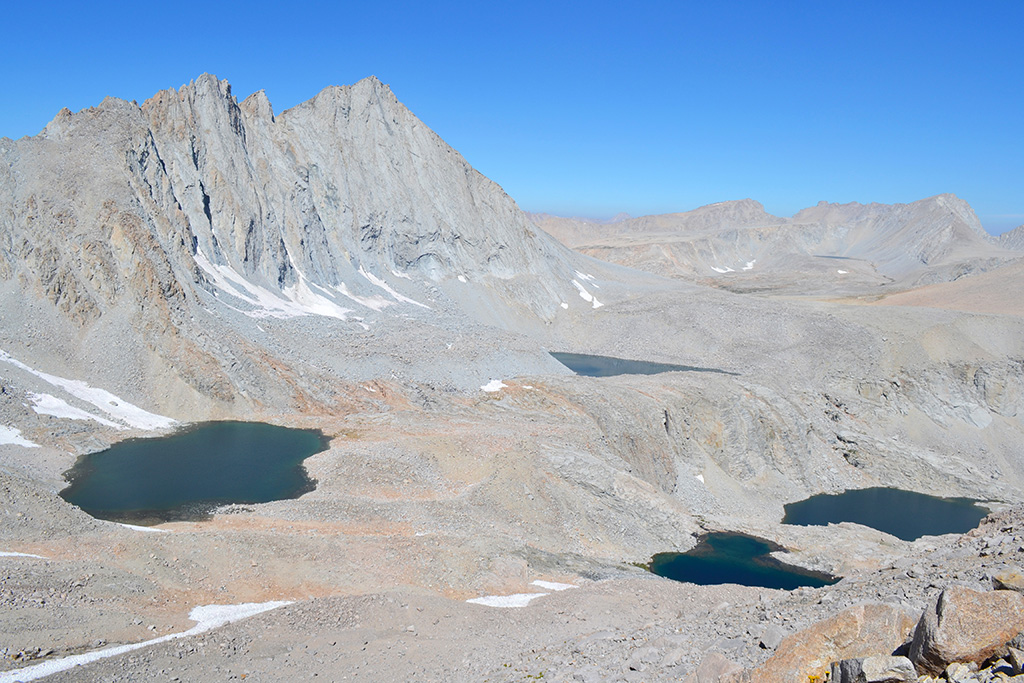
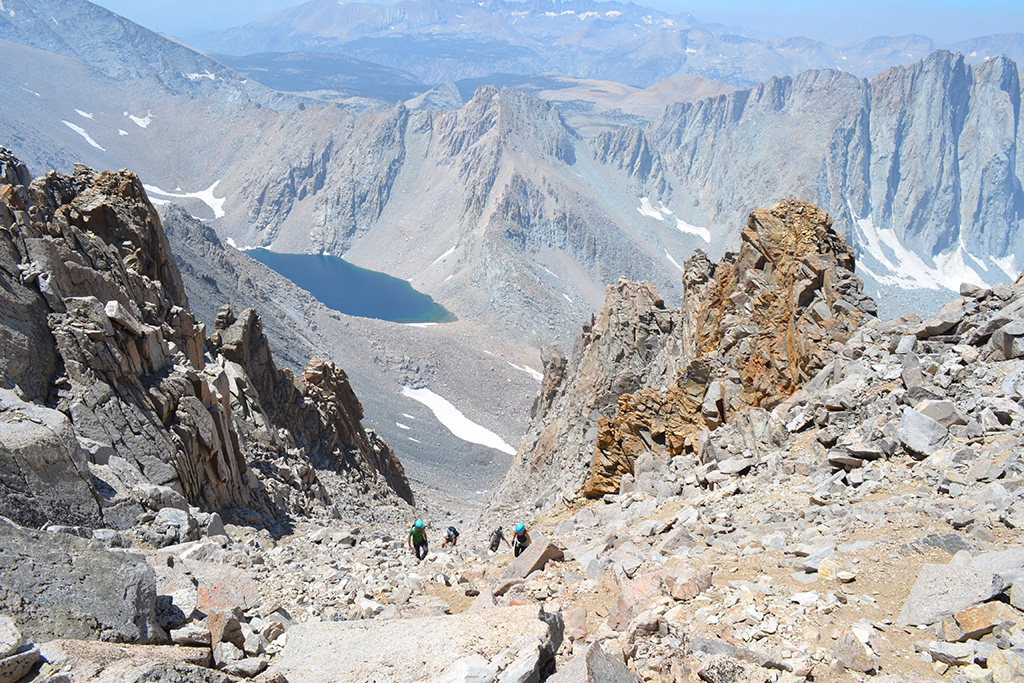
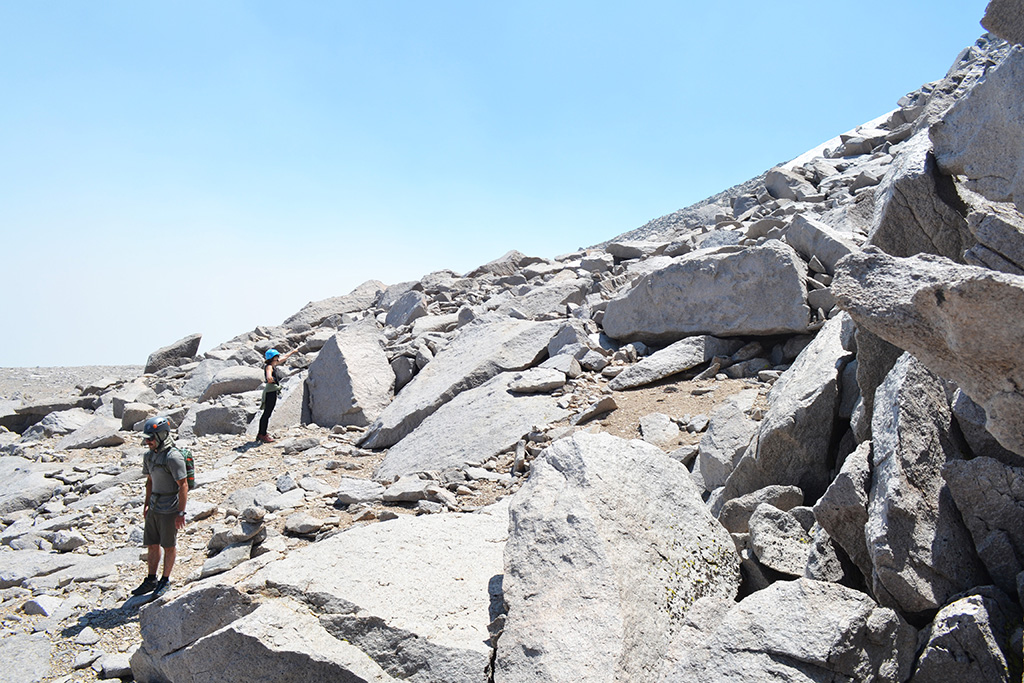
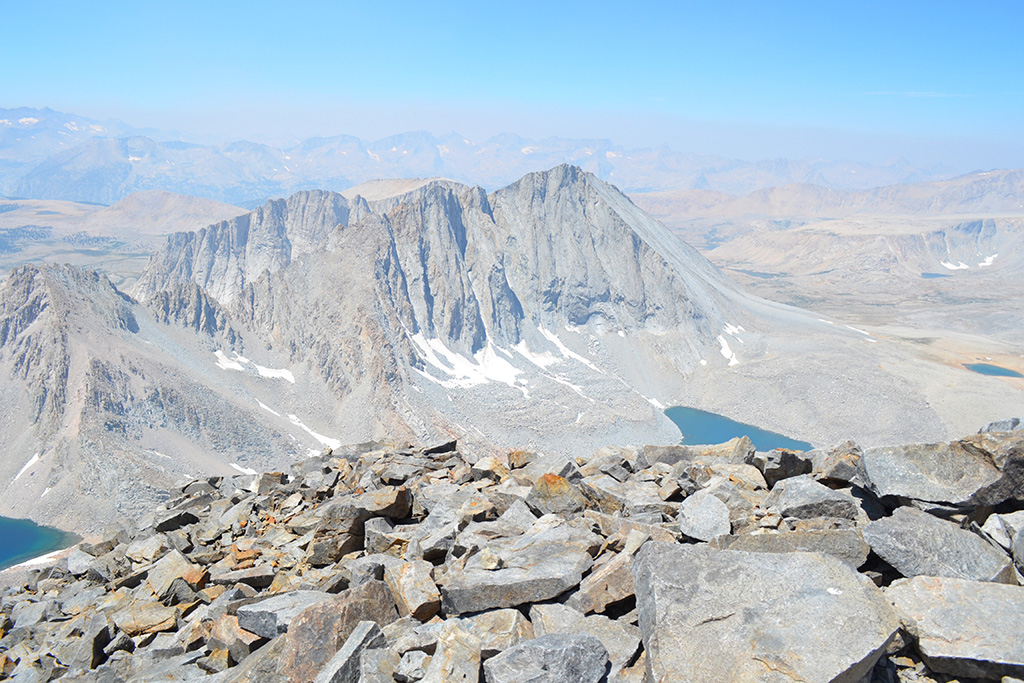
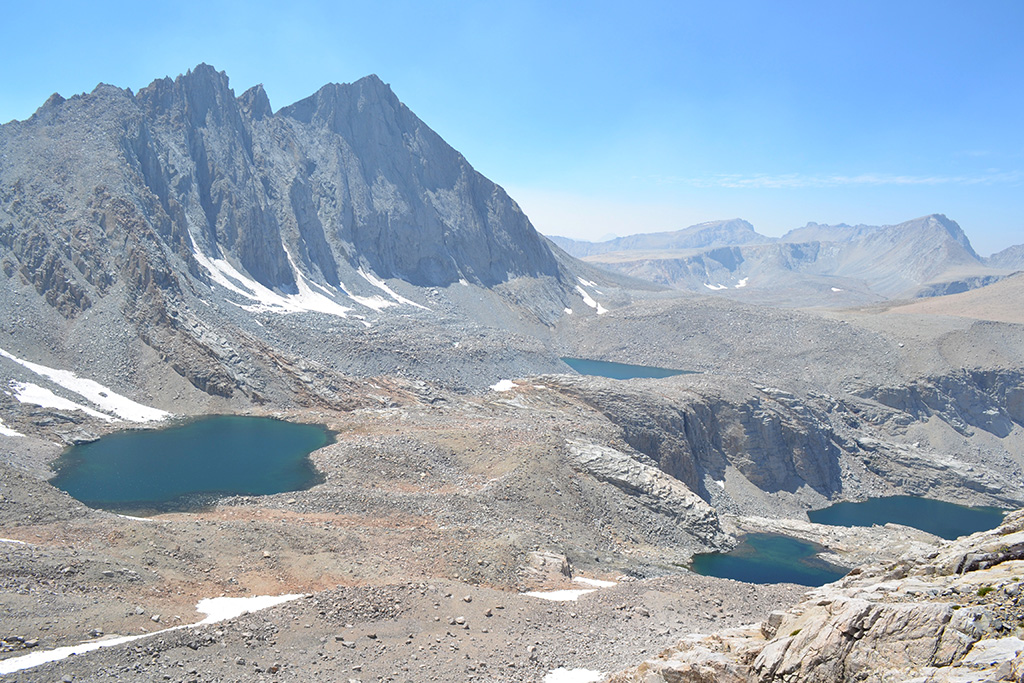
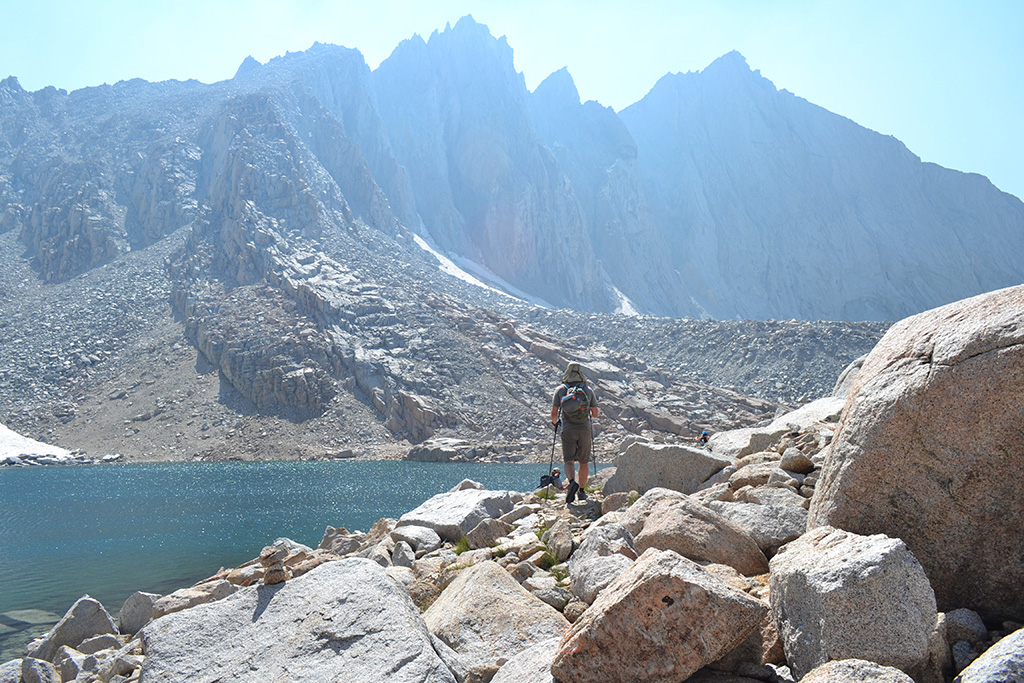
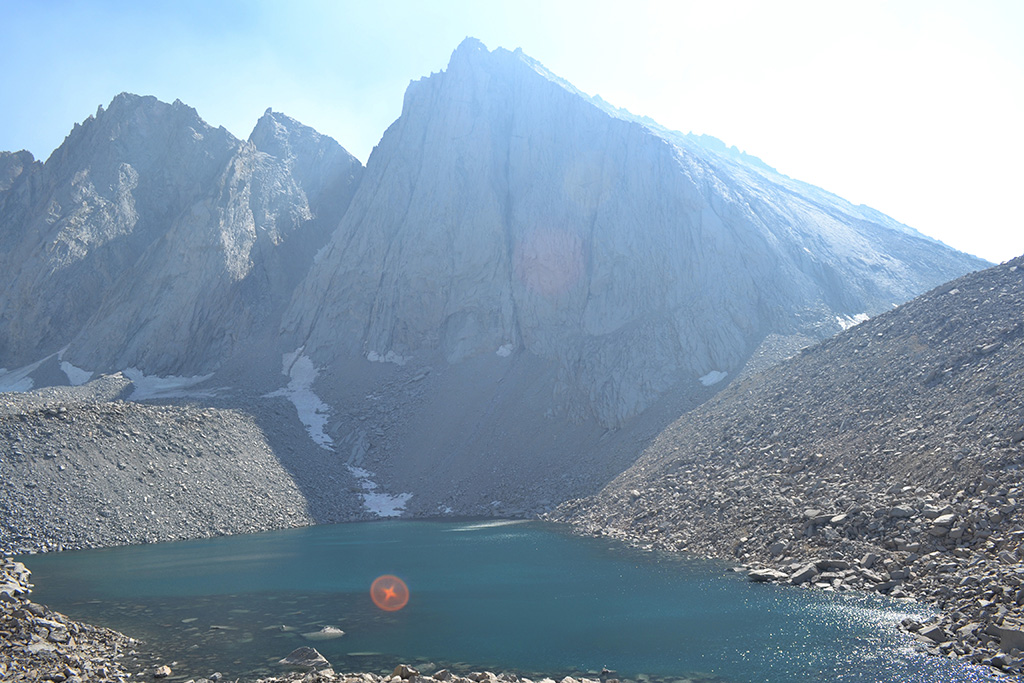
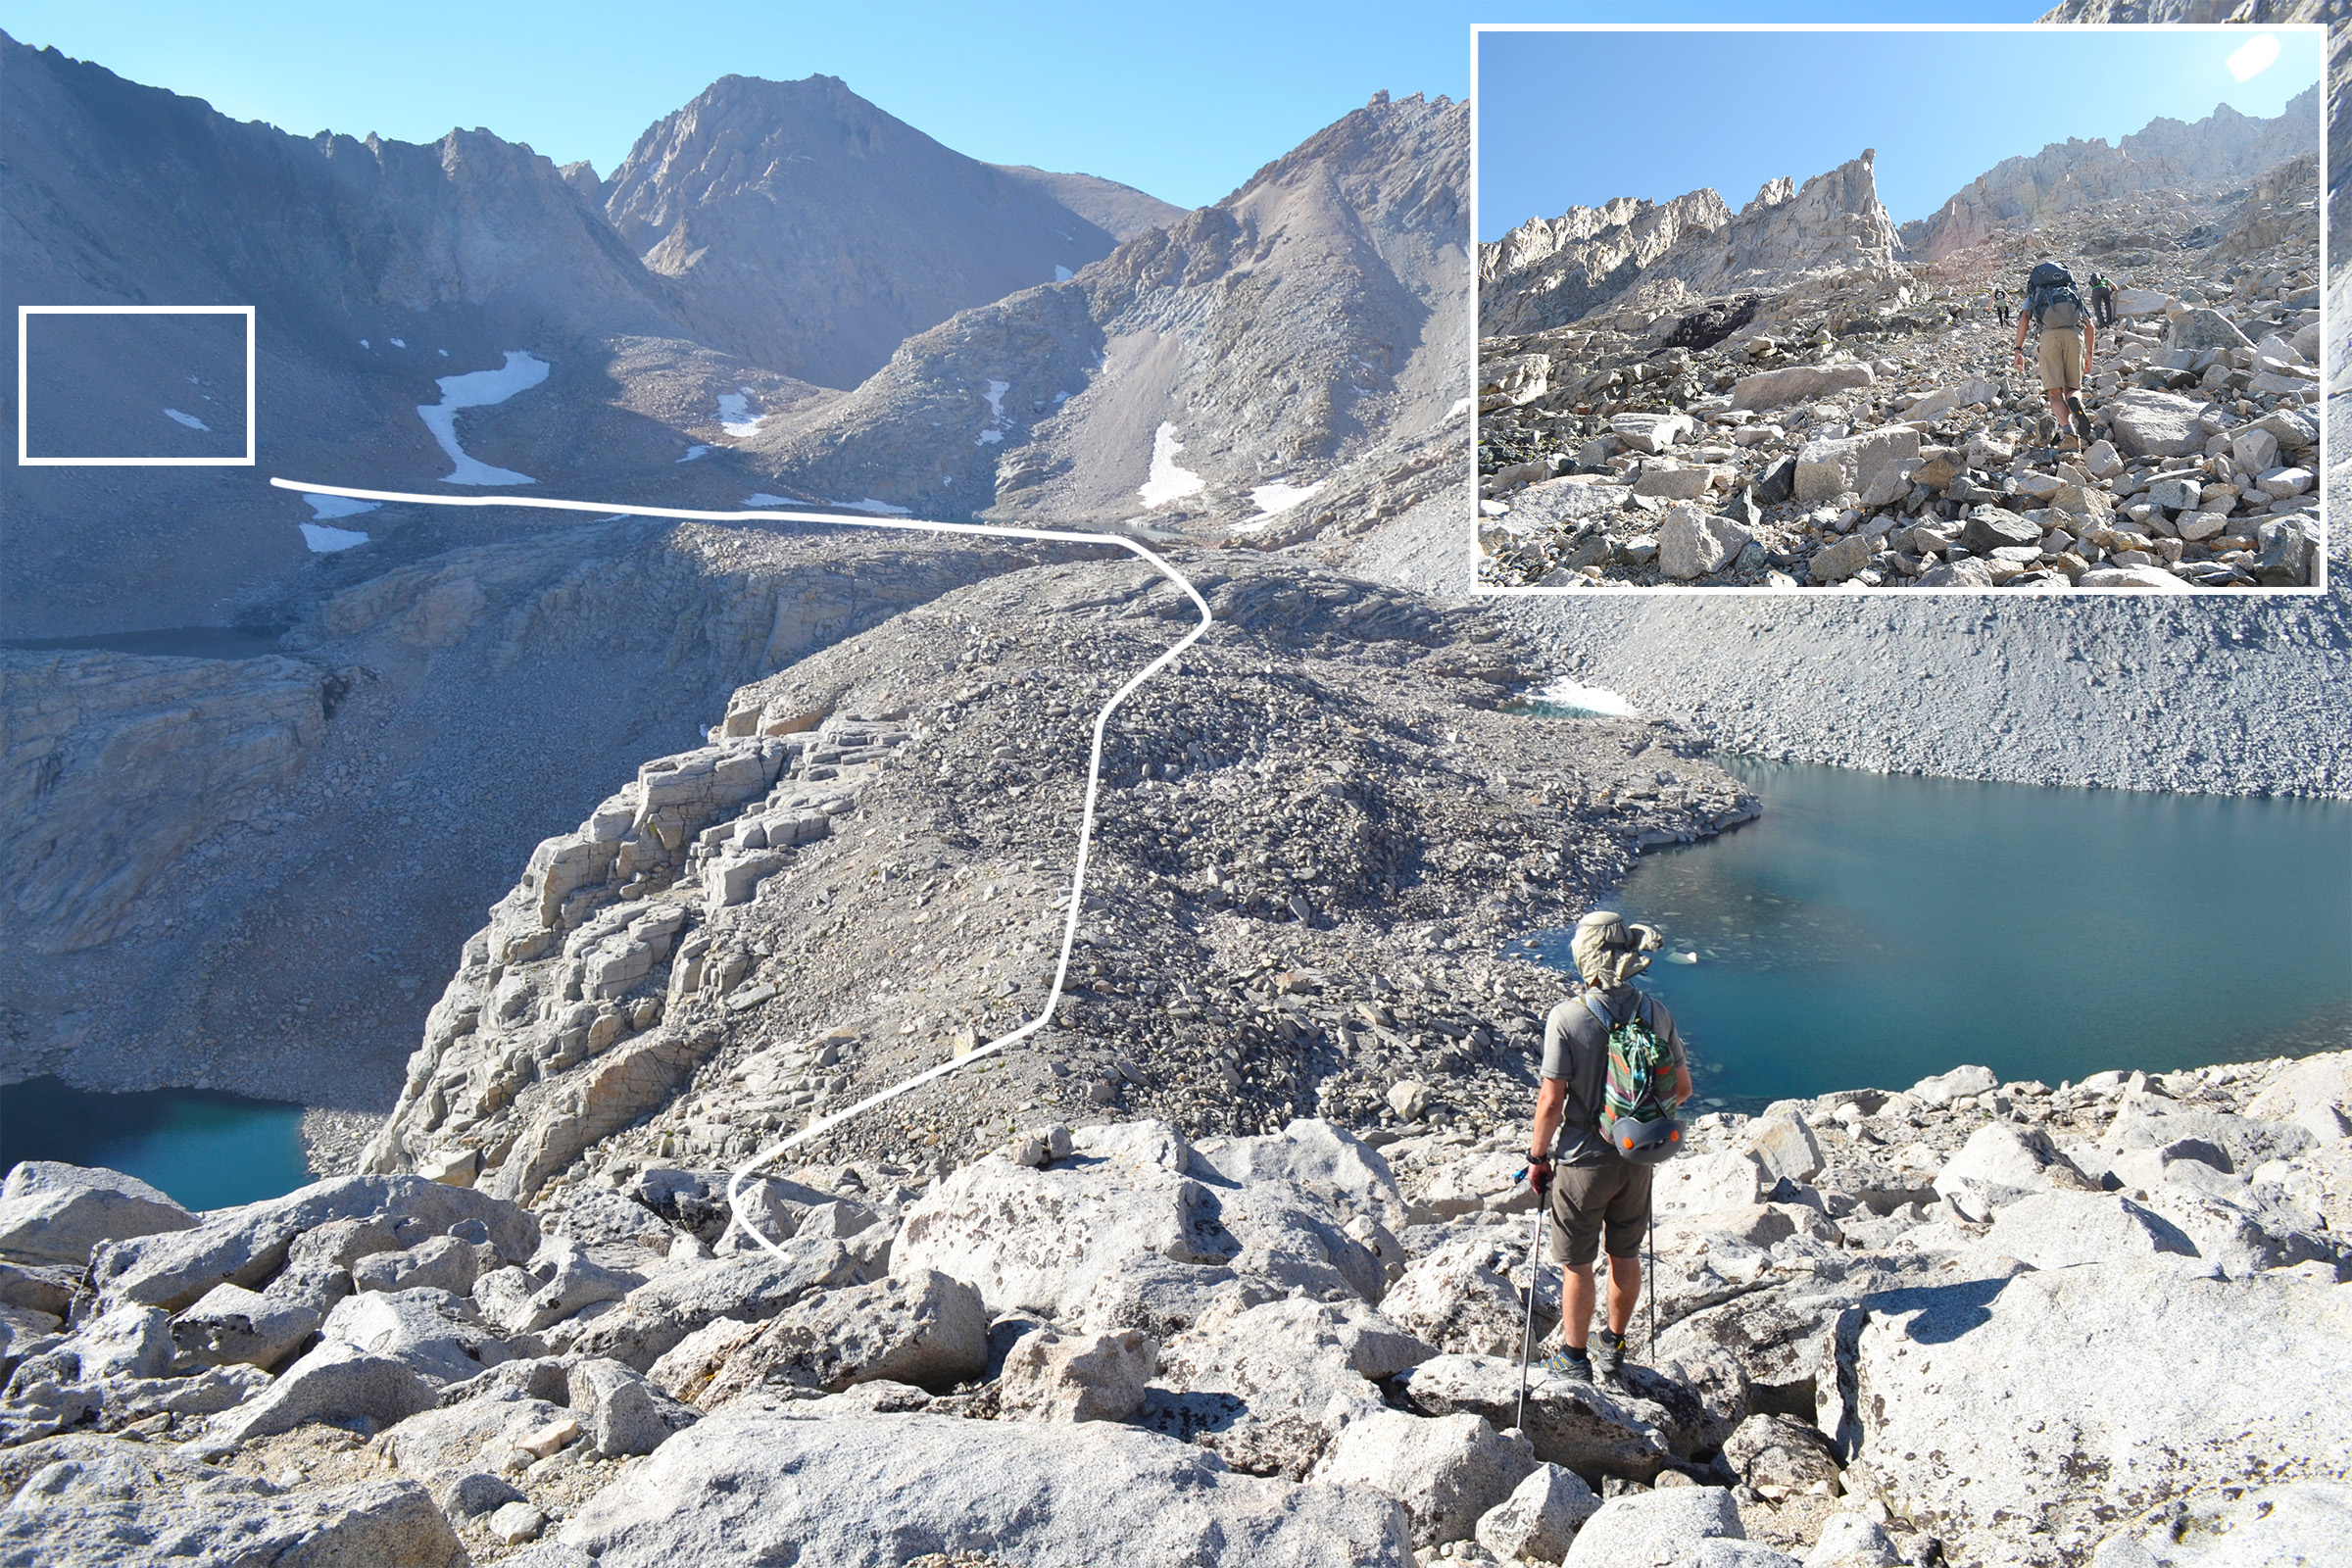
We set off to catch some sun up the hill and the hike got my heart pumping. I felt more acclimated than yesterday though. At the top of the hill we emerged over the Mt. Williamson Bowl, a few lakes separated by a bumpy spine down the middle. On the right was Mt. Tyndall’s sheer face high above the first lake.
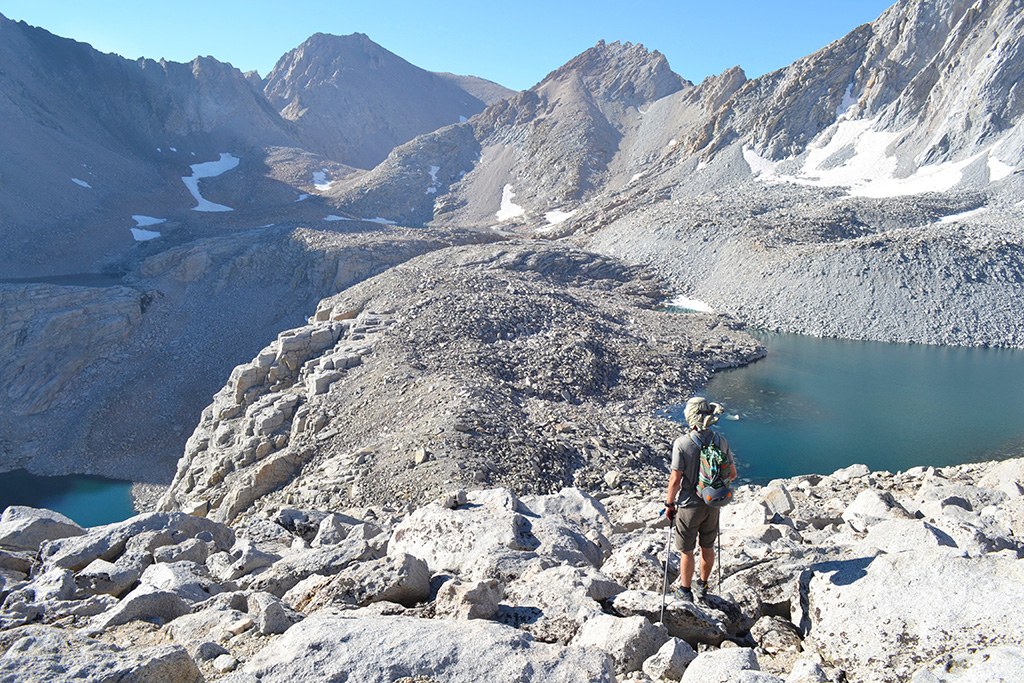
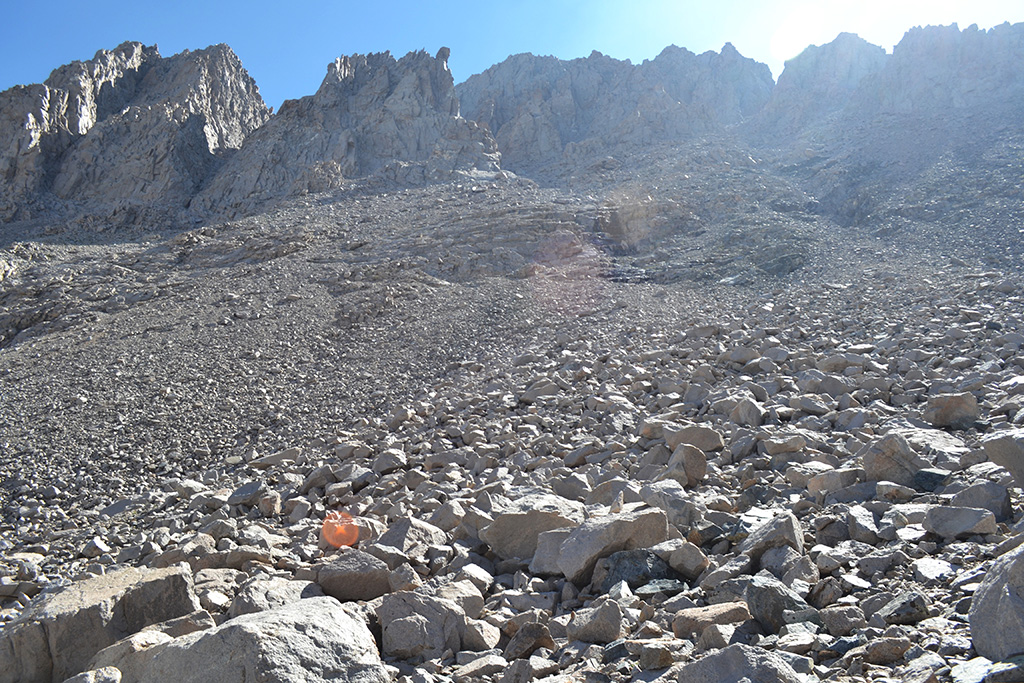
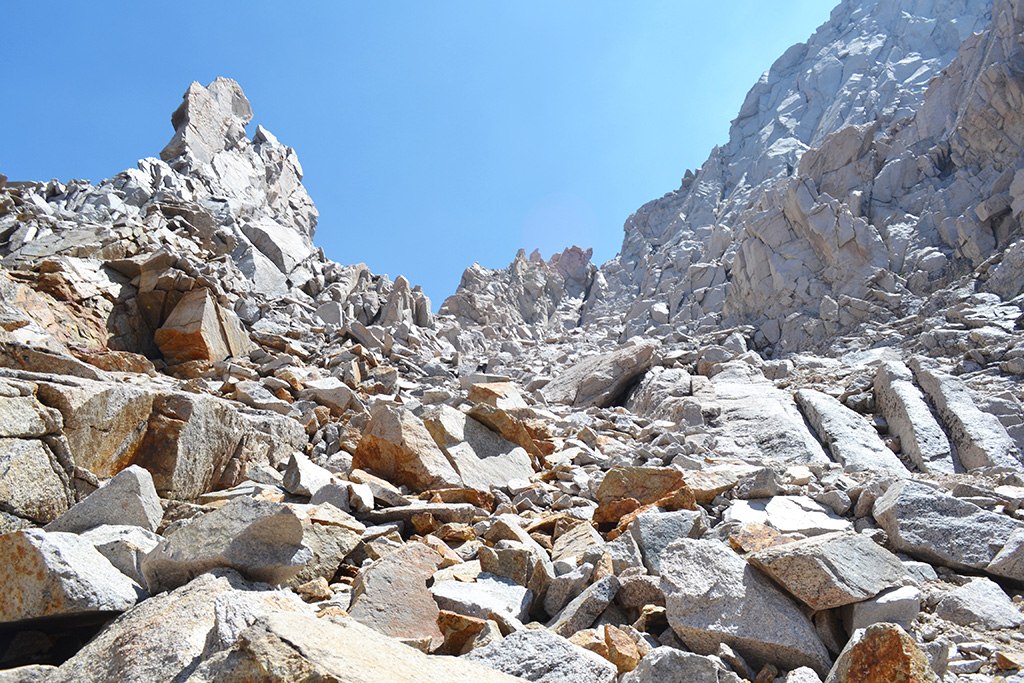
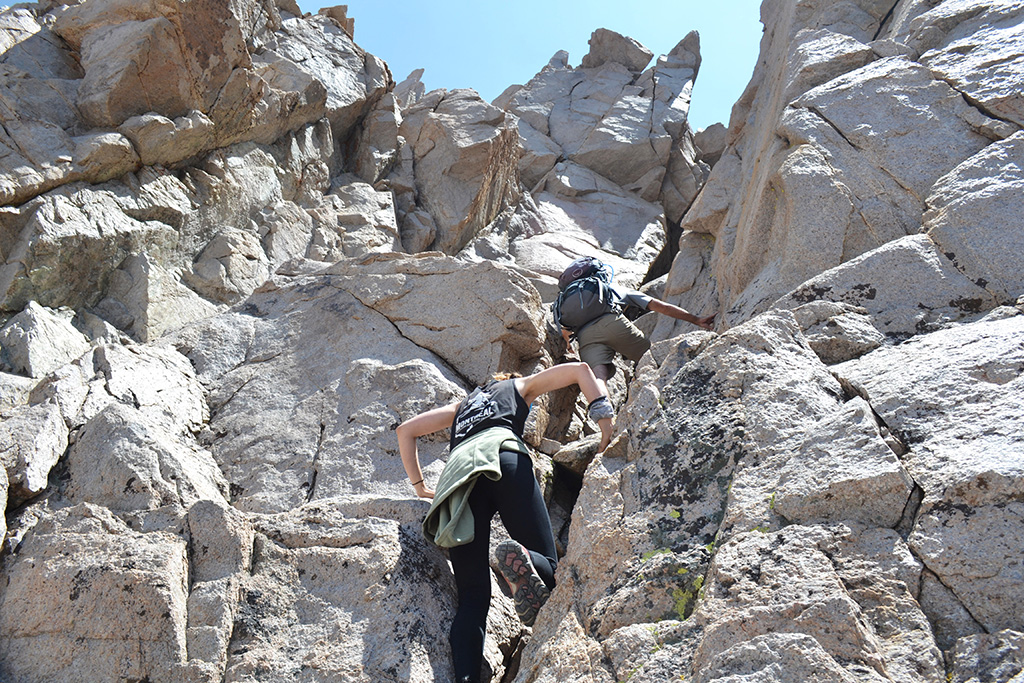
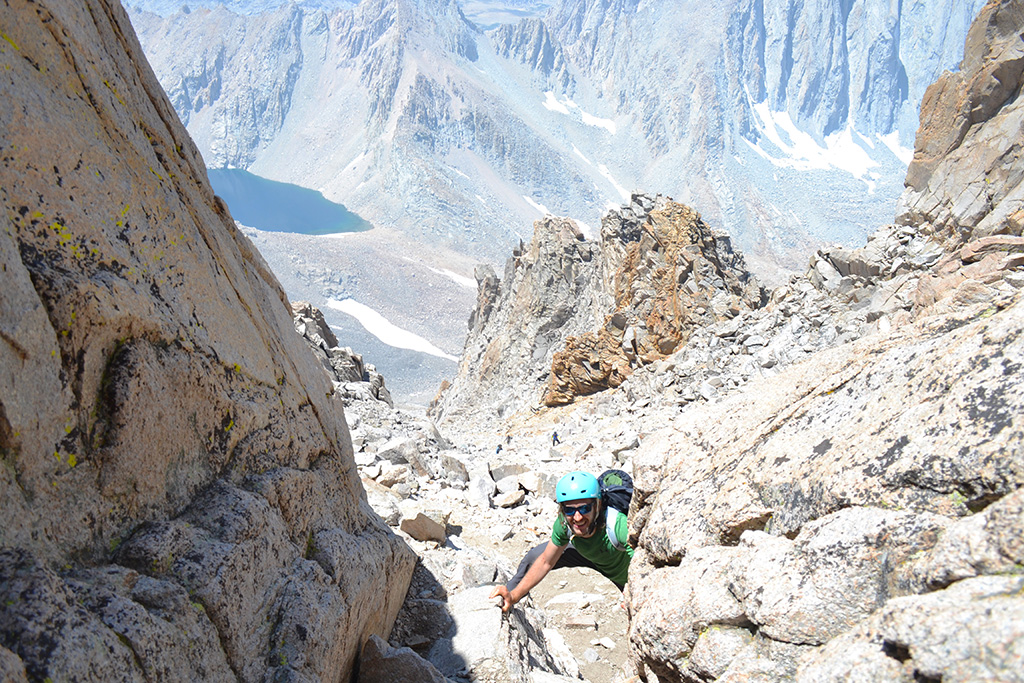
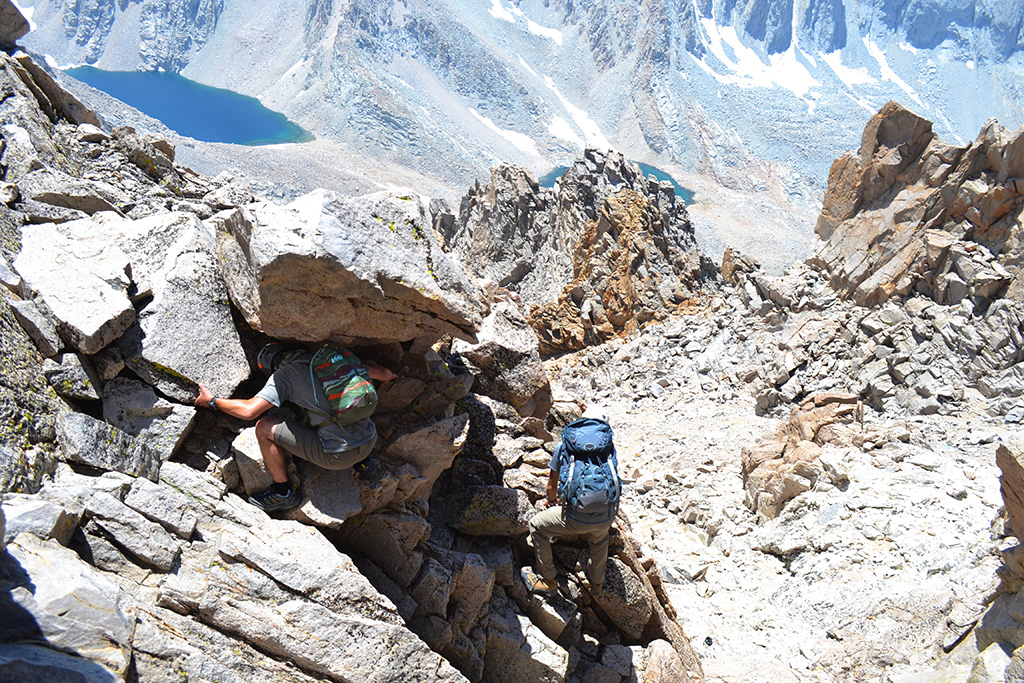
We dropped down some switchbacks into the bowl and followed cairns along the spine, traveling up and down over hills and skirting around the lakes and small valleys. After the final lake we headed up another hill and around a snowfield, aiming for the scree beneath the landmark black stain. This took us about 2 hours to reach and was our cue to start hiking up. We stayed in a gully right of the stain where rocks were larger and not as prone to sliding. It wasn’t too bad going until we crossed left above the stain. Some of the steps felt a little exposed to me and the rocks were sliding. Once across there was a bit more of a sandy trail with switchbacks up the main chute. This part was obvious.


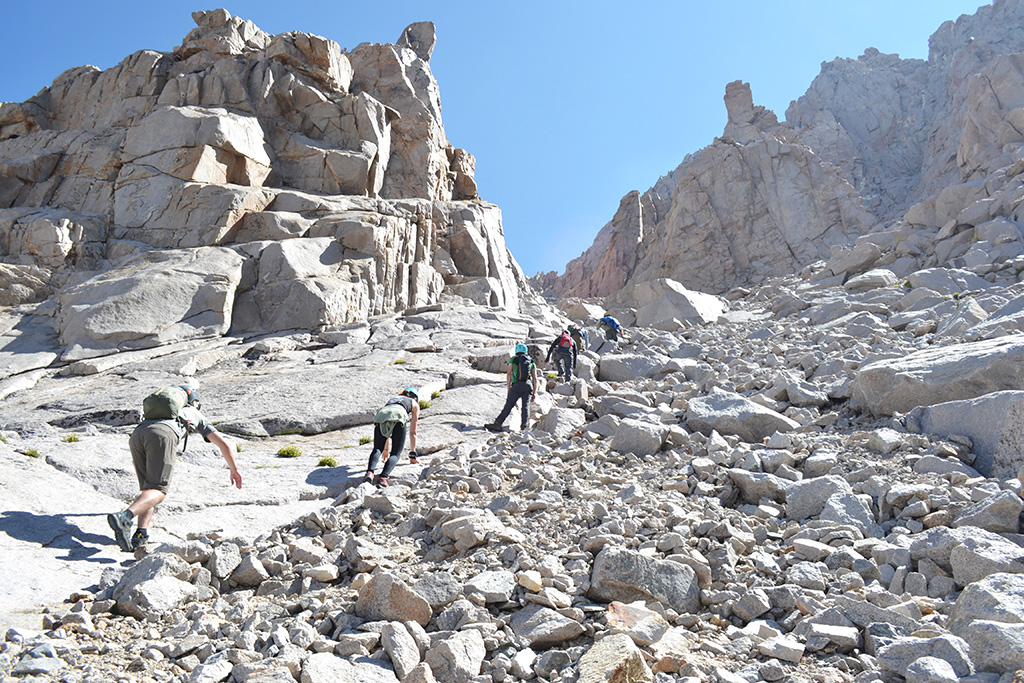
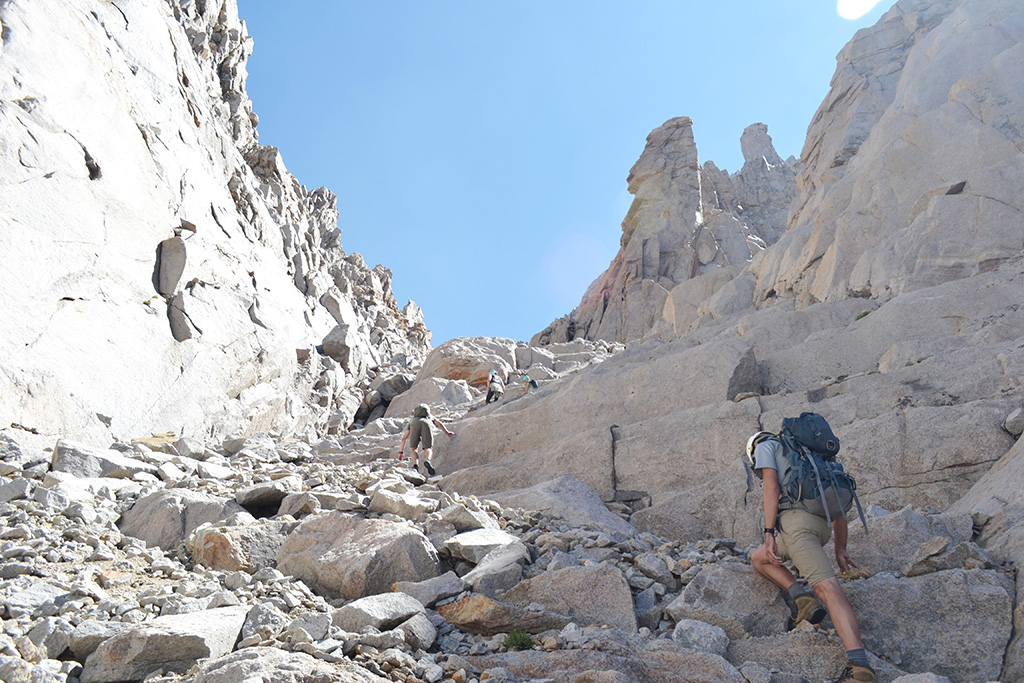
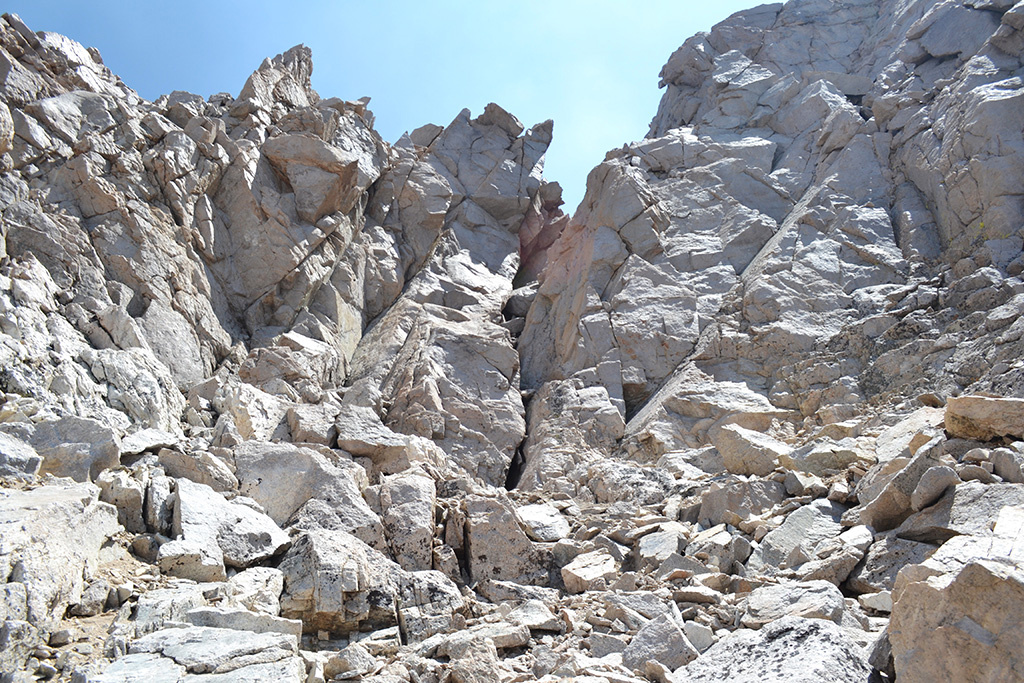
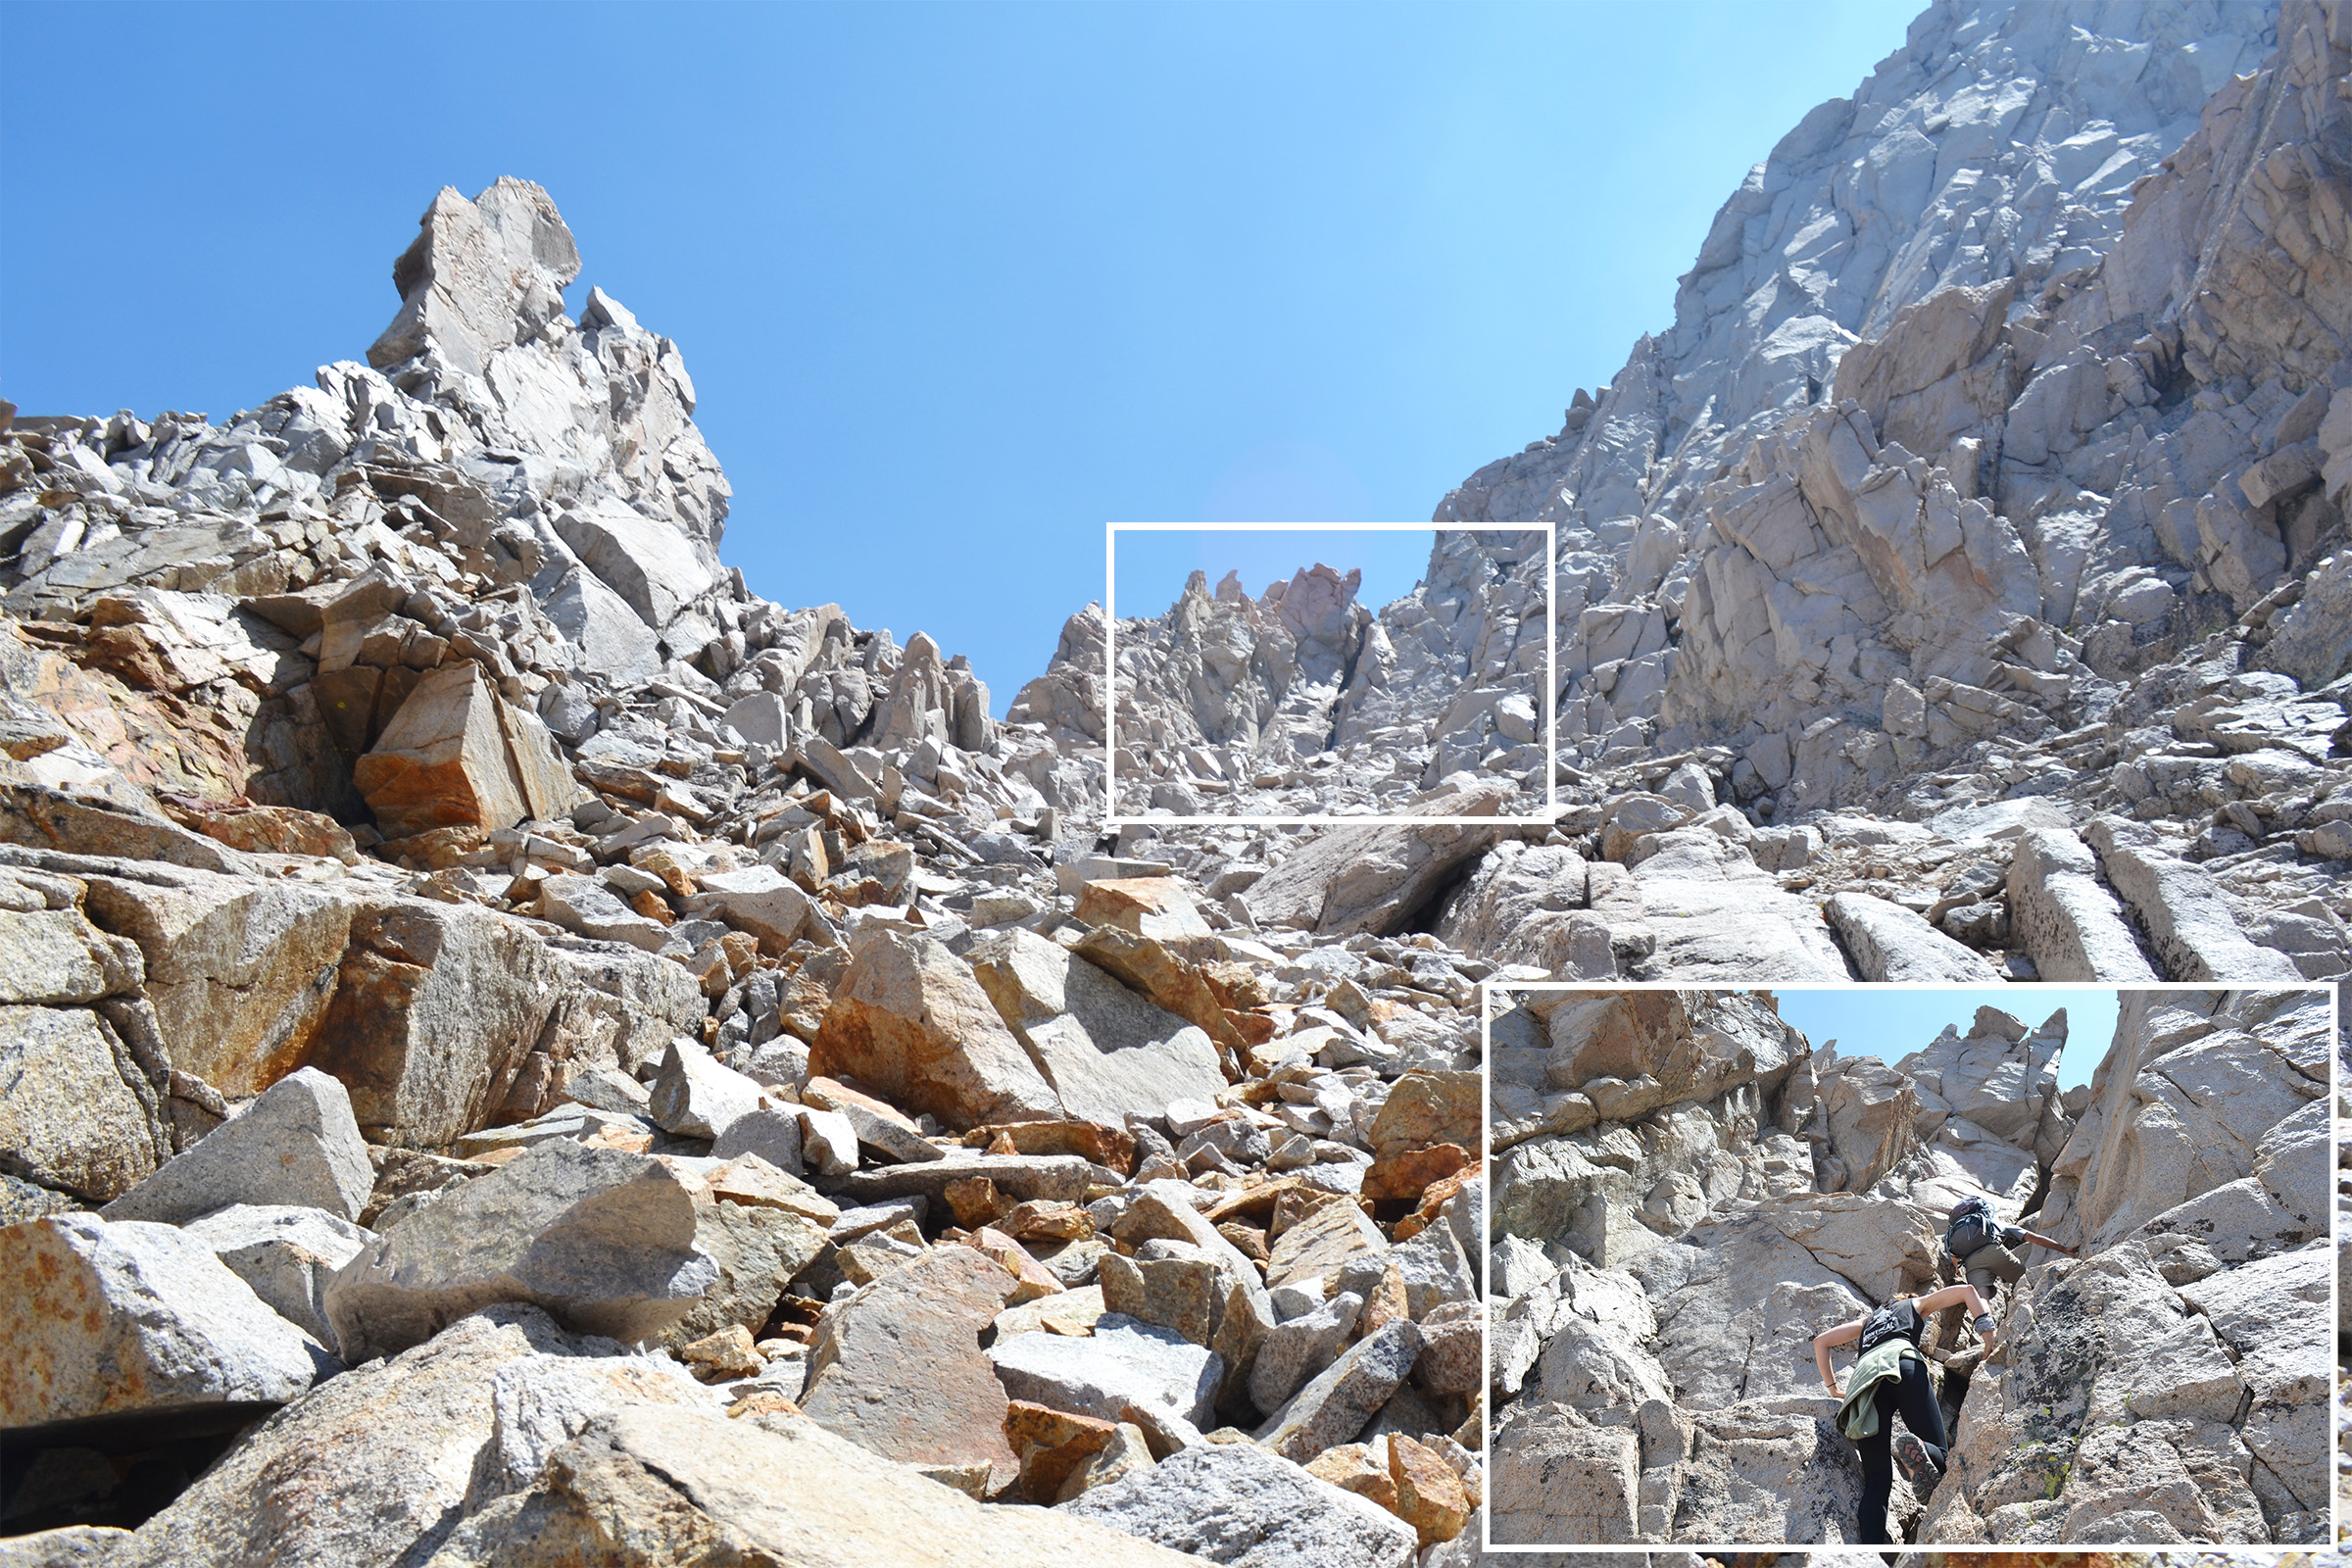
The chute looked impossibly tall but the path was steep so we made good progress. Unfortunately (and I take the blame), we went to the right too quick looking for the chimney and wasted a couple hundred vertical feet. Once back in the main chute we climbed up a bit and could see the chimney near the top.
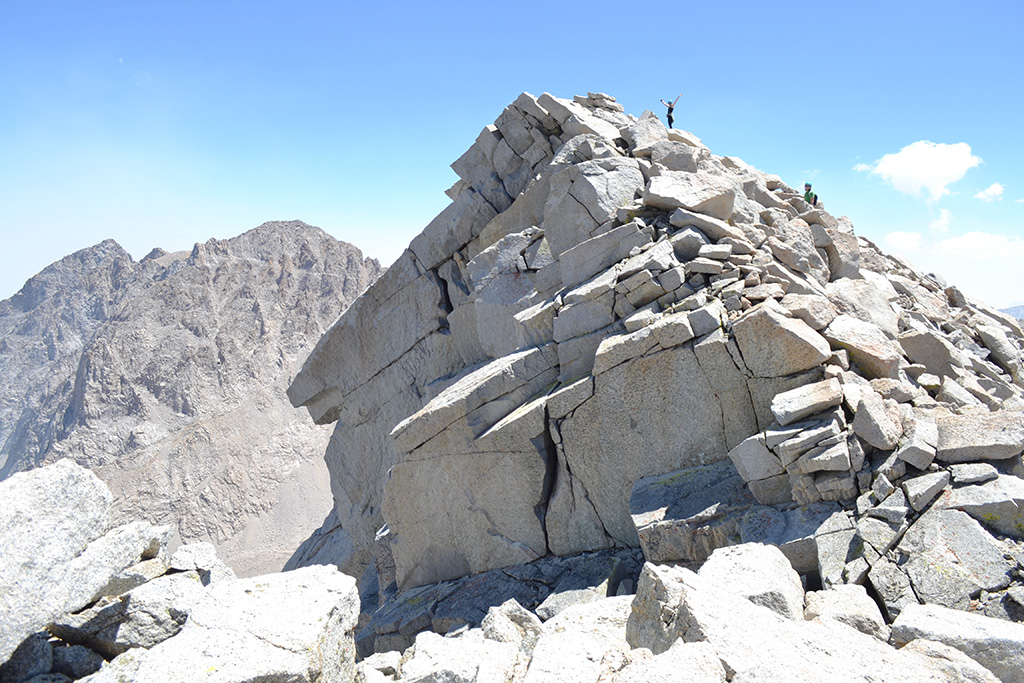
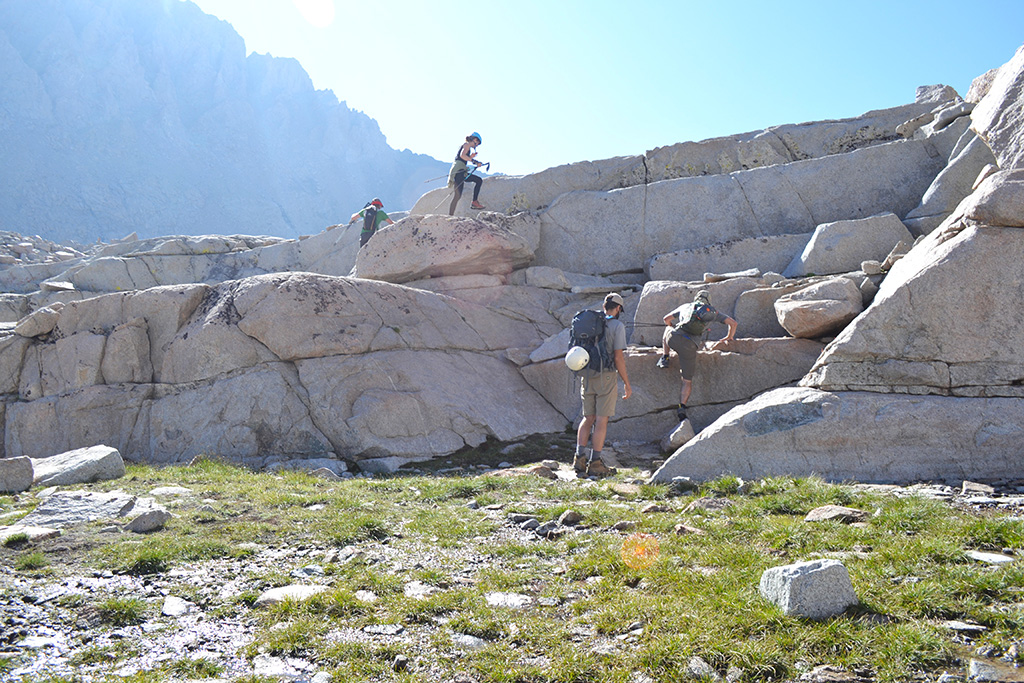
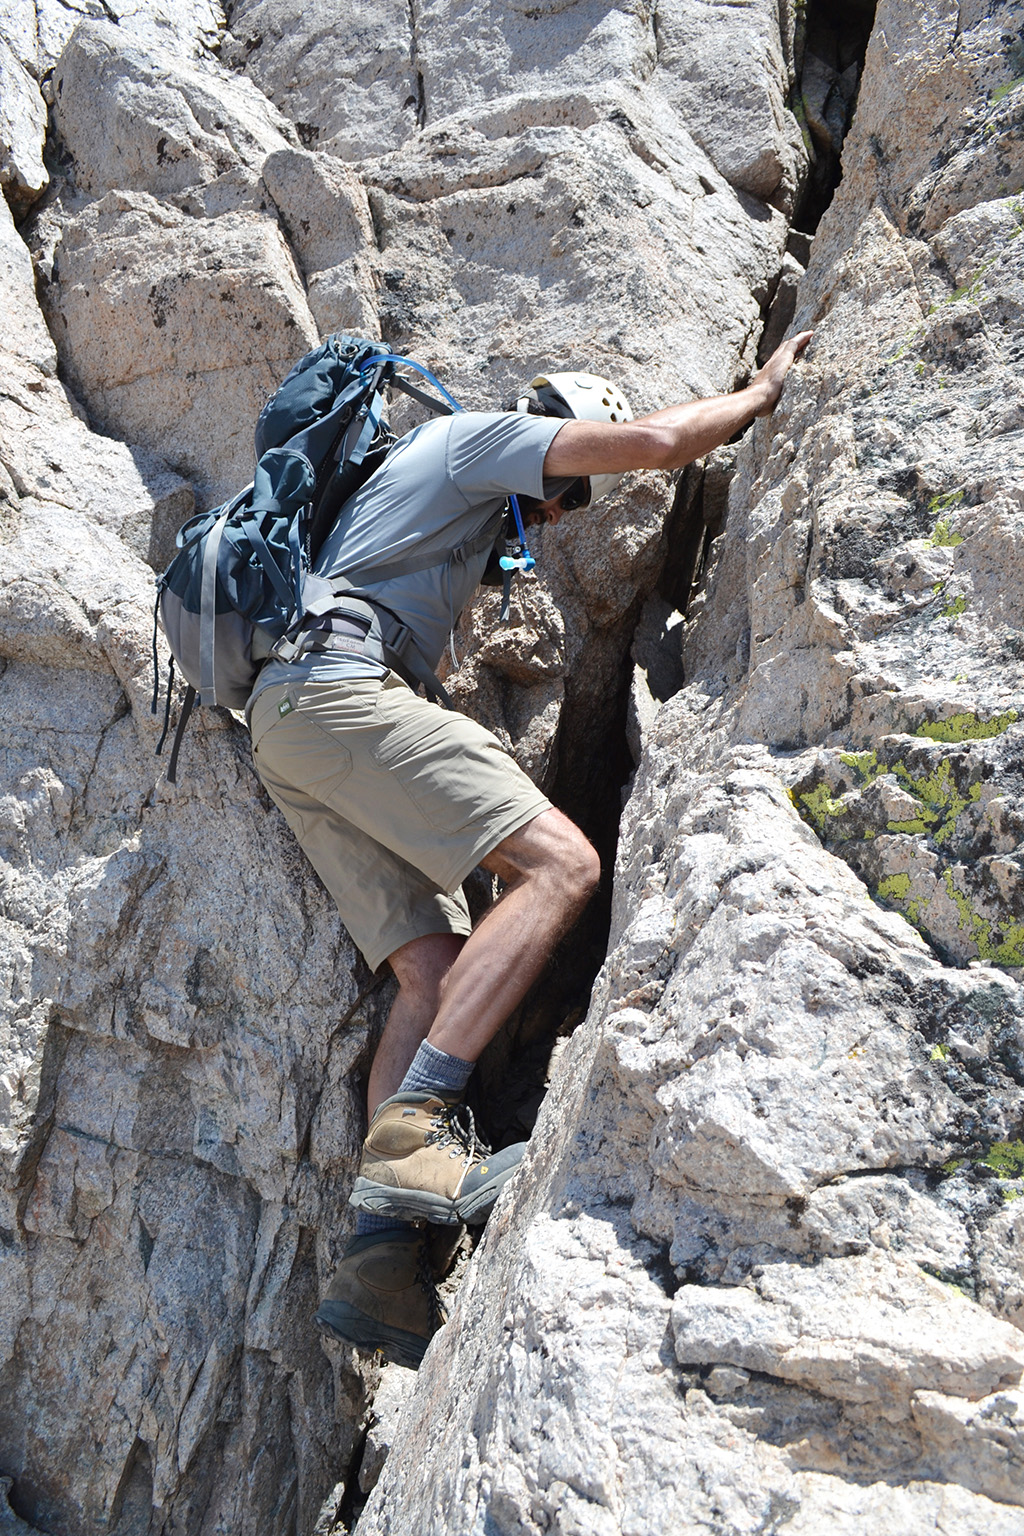
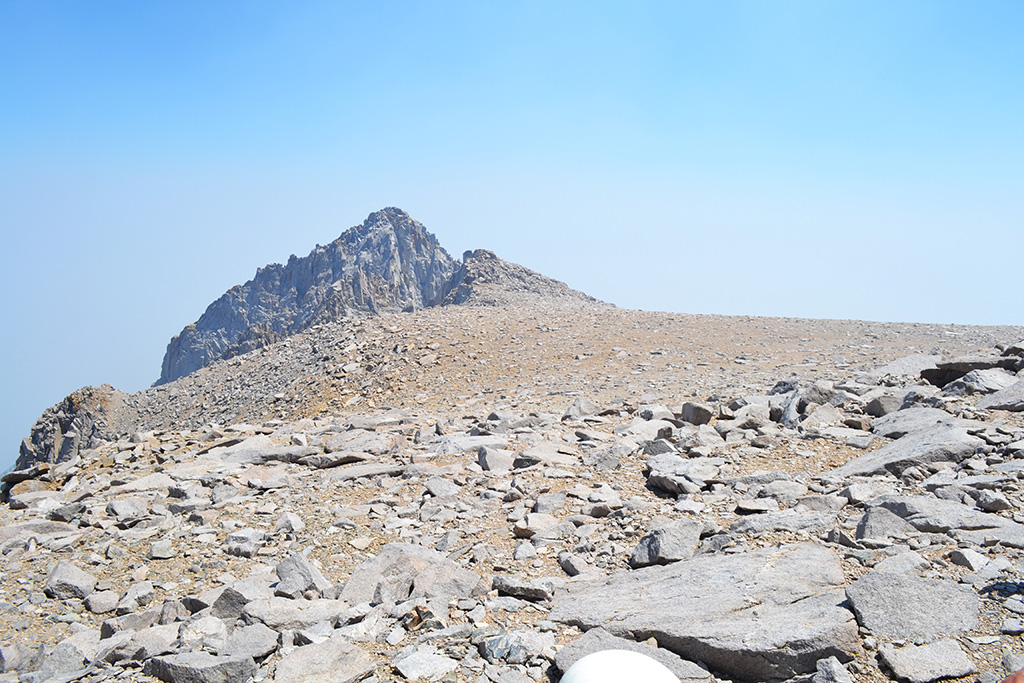
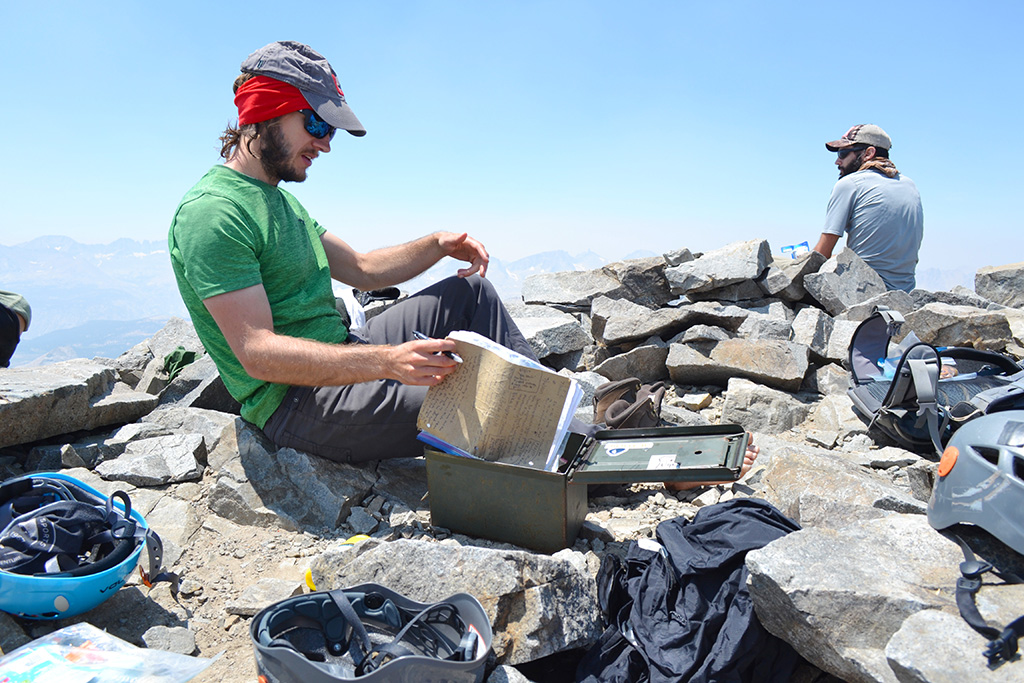
The chimney was a class 3 climb, maybe 20-30’ tall. It was a little scary but there were great hand and foot holds the whole way. At the top we popped out on the most unexpected huge plateau with a false summit across and one to the right. We hung a right but stayed below the false summit and above a snow patch, hopping large boulders. It was a decent walk to get to the true summit but we made it!! The views were excellent and we had a wide spot to sit and have lunch (around 1PM).

The hike back was long and exhausting, especially hiking out of the bowl at the very end. We feasted as soon as we got back. The wind picked up so now we are warming up inside our tents. Tomorrow I will continue toward Mt. Whitney with Laura and Jimmy.
Day Four: Hike Out / Crabtree Meadow
Under normal circumstances hikers would head back home down the Shepherd Pass trail – another long haul but mostly downhill. A couple miles beyond Shepherd Pass is a junction with the John Muir Trail. Given how grueling Shepherd Pass is compared to other JMT entry points, I would avoid it unless you either can’t get another permit (very possible for either the JMT or Mt.Whitney) or you want to include Williamson or Tyndall on your hike.
For this particular trip I continued on to Mt. Whitney with my sister. We nearly made it a 4x 14er trip by including Mt. Muir (along the Mt. Whitney trail) but felt uncomfortable with the last move at the peak. Maybe next time!
Detailed Routes
Cairns or use trails may be visible to mark these routes. See photos in addition to the descriptions below, but note that overlayed routes are approximate and may have changed since this post was last updated. These routes require off-trail hiking with exposure, proceed at your own risk.
Mt.Tyndall
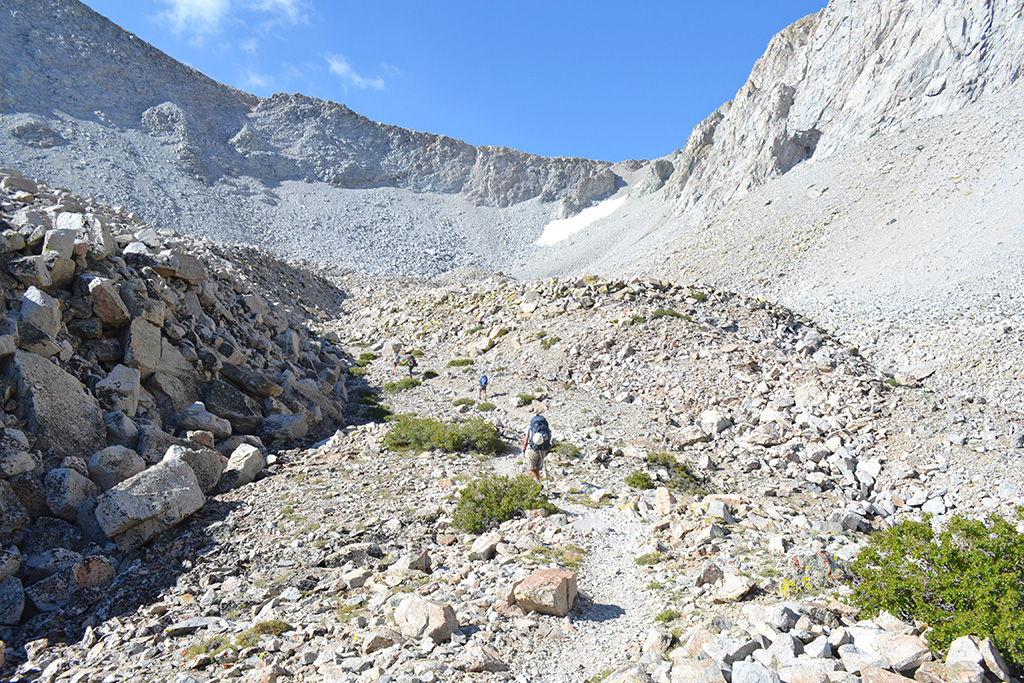
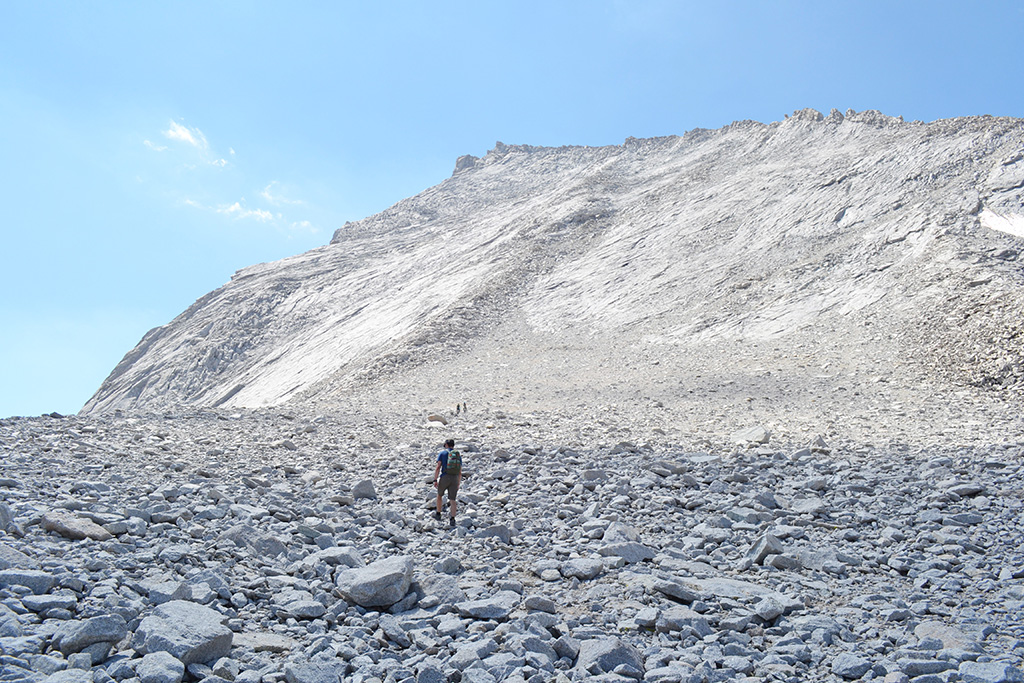
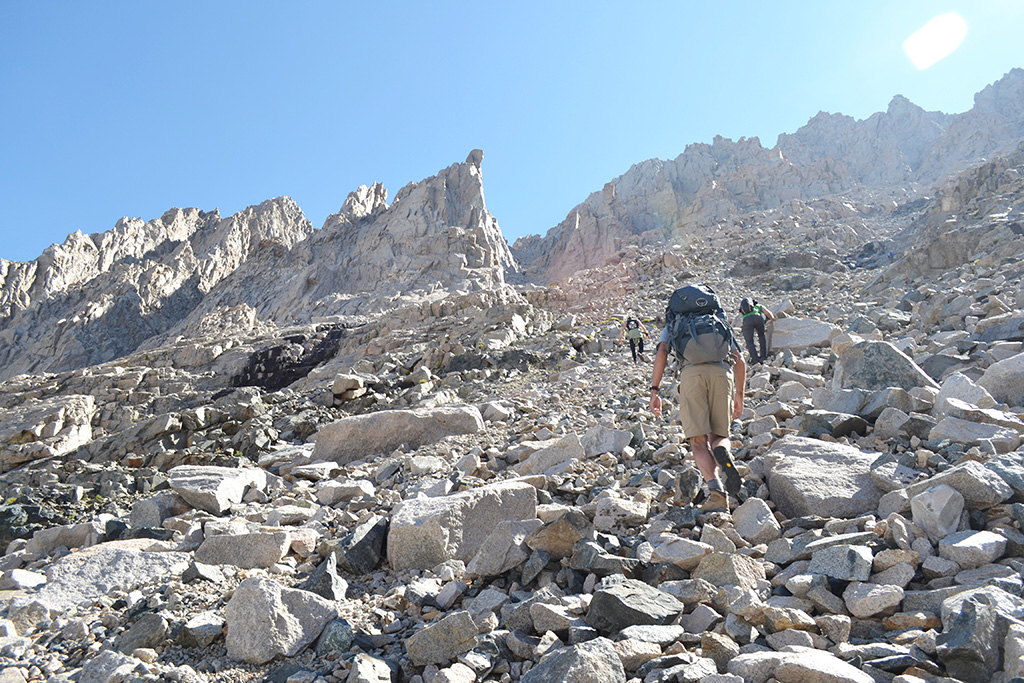
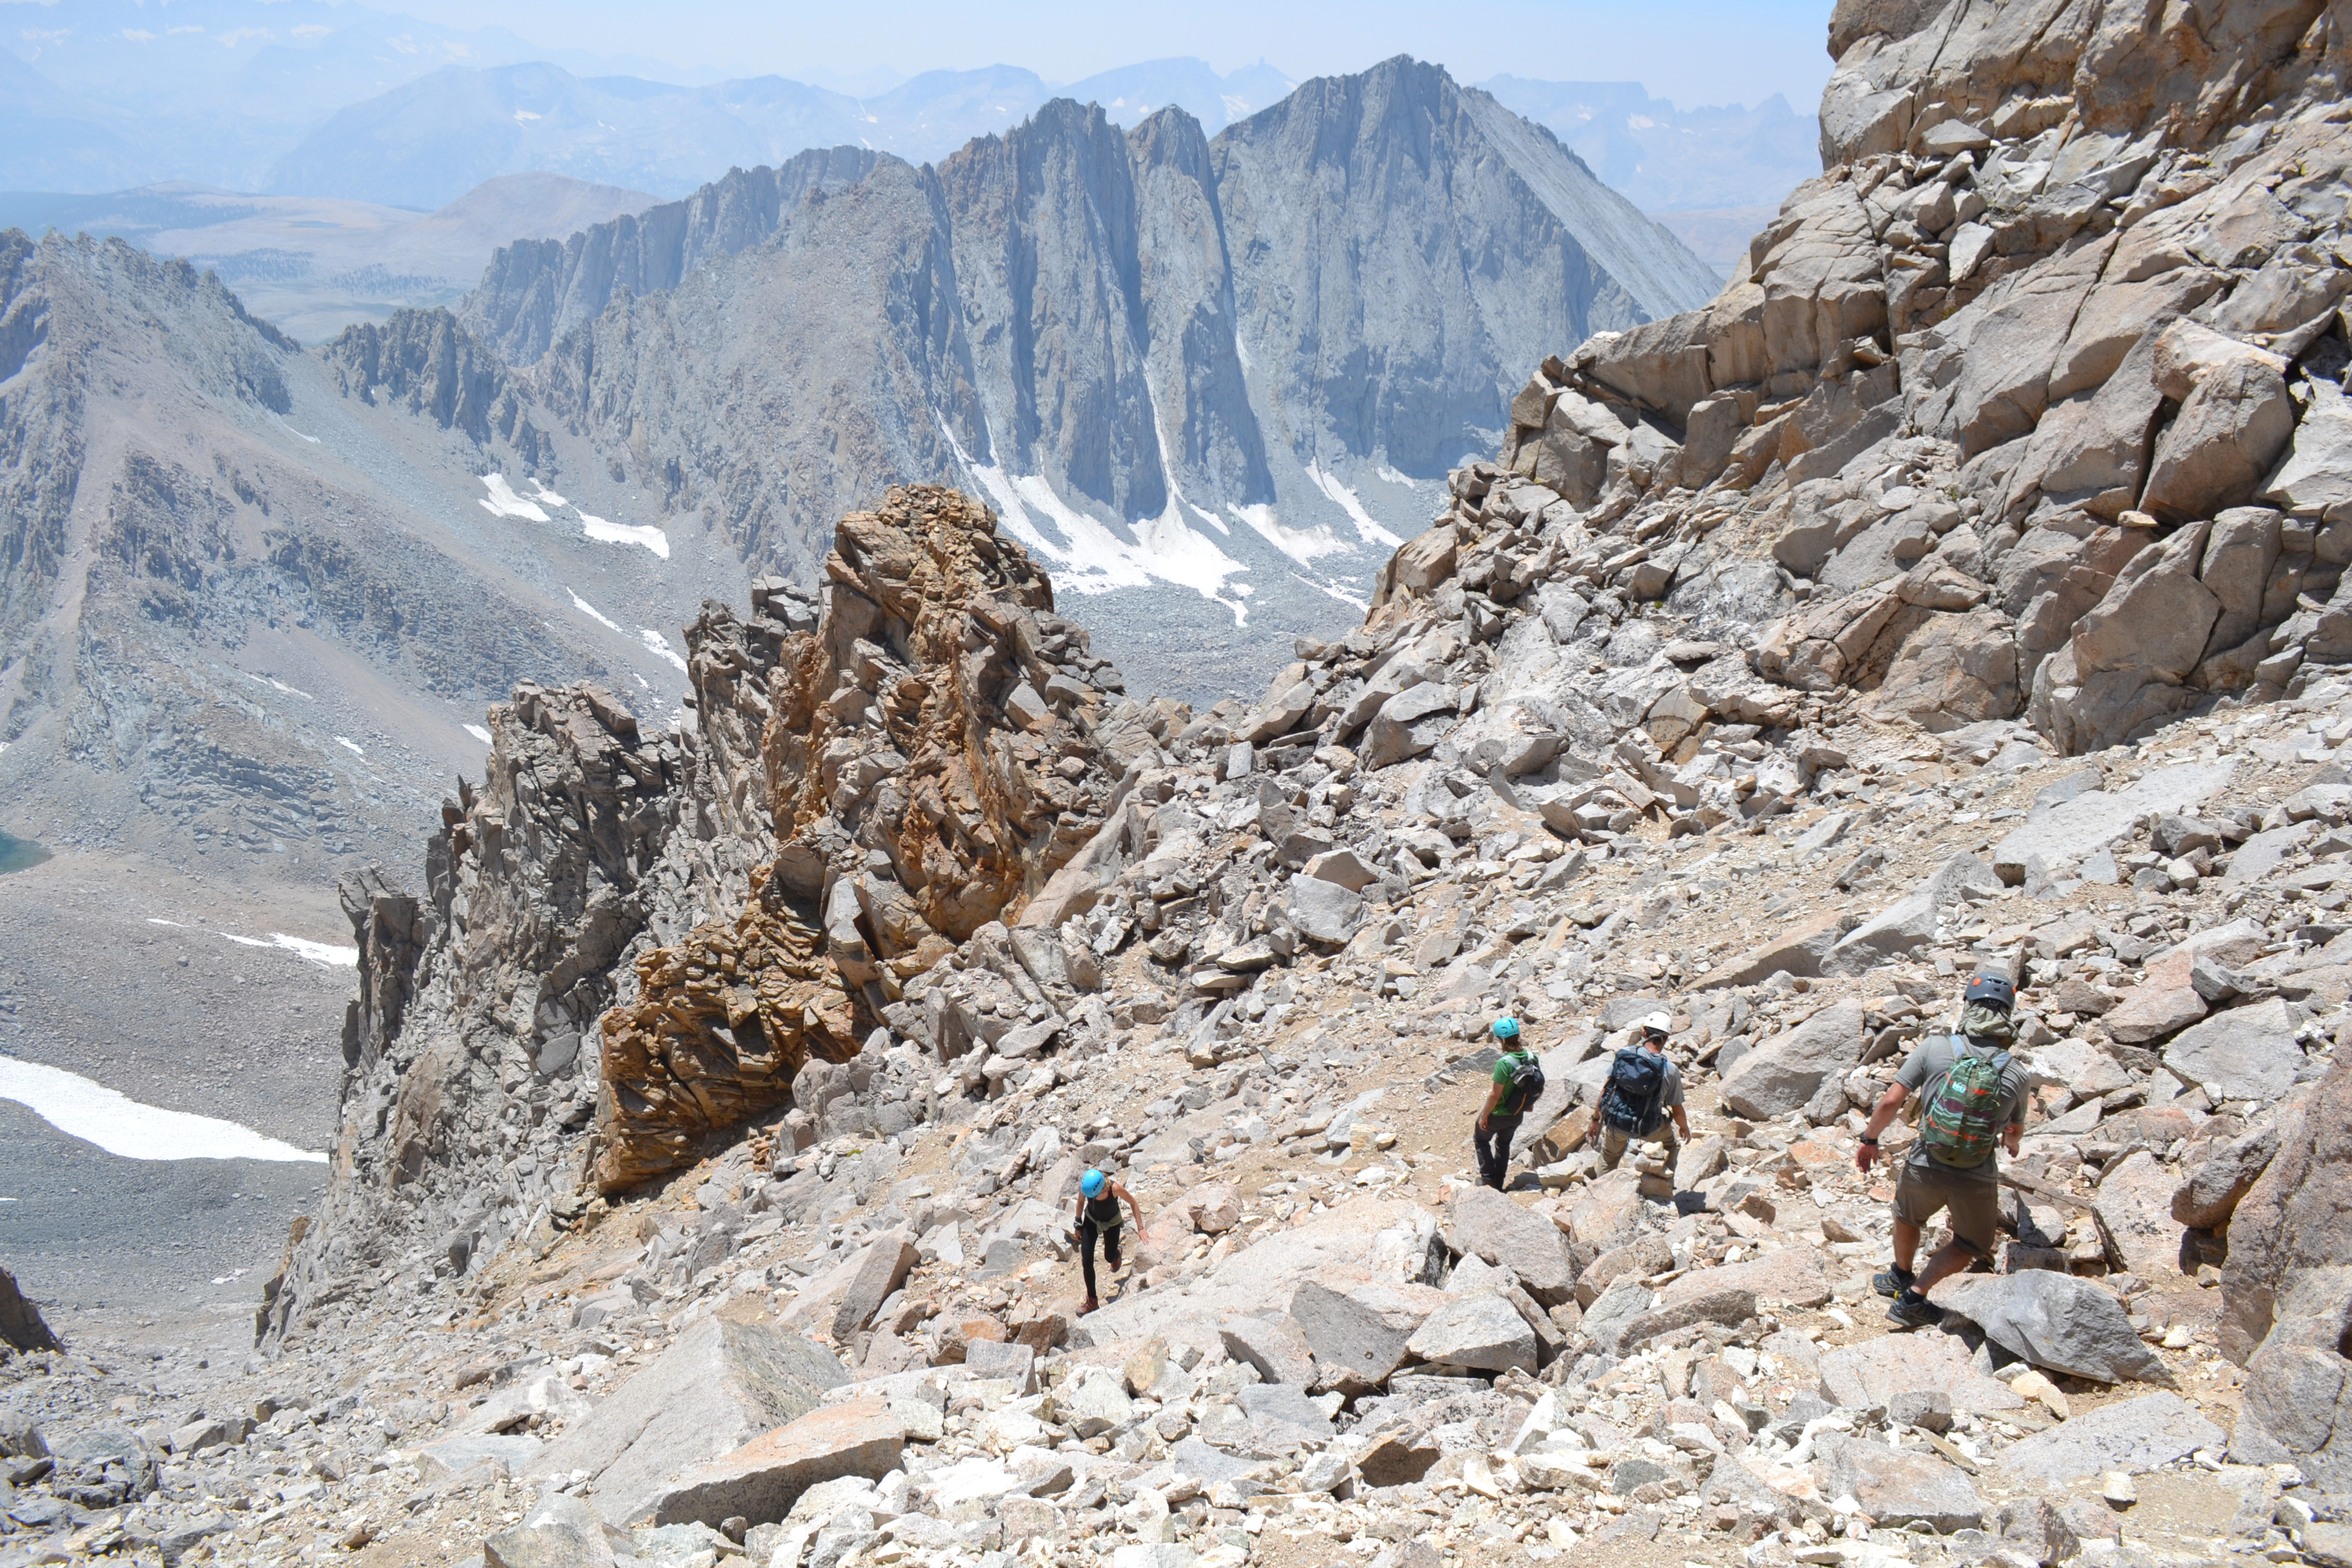
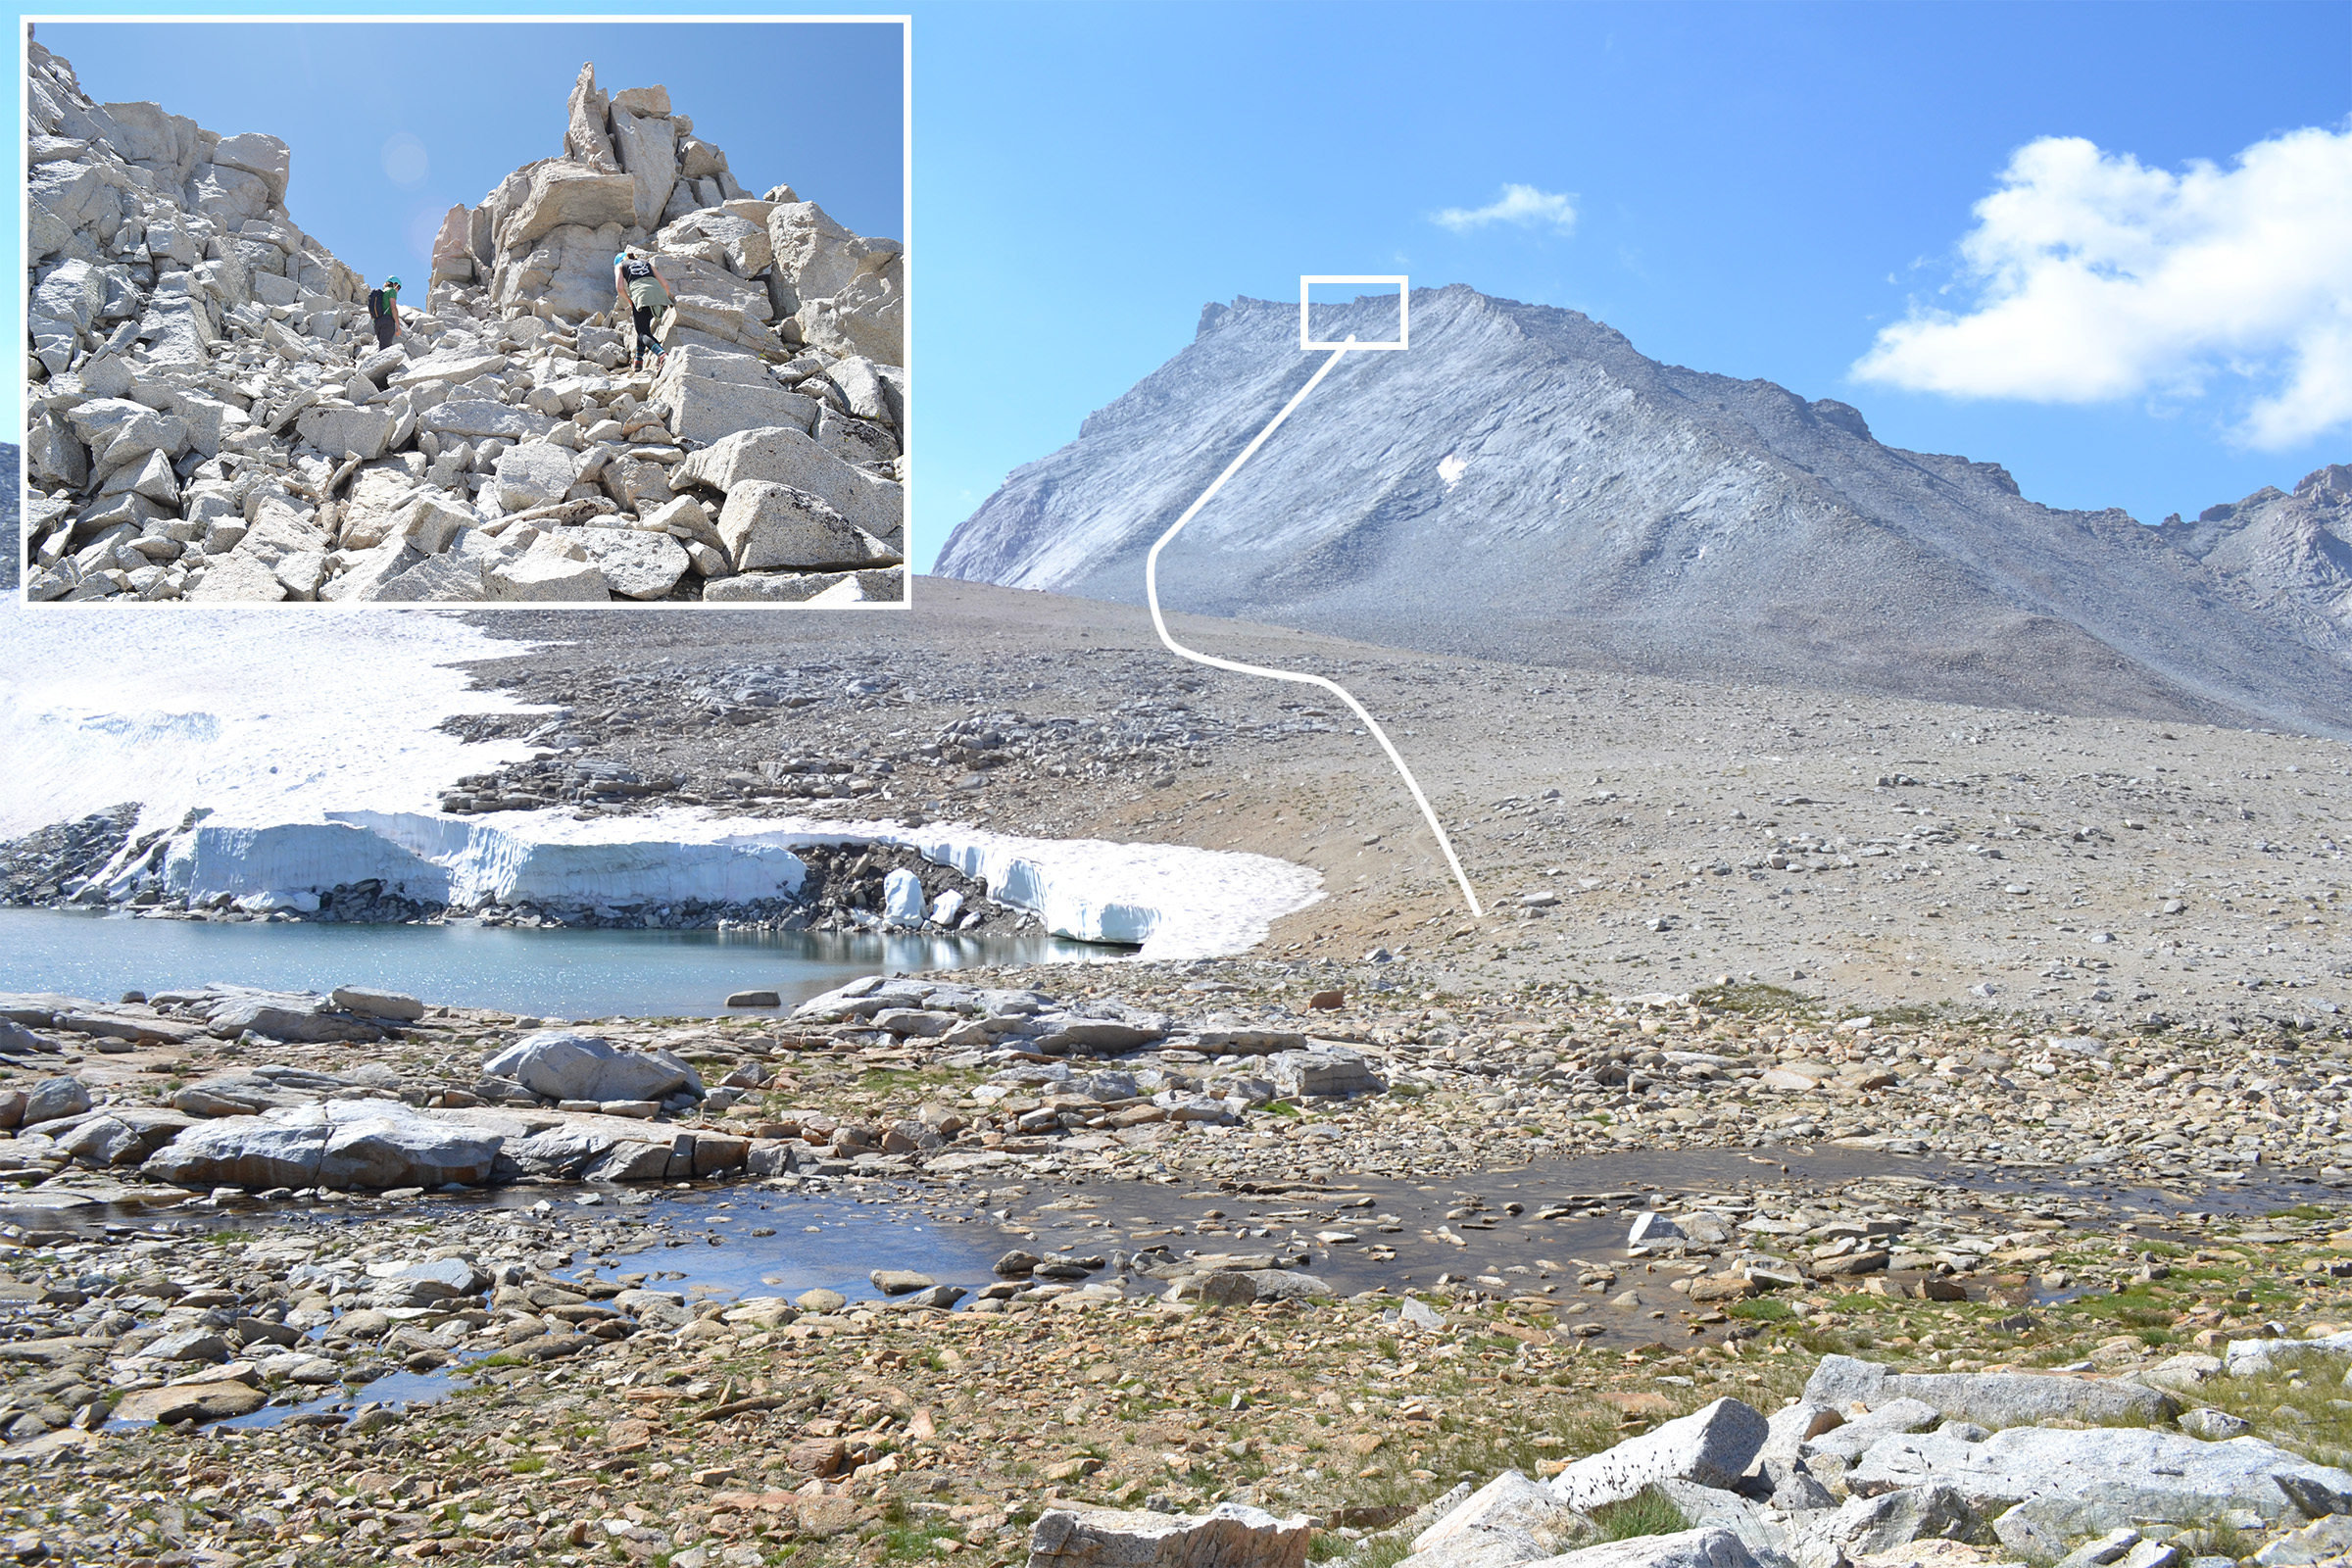
- Starting from Shepherd Pass, head south to base of Mt. Tyndall. Aim for the right side of the main north facing rib. From what I’ve read, the more obvious northwest ridgeline is much more challenging and it definitely looked this way when we got a view from the west side. The north rib is a relatively easy traverse with some boulders and scree.
- Follow along the right side of the rib up the side of the mountain. We found it easier to walk along the larger slabs (when they were available) a bit farther away from the main rib. Our path consisted of a lot of boulders and loose rock, take care to not trigger slides on those below.
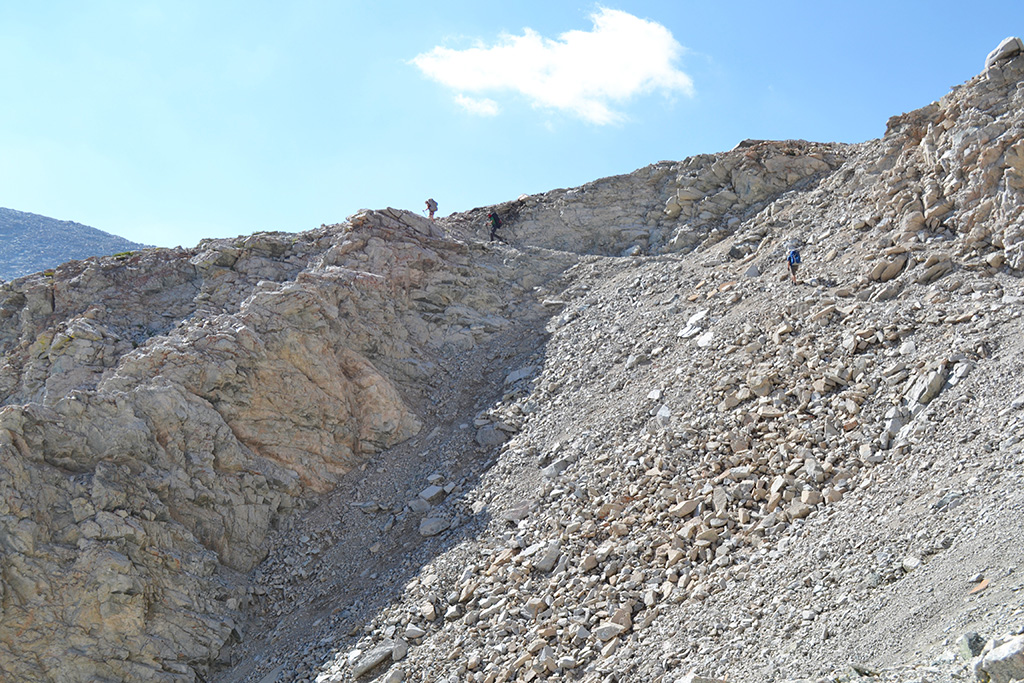
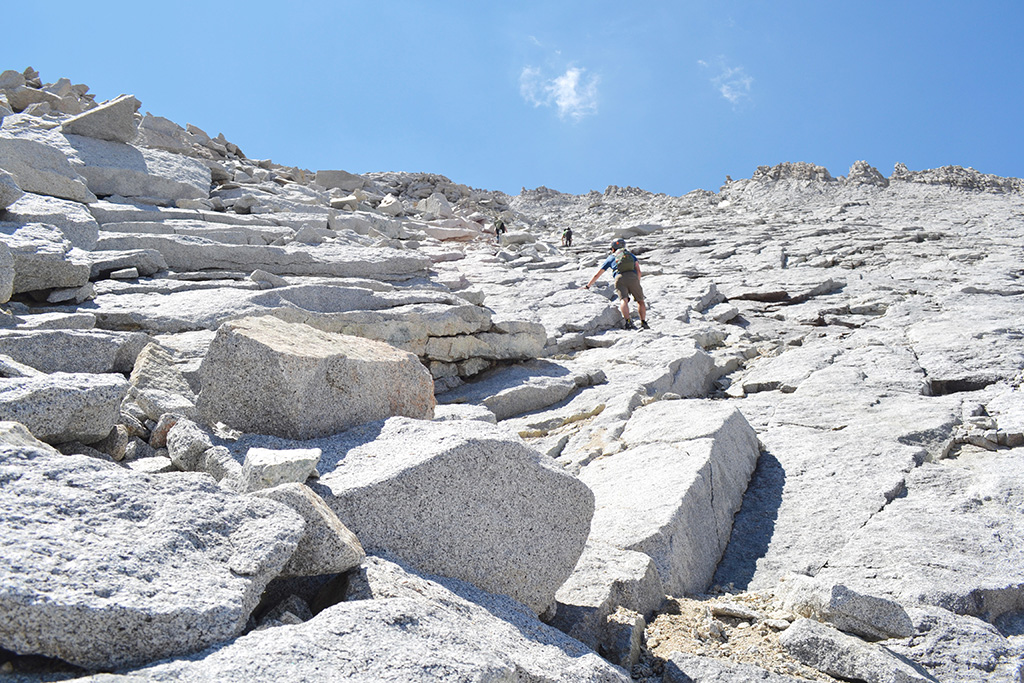
- Aim for large pile of rocks at the top ridge. Just to the left of this large pile is the chute to the final ridge.
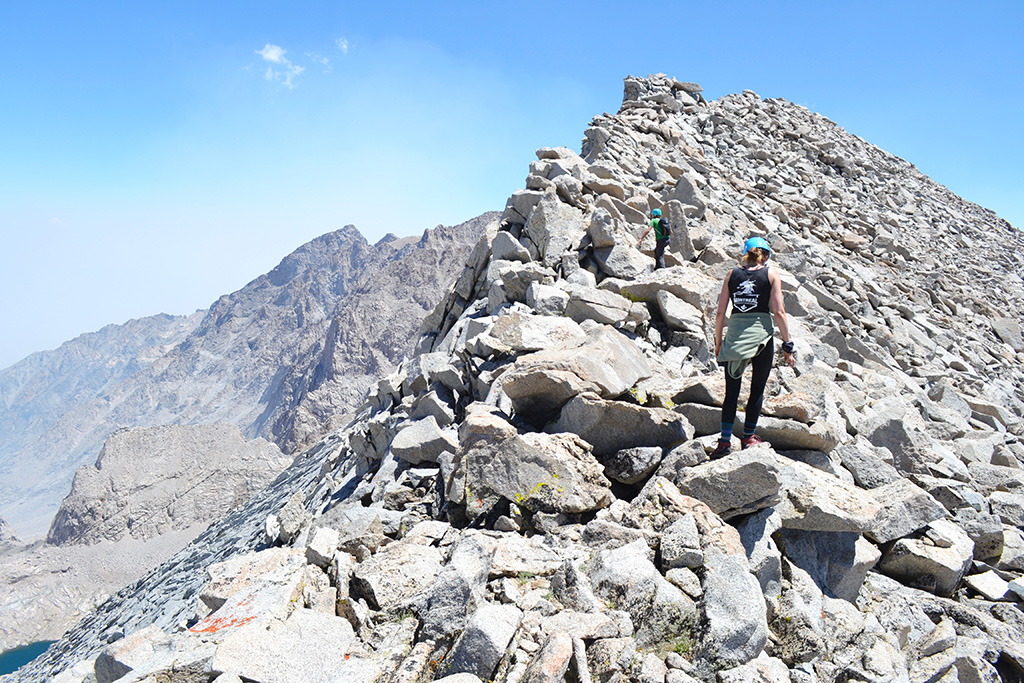
- Continue through the chute to emerge on the ridgeline where the south side of the mountain is visible.
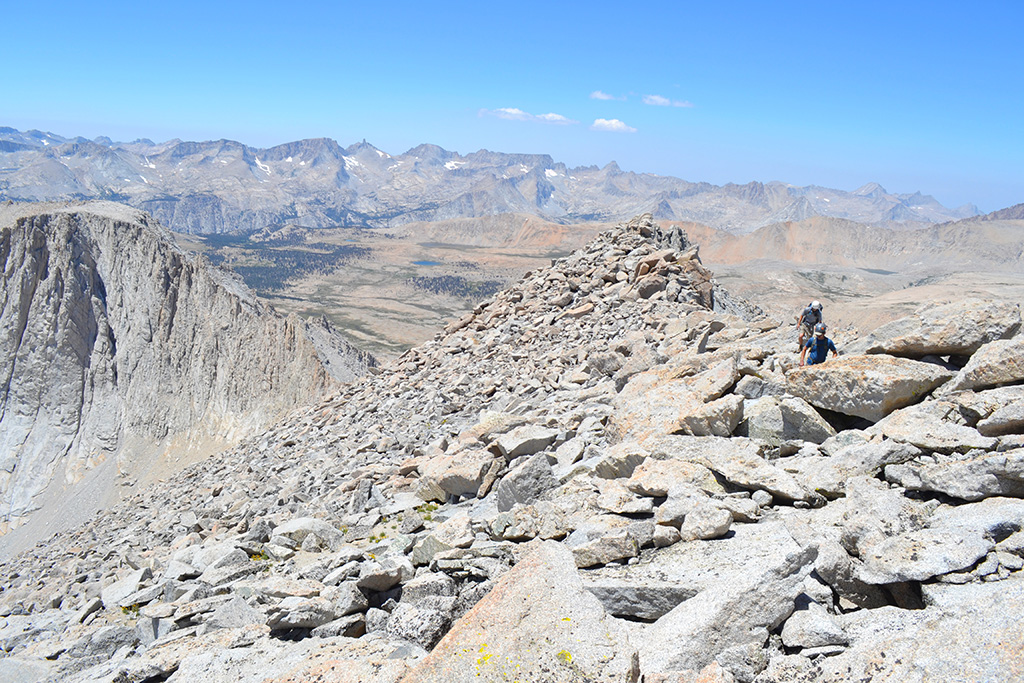
- Follow along this ridgeline across two false summits to reach the true summit and enjoy the views!
Mt. Williamson
- Starting from Shepherd Pass, head southeast up the hill with Mt. Tyndall on your right. Emerge above Mt. Williamson bowl and take note of the spine down the middle.
- Descend to the beginning of the spine, with a lake on either side of you and Mt. Tyndall towering above!
- Continue along the spine between another pair of lakes and look out for the large black stain on Mt. Williamson. Aim for the bottom of the scree field beneath the stain.
- Pick a path up toward the black stain and this will guide you into the main chute.
- Continue up the main chute until the chimney is visible at the top. I made the mistake of turning off the main chute too early, thinking we were heading toward the chimney. Stay in the main chute!
- Climb the class 3 chimney.
- Emerge on the summit plateau. Hang to the right but stay below the false summit and hike over large boulders to reach the true summit.
Logistics
A safe and successful trip to Shepherd Pass hinges on thorough planning! Permits, weather/seasons, and gear are all important considerations for this trip.
Permit
The most direct route for Williamson and Tyndall is straight up the Shepherd Pass trail, though this can also be done as a side trip from the John Muir Trail. Permits are required for overnight hikes and may be reserved through the Inyo National Forest wilderness permit system via recreation.gov. This trail has a daily quota of 15, where 9 spaces may reserved in advance and 6 are available for walk-ups. Visit the Inyo Wilderness website for more detail on the permitting system. Fees are $6/permit and an additional $5/person ($15 instead if entering the Whitney Zone). Check online or contact the ranger station for more information on the current walk-up permit process.
Campgrounds
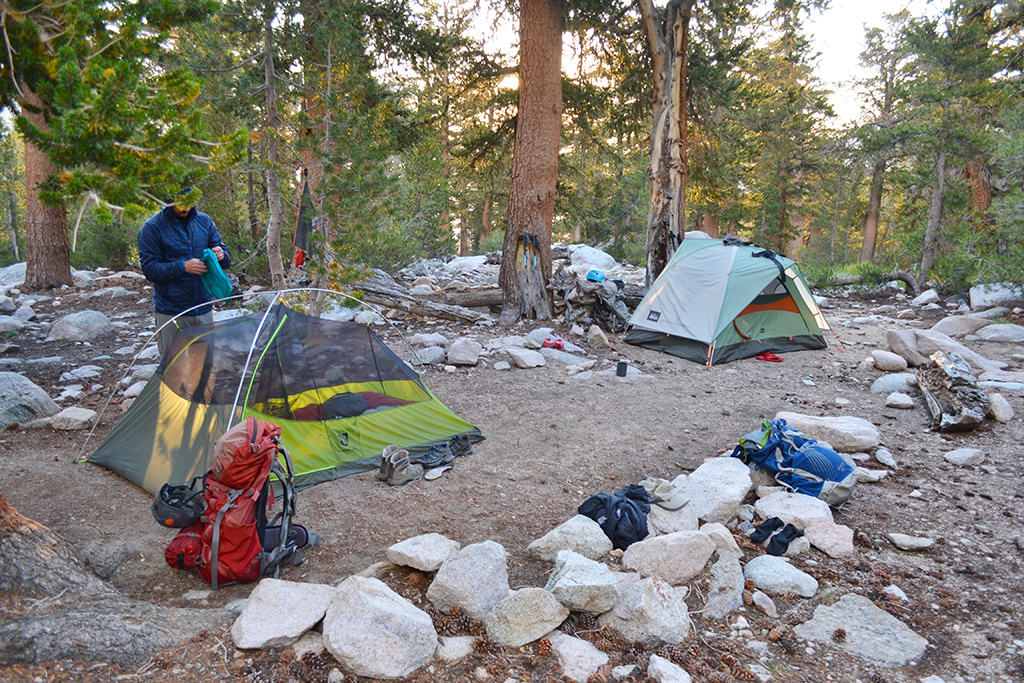
Anvil Camp is the main backcountry campground option along the Shepherd Pass trail and is approximately 8 miles and 4000’ gain from the trailhead. There are plenty of campsites within the trees along the creek which can fit multiple tents each. Anvil feels decently protected and is the last option before you move above the tree line. We camped here for our first night.
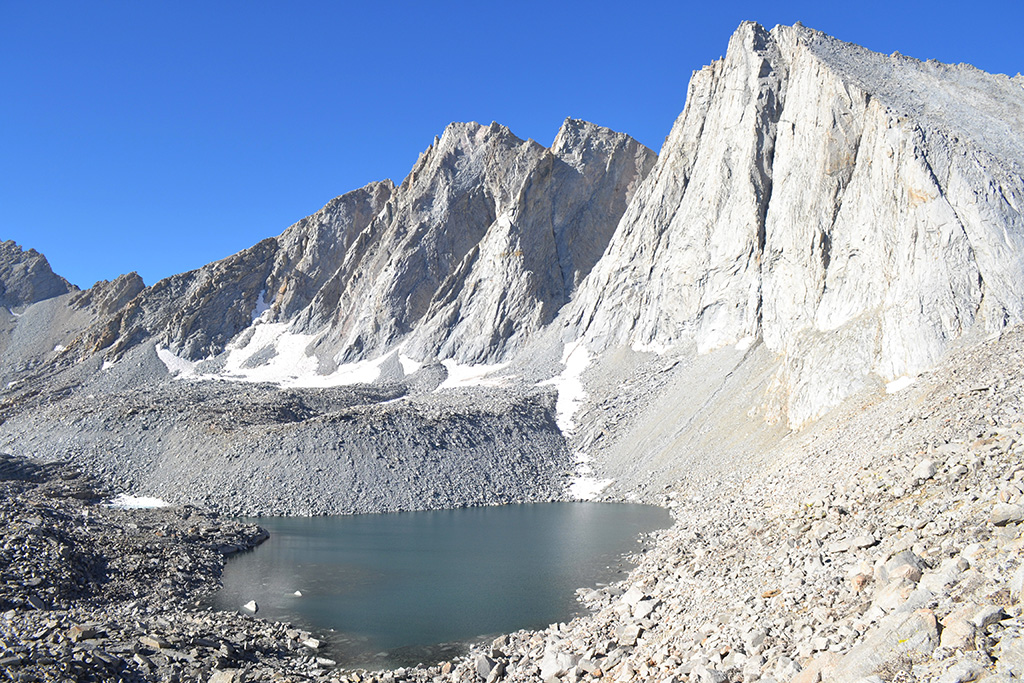
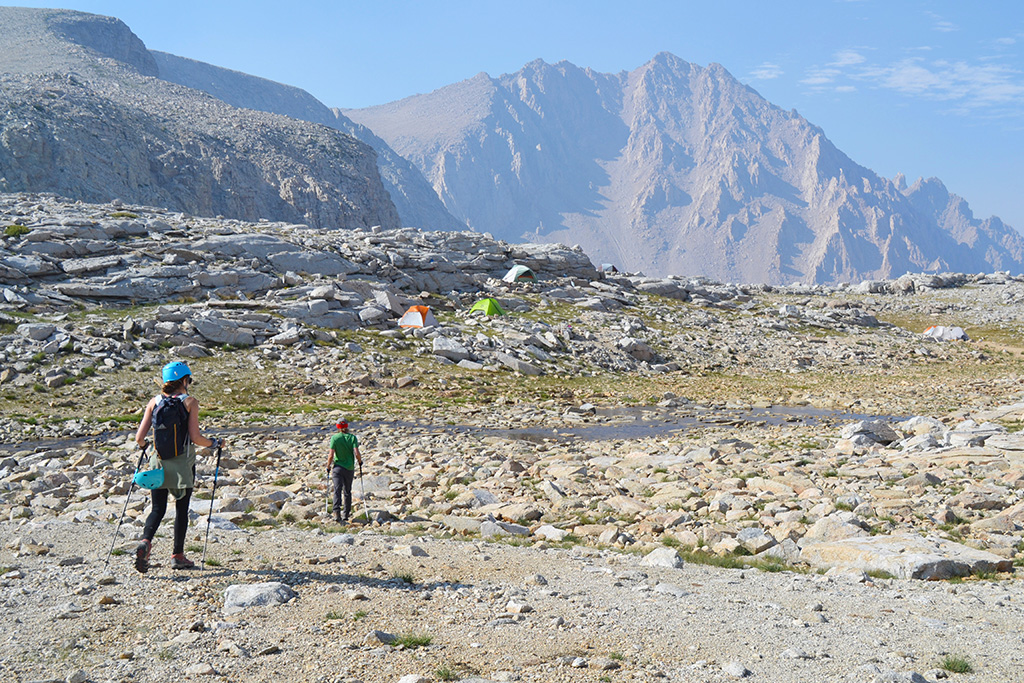
2 miles and another 1700’ gain beyond Anvil is Shepherd Pass. There’s a decent lake just left off the trail near the Pass which is where we chose to camp. There were plenty of tent sites even sharing the lake with another group. Weather reports looked totally clear and stayed that way during our trip, so the exposure at the Pass fortunately wasn’t a problem for us. There’s a slightly higher lake above the first one but it seemed near drying up.
Several trip reports I read involved camping down in the Williamson Bowl. Though that sets you up well for hiking Williamson, the bowl isn’t fun to climb out of if you’re hiking Tyndall and when it’s time to pack out. In addition, it looked like tent spots were more limited.
getting there
The Shepherd Pass Trailhead is located 9 miles west of Independence, CA and is a 4-5 hour drive from Los Angeles. Higher clearance vehicles are preferred but not completely necessary to reach the main trailhead (just surveying the cars in my photos!). There’s an alternative pack trailhead parking area for low clearance vehicles though this will add another 1.4 miles to your hike. There are several hotel options in nearby Lone Pine or Independence.
Season
If you’re looking for summit conditions with no snow travel, late summer and early fall are likely your best bets. Snow can persist on these mountain routes nearly year round, as we discovered in late September after a heavy snow season. Shepherd Pass trail itself is usually snow free from June to October. Recent hiker and ranger trip reports are helpful in determining if winter conditions are still present on these routes since this varies so drastically year to year.
Additionally, this is a high elevation hike with lots of exposure. Hikers should take care to heed weather reports and avoid these areas if thunderstorms are in the forecast or observed.
Recommended gear
Bear Canister
A bear canister is recommended for this tip, and the BearVault is my top pick! See my bear canister comparison page for more options.
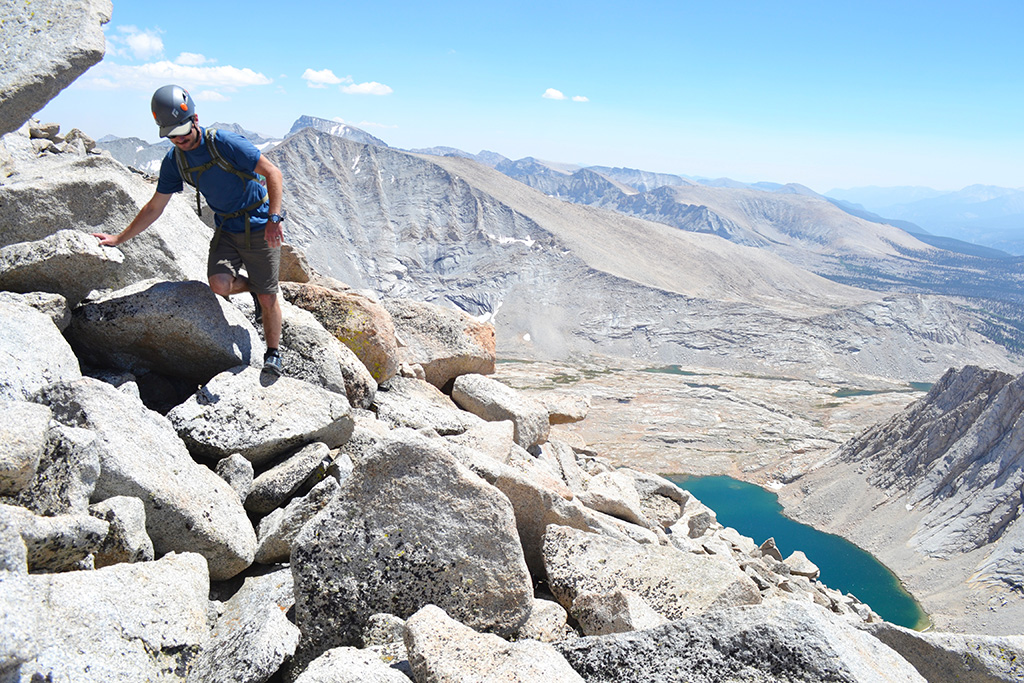
Climbing Helmet
A helmet is recommended due to the amount of loose scree when hiking off trail.
>> Click here for all of my gear recommendations
Comments